Capturing and processing spectrums with Star Analyser
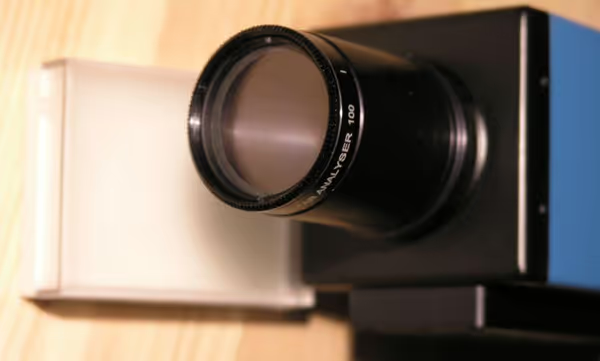
Star Analyser is a blazed diffraction grating in a 1,25" filter thread. You can screw it to a eyepiece or to a webcam, small astronomy CCD camera. It will split star light into a spectrum from blue to red like a prism (or rainbow). Such spectrum can tell many things about a star or other target - like it chemical composition, temperature, movement against Earth. You can find more about Star Analyser in the documentation.
Equipment
Using Star Analyser and a small camera we can capture spectrograms/spectrums of many objects - stars, planets, some nebulae etc. What we need first is good equipment set. First of all we need a small CCD like a webcam or similar CCD with a 1,25" nose threaded for filters. I have DMK21 and it can be used without problems. One key element here is the distance of the Star Analyser to the CCD. Longer distance - the spectrum will be longer and will be present further from the object. For each sensor there is some good distance range where the spectrum isn't to short or to long:- 55 mm: for 1/4" CCDs like webcams, NexImage, ImagingSource DMK/DBK/DFK 21
- 75 mm: for 1/3" CCDs like Meade LPI, DSI
- 100 mm: for 1/2" sensors like Mintron/Watec TV/Video
Imaging the spectrum
Imaging of a spectrum is quite similar to planetary imaging. Point onto the target (star, planet etc.) and then connect the camera with the Star Analyser. Focus as normal and then put the spectrum in camera field of view. Then start capturing frames with the whole spectrum (you don't have catch a lot of it). If you can - try to rotate the camera in the focuser so the spectrum is horizontal with blue end at the left and red end at the right (you can rotate the spectrum after processing with software but for faint objects it can add some noise to the rotated spectrum).
It's good to collect images from various exposure times. If the image will be to bright or to dark you will lose the spectrum data. You will have to practice on this to find the best settings.
Processing the AVIs
When we capture some AVIs with the spectrum we have to stack them into a final image. Registax or other planetary/lunary processing software is good. If you have a star in the field of view then use it to align frames. If you have only the spectrum - try aligning on the spectrum edge, which may be a bit tricky as the alignment box may not hold on the edge - try different places on the edge, or strong absorption bands in the spectrum). If the alignment box will drift - you will get blurry final image. Below is an example of successful stacking on an absorption band in IR (atmospheric oxygen that will always be there).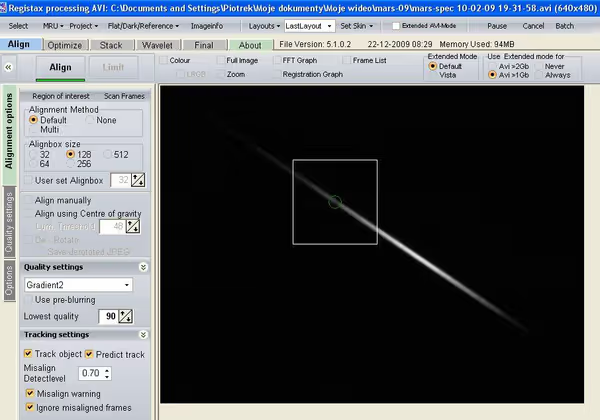
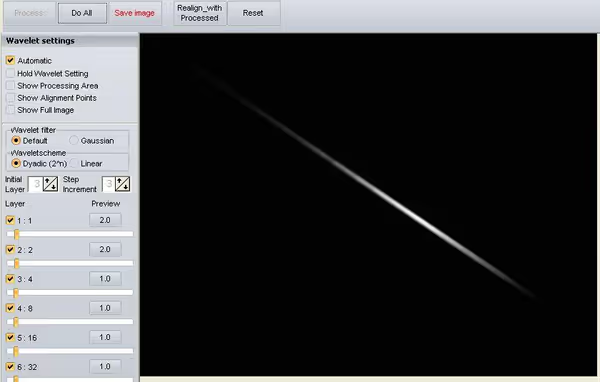
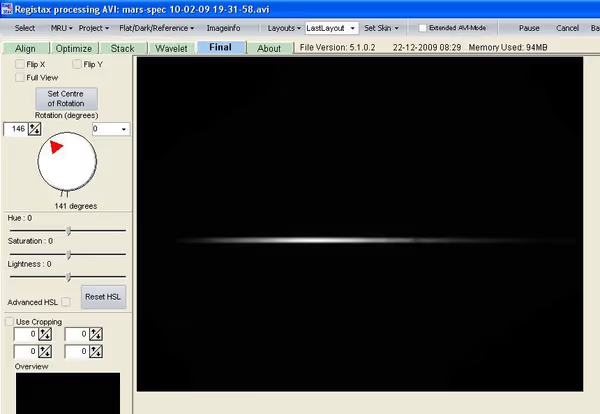
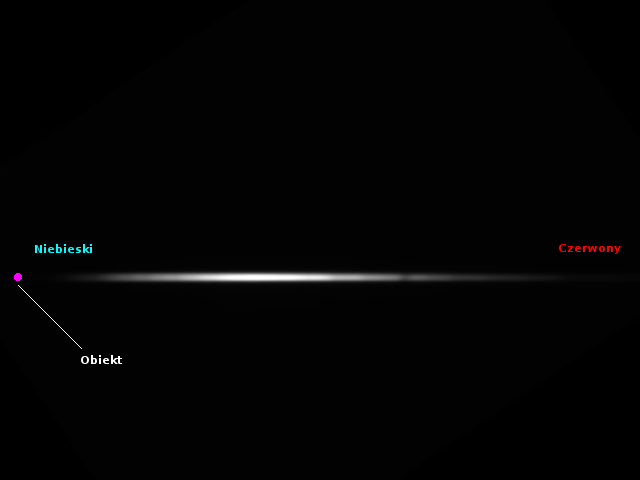
Manual spectrum processing
We can process such line spectrum manually without advanced software in apps like MS Paint or Kolourpaint and other more advanced software. Open the image and copy a 1px thick line of the spectrum from the middle:

Spectrum calibration
If the target is a known bright star, or a planet then we can find other spectrum in the Internet and use them to calibrate our own - define which wavelengths correspond to capture absorption bands. Here is my Betelgeuse spectrum and fitted spectrum of other authors: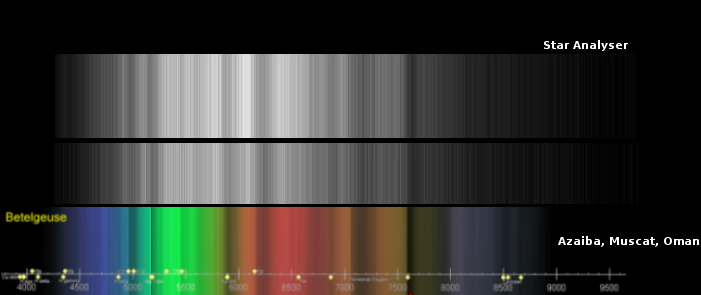
Precise spectrum processing and calibration
To obtain more precise, scientific data we have to use better software, like Visual Spec (VSPEC). This application can process horizontal spectrum from a FITS file we saved previously: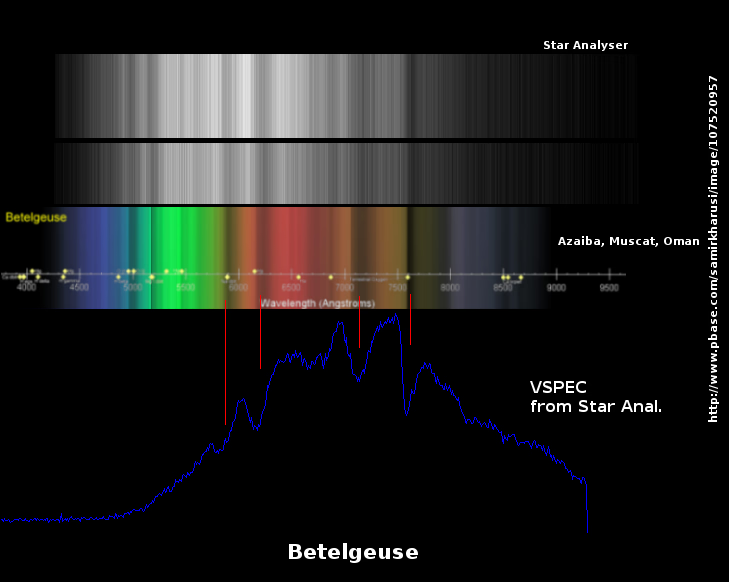
Comment article