Processing planetary images
- Wavelets sharpening
- Deconvolution
- Unsharp mask
Each method can produce slightly different final color image. Depending on settings or used technique the image may be slightly sharped presenting fine and small details (fluffy) or it can have much more contrast and show bigger details more clearly. It's sometimes good to process the same data with various techniques to bring out everything you can out of it.
You need a good starting point - a good raw stack that won't degrade when sharpening. For DMK21 camera you need at least 1000 frame stack to get good image after processing. More frames will help.
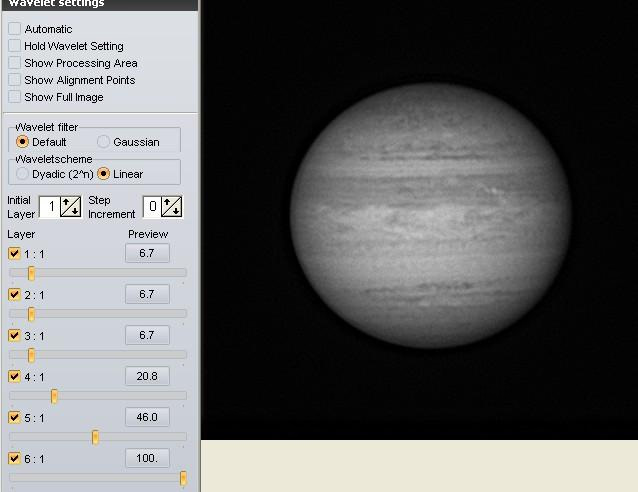
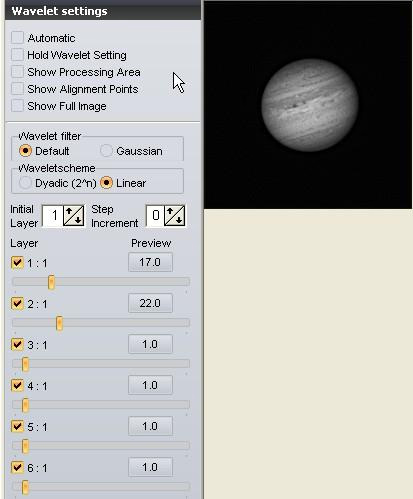
Wavelets
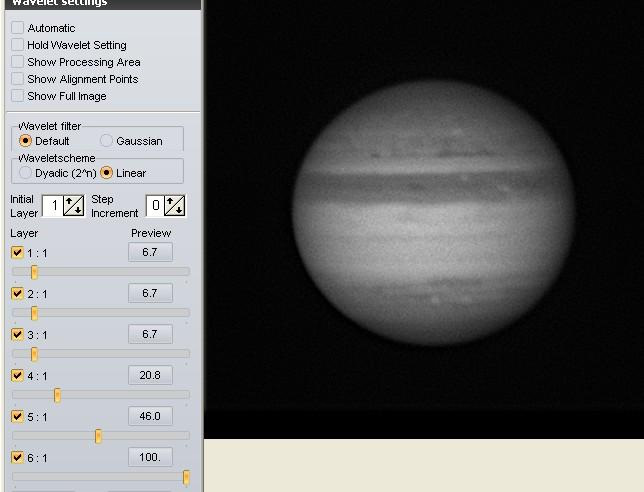
Wavelets are available in for example Registax. You can precisely configure sharpening behavior by setting "power" values for each layer from 1:1 till 6:1. First layer sharpens small details while 6:1 biggest. You have to check & try various settings until you get the best for your image. If the planet is big then you use layers sharpening bigger details. If the planet is small - some of the first layers. The image must be sharp, detailed and not very noisy.
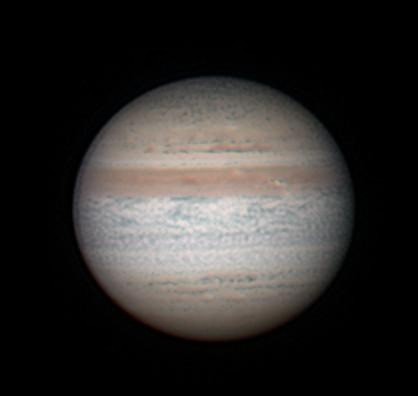
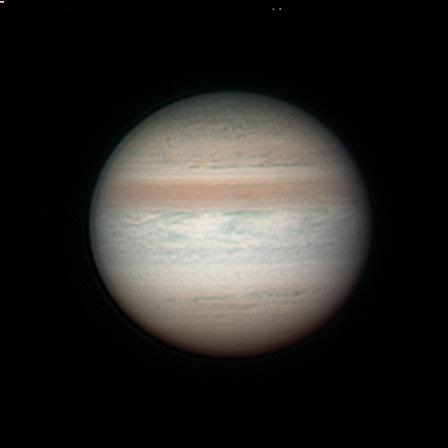
Here is a Jupiter stack made from 5,6 meter focal length: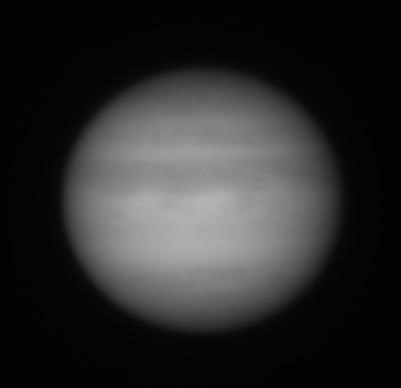
Ther is a bit more noise, but the blue channel is affected by seeing much more than red. Slight pixelish noise can be removed by slightly blurring the image.
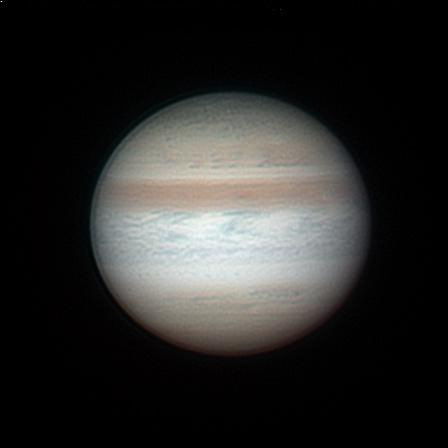
For comparison here is Jupiter image taken at 2 meters of focal length. Using the same wavelets results in over-sharpened spoiled image: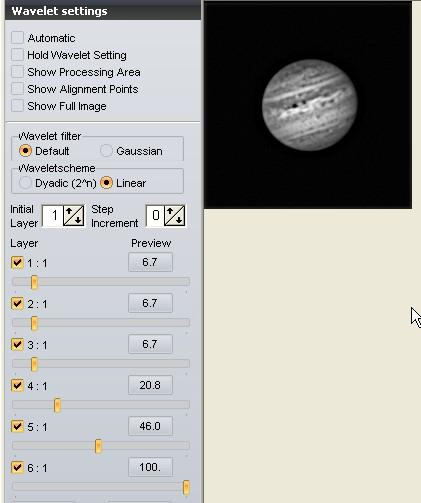
Processing after sharpening
When the image is sharpened we can do two things:- Edit image levels
- Blur, remove noise
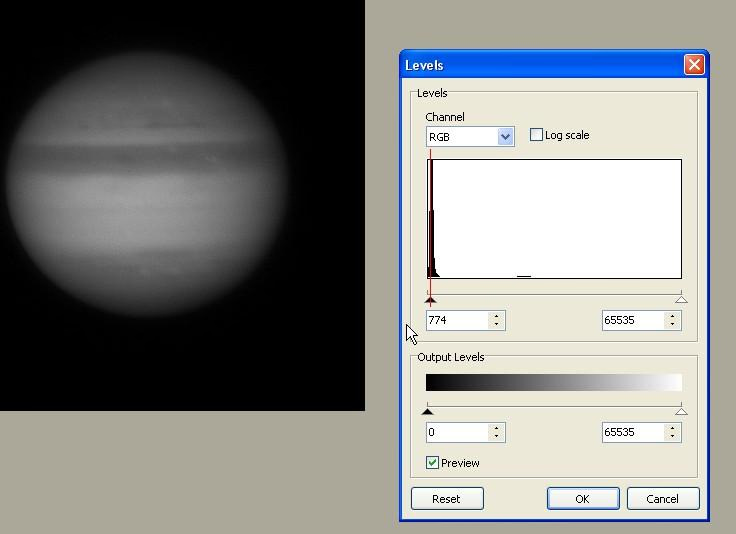
Red line shows the slight change in the left level. It will make the background nice and black without the gray noise. Editing levels on the right side allows us to make the image brighter.
Sharpened images, like the blue channel presented before will have some pixelish noise or patterns. To remove this noise we can slightly blur the image. It's quite common thing to do for color RGB channels when making an L-RGB image. Blurring the color channels removes the pixelish noise and the color will be more natural without oddly colored spots and pixels. Blurred blue channel looks like this:

Unsharp mask
Unsharp mask can be used on raw stacks on blurred images after sharpening with other algorithm. Unsharp mask can very quickly produce a lot of noise, which has to be reduced by bigger amounts of blur so unsharp mask is rarely used for primary sharpening. Here is highly unsharped blue channel: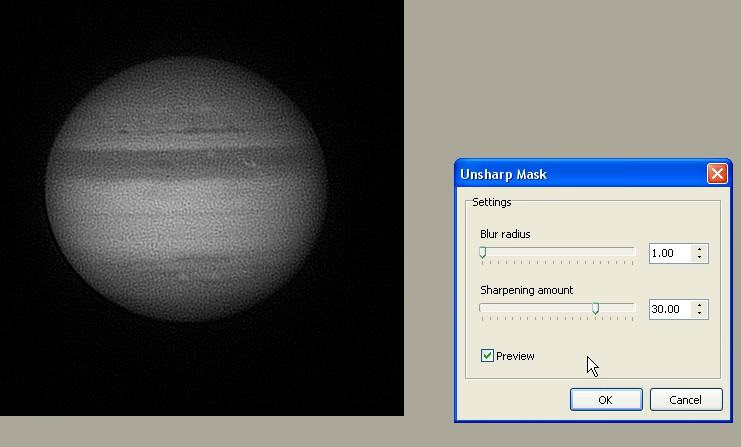
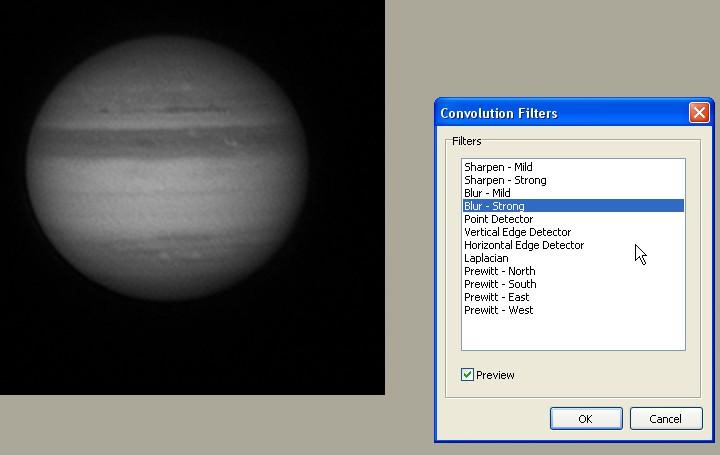
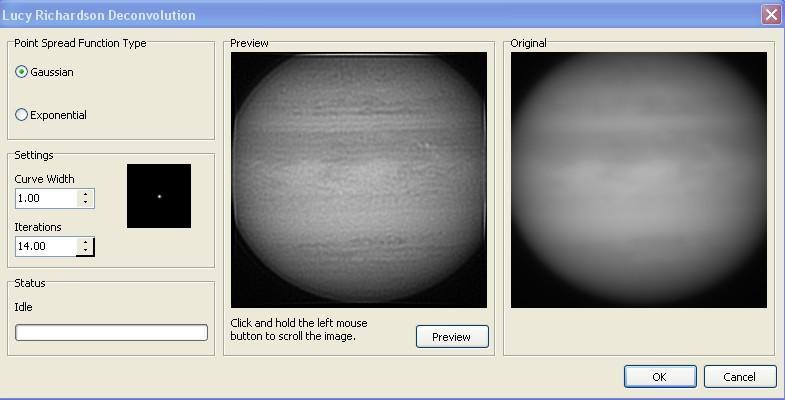
Deconvolution
There are many deconvolution filters that remove noise, sharpen the image using mathematical equations describing the noise. In Astra Image there are tree deconvolution algorithms: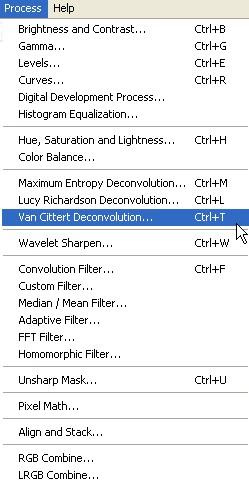
The luminescence channel
LRGB gives a lot of advantages over RGB. We can get the details from red or infrared channel combined with blurred, thus noise free cololor channels. Many amateur astronomers use infrared filters like Astronomik Pro Planet 742 (or Pro Planet 804, Baader Ir Pass) to get the infrared luminescence. On bigger focal ratios if the Ir is too dim the red channel can be used (Pro Planet 742 works with DMK21 up to f/20, and on f/28 it's just to dim).
L channel also helps reduce or eliminate slight movement of the planet between channels. If the LRGB stacking algorithm is good it will pull colors to matching details on the L channel.
There are some exceptions where LRGB with Ir or Red luminescence won't give better results than RGB. On Mars such images can have problems with color balance and hide clouds that are visible in the blue channel.
Comment article