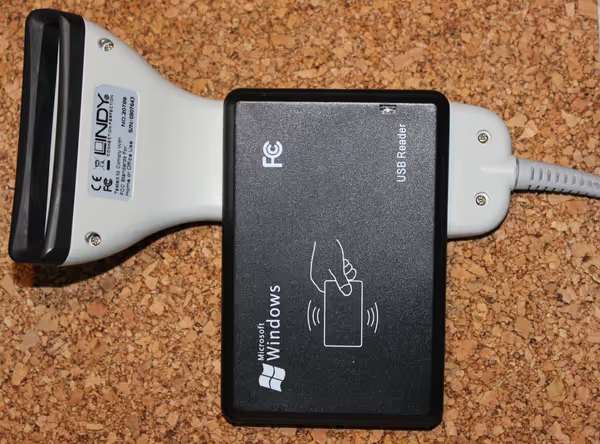
Controlling keyboard-emulating devices with pyusb
There is a lot of USB devices that emulate a keyboard while they are bar code, magnetic cards, RFID readers and alike. You connect it to a PC, focus on a text editor or web form field, scan a code and the read value will be printed. You can write an application that will handle such device, but the focus must be kept on the field and so one. pyusb library may help by taking control of such device and receive data from it.
In this article I'll show you how to handle such USB-keyboard-alike devices with pyusb - to take control of them, read data and decode it.
Devices
For the tests I used a simple RFID reader (125 kHz read only tokens), and a bar code scanner. Such devices are made cheap in China (you can find them on sites like dx.com, but also locally or on ebay). On the net there are also examples with magnetic card readers or even IrDA receivers.

For starters we will have to get the VendorId and ProductId of the device. Under Linux you can use dmesg or lsusb to get that data, like dmesg after connecting the device will contain an entry like:
Using those IDs it will be possible to take over given USB device.
pyusb code
You will need pyusb 1.X and not 0.4 which still can be found in some distribution repositories. The older version wont work with this code.
The code is on github in pyusb-keyboard-alike repository. The core class that implements the whole process is keyboard_alike/reader.py.
The Reader class should handle most if not all common keyboard-emulating devices like those scanners and readers. What you need are the constructor arguments. We already have the device IDs, so now we have to get data_size and chunk_size The raw data pyusb gets is a very long lists with numbers. The list is actually a set of packets
of some length (chunk_size). You have to get the raw list and see how long it is and what is the chunk size (in every chunk the element with a numeric value always has the same index). For example here are 6 element chunks:
0, 0, 31, 0, 0, 0,
0, 0, 27, 0, 0, 0
To get the raw data set the debug flag to true True and the read method will print it (just set the chunk_size and data_size to some value). From the raw data you will get the correct values for those two arguments.
The next argument is should_reset. If True it will also reset the device when connecting and disconnecting. It may be handy when connecting as it seems to clear all activity before starting reading - if the device will read some trash data you will get an exception due to size mismatch. Not every device may work with this (my RFID reader did not respond to RFID tags after reset, but bar code scanned did work).
The whole code needed to read a value looks like so:
from keyboard_alike import reader

reader = reader.Reader(0x08ff, 0x0009, 84, 16, should_reset=False)
reader.initialize()
print(reader.read().strip())
reader.disconnect()
The initialize method will take control of the device. The read will wait for the data to be read and then it will return it. disconnect will give back control of the device to the OS.
When you have your device up and running then you will probably want to use it in some application. I've added a PyQt4 example to the repository. It supports the RFID scanner, to which it connects in the init. It also starts a thread in which it waits for the value to be read from the USB device. When the thread ends (value read or exception raised) the _receive_data method will be called. If the value was read it will be added to the list widget. If not the exception will be printed. In the end a new thread will be started and everything will repeat.
The code may raise some exceptions. Sometimes when you take control of the device some trash data may be read resulting in ReadException (use reset if you can). Sometimes when connecting some weird errors may show up like Could not set configuration
- in this case re-running the code should work (or reconnecting the device. Also without sufficient permissions you won't be able to connect to the device. By default on Linux you will have to run the code via sudo/root. To avoid it you will have to make a udev rule for the given device.
Comment article