PyBoard and MicroPython in examples - scripting electronics with Python
So we continue our adventure with PyBoard and MicroPython. In this article I'll show how to use various electronic a electric parts with PyBoard - like DC and stepper motors, I2C devices, relays and sensors.
Code from this article (classes) are also in my github repository.
Continuous servo
Most servos can only move within given bounds and you can set an angle with the Servo class from pyb module. There are also continuous servos that don't have such limitations. speed method may be used for them to set direction and speed of the servo (from -100 to 100):
import pyb
servo = pyb.Servo(1)
servo.speed(10)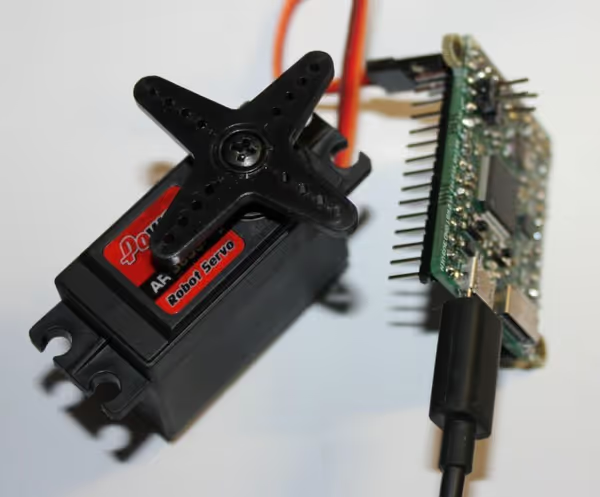
Stepper motor
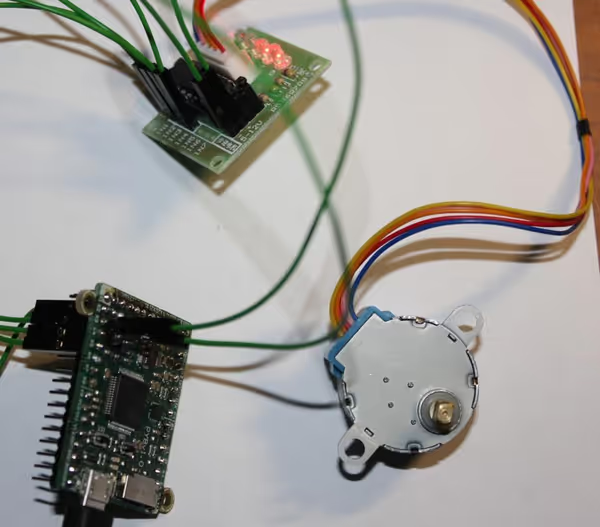
ULN2003 stepper motor controller is quite common and you can get a board with a basic stepper motor easily from Chinese stores. To make stepper motor move the control pins must be turned high step by step. In the case of ULN2003 we have 8 steps managed by 4 pins.
I wrote a small class that will configure and manage four pins to move the stepper motor. For given step it turns given pins to high. If the steps end it starts again from step one:
import pyb


class Stepper:
    """
    Handles common 4-pin ULN2003 stepper motor controllers
    """
    steps = [
        [1],
        [1, 2],
        [2],
        [2, 3],
        [3],
        [3, 4],
        [4],
        [1, 4]
    ]
    step_delay_ms = 5

    def __init__(self, pins):
        self.pins = [pyb.Pin(pin, pyb.Pin.OUT_PP) for pin in pins]
        self.current_step = 0

    def do_step(self):
        self._low_on_all()
        self._high_on_step_pins()
        self._record_step()
        pyb.delay(self.step_delay_ms)

    def _low_on_all(self):
        for pin in self.pins:
            pin.low()

    def _high_on_step_pins(self):
        high_pins = self.steps[self.current_step]
        for pin_number in high_pins:
            self.pins[pin_number - 1].high()

    def _record_step(self):
        self.current_step += 1
        if self.current_step == len(self.steps):
self.current_step = 0from stepper_motor import *
motor = Stepper(['X2', 'X3', 'X4', 'X5'])
for _ in range(2000):
motor.do_step()The do_step method does all the job. The loop will execute 2000 steps forward
. To move backward the steps must be reverse (motor.steps.reverse()).
DC motor
To control DC motors we need controller boards with H bridges on the chip. One of such controllers is DRV8833 which I used before with pyMCU. It looks like so:
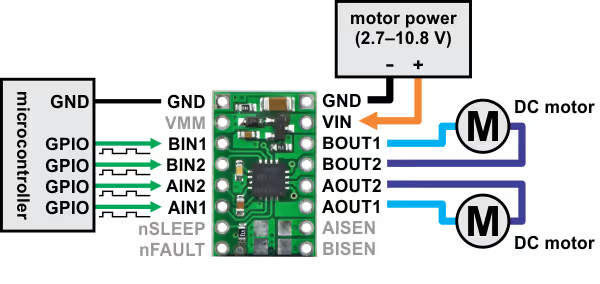
On the microcontroller side we connect GDN and for one motor two PWM pins that will control speed for given director of rotation. On the motor side we connect power for the motor (2 pins) and the DC motor to the BOUT or AOUT pins. Those pins will get some current and move the motor when the microcontroller PWM pins will start sending pulses. In my test setup I used small DC motor so I powered from the 5V pyboard pin (and the GND was shared):
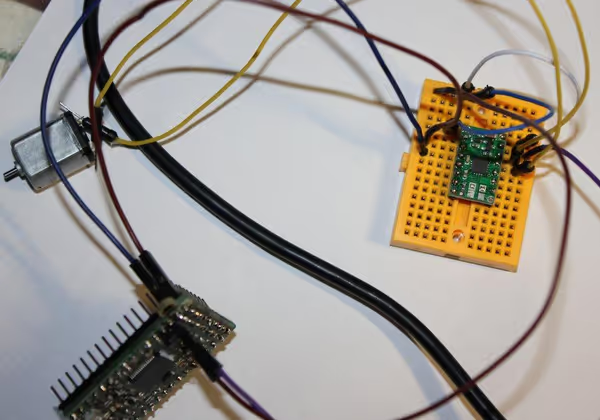
I used X1 pin (Servo 1) and connected it to BIN1. To move the motor some pulse width must be set:
s = pyb.Servo(1)
s.pulse_width(2500)
...
s.pulse_width(0)
In my case the effective range was between 2000 and 2600. On lower values the motor still moves but very slowly. There is no option to stop pulses completely. You have to use for example:
pyb.Pin('X1', pyb.Pin.OUT_PP).low()In newer firmware the Timer class should already have PWM features with the ability to stop pulses (stopping the DC motor).
Relays
Relays is the core of automation. It can turn power on and off for nearly any device. There is plenty of relays boards but they are 5V Arduino style and most of them may not work directly with PyBoard that uses 3.3V on signal pins (unless they offer good separation of relay power supply and signal pins handling). I tested my board and it wasn't able to switch. To handle such relay from pyboard the GPIO pin would have to switch a transistor that would put 5V on the relay board pin.
The board I used has two pins for power and two for controlling (one needs to be high and the other one low). The code would look like so:
pin_high = pyb.Pin('X2', pyb.Pin.OUT_PP)
pin_low = pyb.Pin('X3', pyb.Pin.OUT_PP)
pin_low.low()
pin_high.high()
Solid state relays including high current SSR relays should work - if they are 3.3V compatible (which is rather common).
Solid state relay LAA110
PyBoard can handle this relay easily. From the microcontroller side we use a control pin (X1) and GND. From the circuit side we have two pins that will be connected when the control pin is set to high. The code is short:
p = pyb.Pin('X1', pyb.Pin.OUT_PP)
p.high()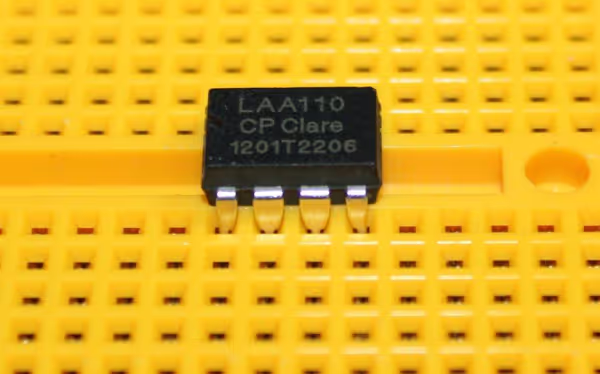
Remote controll kit XD-YK04
In chinese shops we can find more and more pre-made remote control kits. They have a remote and a board with the receiver and pins or relays that are switched when we press a button on the relay. The XD-YK04 kit has four buttons on the remote and four pins on the board which turn high when matching button is pressed (they turn low when another button is pressed). Extra VT pin turns high when any button is pressed (turn low when button is released).
Reading pin status with pyboard is easy, for example using X1 pin:
x = pyb.Pin('X1', pyb.Pin.IN)
x.value()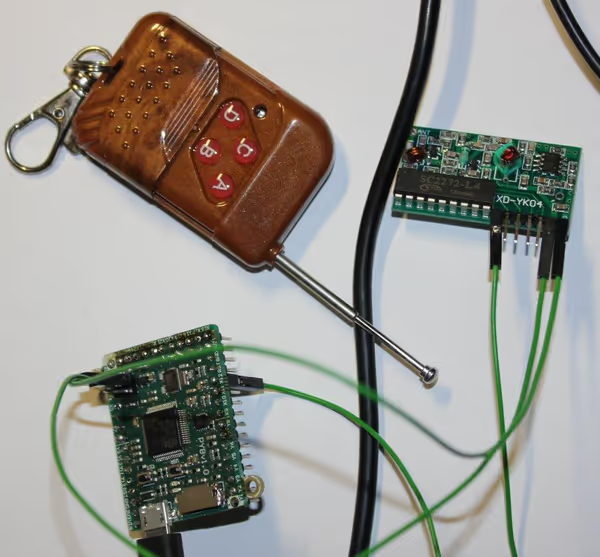
Obstacle avoidance sensor
In exactly the same way we can check if proximity sensor is high (no obstacle) or low (obstacle close to the sensor). Red pin is VCC, green is GND and yellow is the signal pin. Reading yellow pin state with pyboard X1 pin:
x = pyb.Pin('X1', pyb.Pin.IN)
x.value()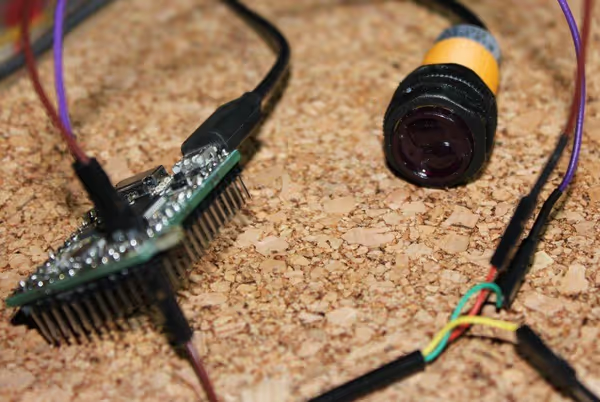
Ultrasonic distance sensor
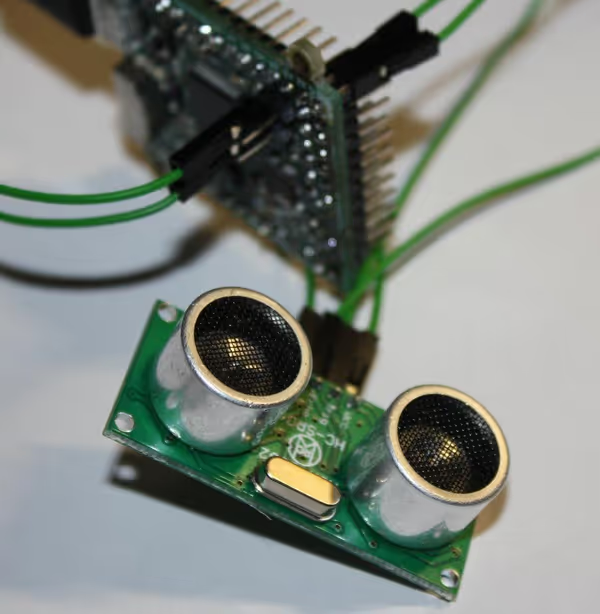
Ultrasonic distance sensors are often found on robots. They measure distance to an obstacle and can make robots avoid them. Such sensor sends an ultrasonic pulse and waits for it to return. The longer it takes the longer is the distance to the obstacle.
There is already a pre made library for such sensors. Just import the class and use it specifying which pins are connected to Trig
and Echo
. The trig pin is used to generate the pulse, while echo pin will respond to the returning pulse. The distance_in_cm will do all that and return the distance in centimeters.
BlinkM - color LED controlled via I2C
I2C uses two pins and pyBoard has two sets of those pins: SDA1/SCL1 and SDA2/SCL2. Pyb module has a I2C class that we will have to use. The scan method is handy for detecting I2C devices on given bus and is_ready method can be used to check status of given device.
In the case of BlinkM we can play with colors:
from pyb import I2C
i2c = I2C(2, I2C.MASTER)
i2c.send('c x00 0x00 0xff', 0x09)
0x09 is the default BlinkM address. The data I'm sending in this example will change the color of the LED to light blue (documentation).
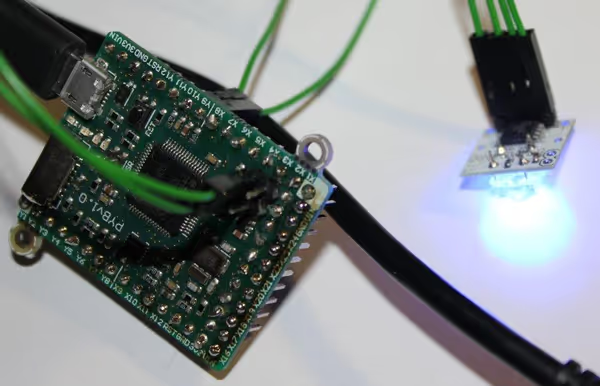
MinipH pehameter
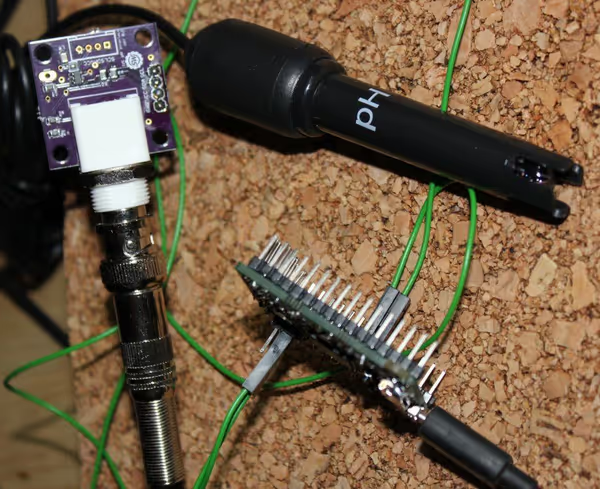
Reading two bytes gives the measured pH value (First Byel.Second Byte - like 4.34 or 12.01):
from pyb import I2C
i2c = I2C(2, I2C.MASTER)
ord(i2c.recv(2, 0x4D)[0:1])
ord(i2c.recv(2, 0x4D)[1:])
This will read and convert to digits those two bytes.
Comment article