Risers and adapters for non-standard GPU connection
You get a graphics card and you connect it to a PCIe slot on the motherboard. That's the most common way but not the only one. In some cases you may want to mount the GPU away from the motherboard – to showcase it, to improve cooling, to power it directly from the power supply and not via motherboard PCIe slot, or when you have a nettop or a laptop with mPCIe, M.2 NVMe or ExpressCard slot and you want to be able to connect a GPU at all. In such cases extension cables called risers, various boards and eGPU adapters come to play. Some special computer cases also. Let's have a look at those options.
Riser cables
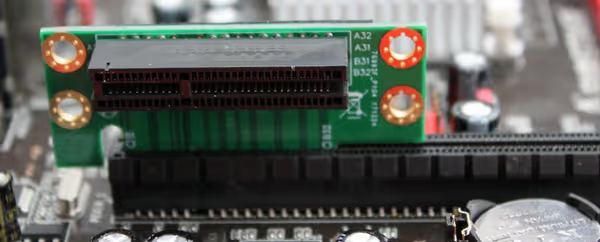
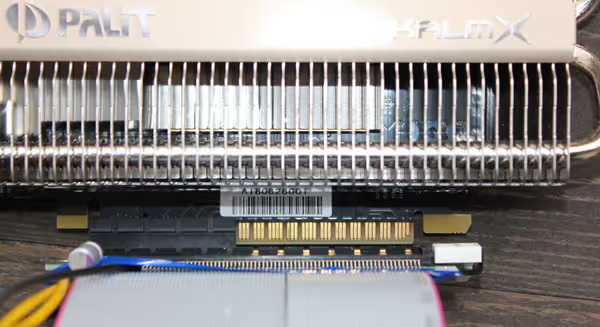
There is a lot of riser cables out there. The most common riser is a tape of wires with PCIe slot on one side and PCIe connector on the other. You connect it to the PCIe slot on the motherboard and you route it other end to where you want to have your GPU. Tapes are elastic, and can be quite long, but there are also small PCB adapters that expose the PCIe slot 90 degrees to one side. Those usually need some compatible mounting to be held in place securely - you can use a tape riser from motherboard to PCB riser screwed securely in a custom GPU case.
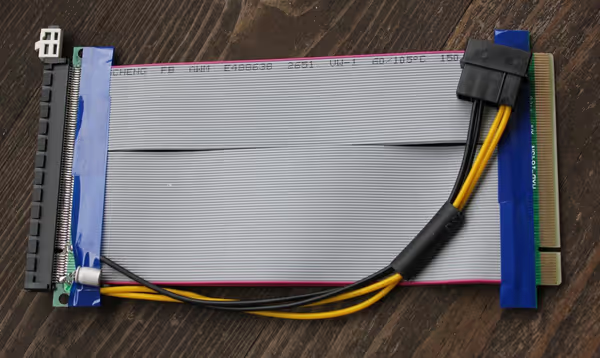
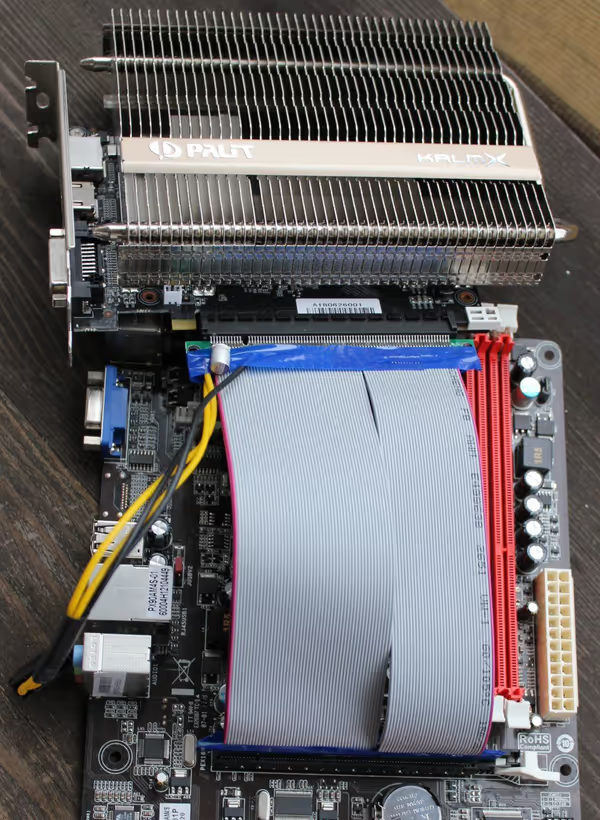
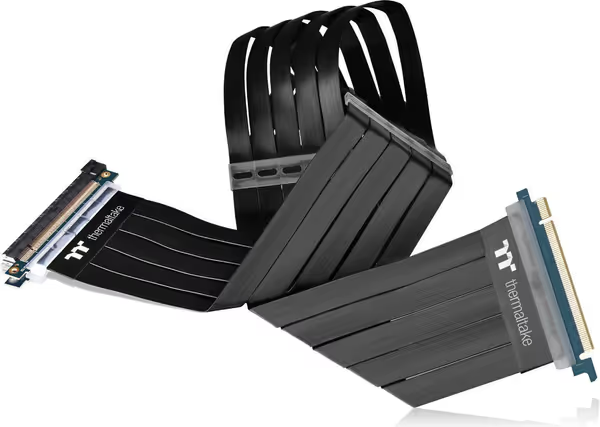
There are also different lengths of connectors on those riser cables as well – just like PCIe slots - x16 is the full length, x8, x4 and x1 are shorter and shorter. You can connect a x16 GPU to an x8/x4/x1 slot and the GPU will work, but the available bandwidth for the data will be lower and lower and at some point may affect your game or computation performance. Looking through history there are almost four versions - PCIe 1.0, 2.0 (and revisions), current 3.0 and soon 4.0. For end user the main difference is bandwidth (3.0 is faster than 2.0 and so on), although full x16 PCIe 3.0 bandwidth is more than current GPUs can use and even 2.0 connector or small 3.0 connector will be enough to max out most of mid to even high range GPUs (aside those really at the top). You can read more fascinating PCIe stories on wikipedia. In the subject of risers - if your motherboard has a closed x8/x4/x1 slot (that isn’t open at the end) and you want to connect a x16 GPU then you can use x8/x4/x1 to x16 riser (the connector will be x16 but the bandwidth will remain limited to original slot length).
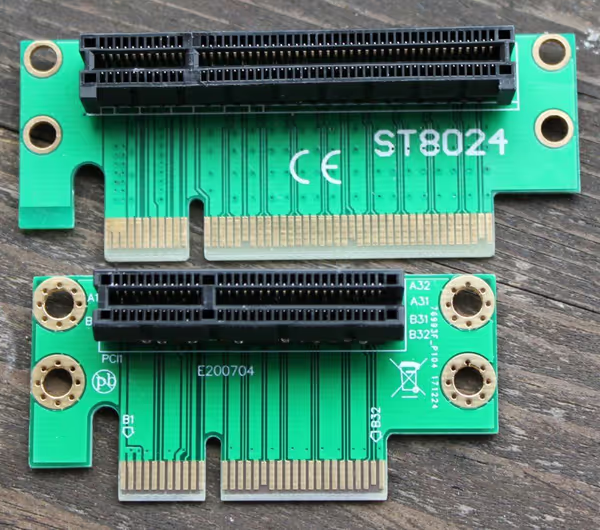
PCIe adapter boards
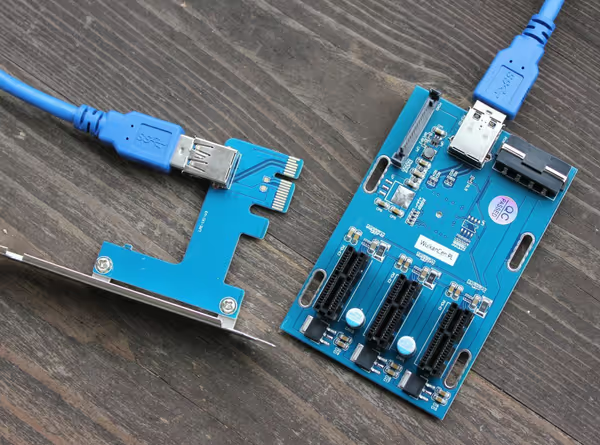
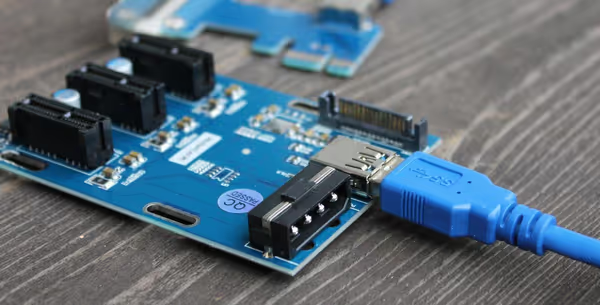
If you start searching for risers you may also find a lot of PCIe x1 adapter boards that use something that looks like a USB 3 cable (re-purposed to carry PCIe x1 data lines). Those adapters are/were used in mining rigs and for some custom projects of similar nature. If you have PCIe x1 slot you can use such adapter to connect a full length GPU to it - or more as there are PCIe replicator boards that allow connecting multiple GPUs over one x1 PCIe slot (uses ASMedia chipset and the bandwidth is limited - works somewhat for mining, maybe also for computational workloads that take long time to process on the GPU (not bandwidth limited).
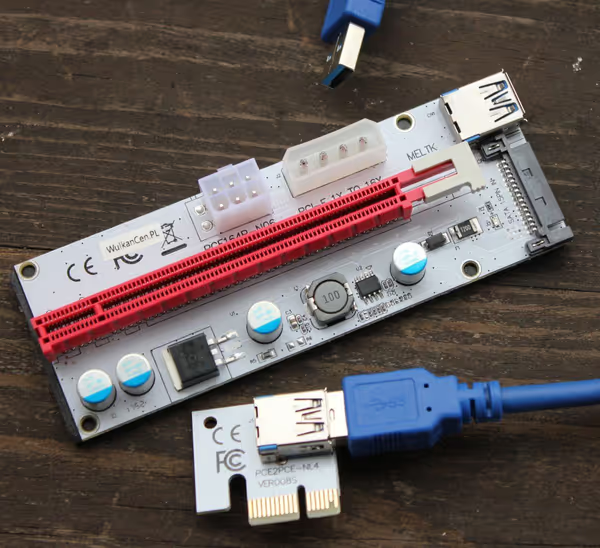
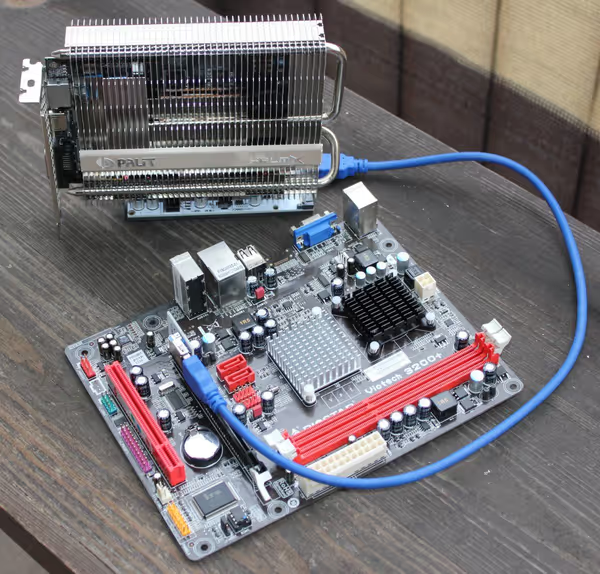
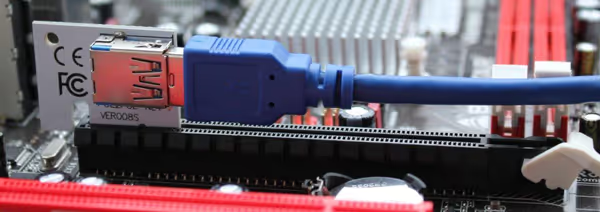
Those boards will have multiple power connectors on them - as they don't carry main 12V power from the motherboard to the device. You can use a power supply ATX connector, a standard 12V power plug or other connector if provided. If you have a limited power available on the motherboard or you want to measure how much power a PCIe device uses this is one of the ways to easily measure most of it.
ExpressCard, mPCIe, M.2 NVME to PCIe adapters
Those mentioned interfaces are PCIe lines hidden as a part of other connector type. If your old laptop has an Express Card connection then you can get PCIe x1 1.0 for ExpressCard 1.0 or x1 PCIe 2.0 for ExpressCard 2.0. Similarly for mPCIe connector you can get PCIe x1 from it (although depending on device the mPCIe slot may not be compatible and only provide SATA/USB functionality). M.2 for SSD NVME drives (NGFF) can offer up to x4 PCIe 3.0 which is way more bandwidth and may outperform Thunderbolt 3 which shares it x4 PCIe 3.0 bandwidth with system BUS and other I/O activity may limit PCIe performance over Thunderbolt.
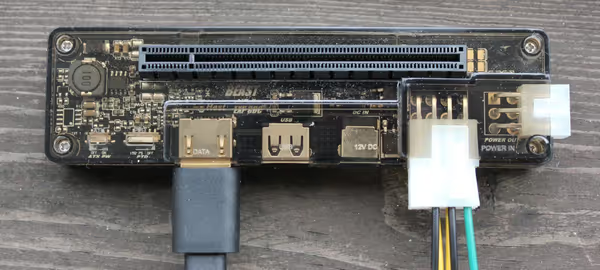
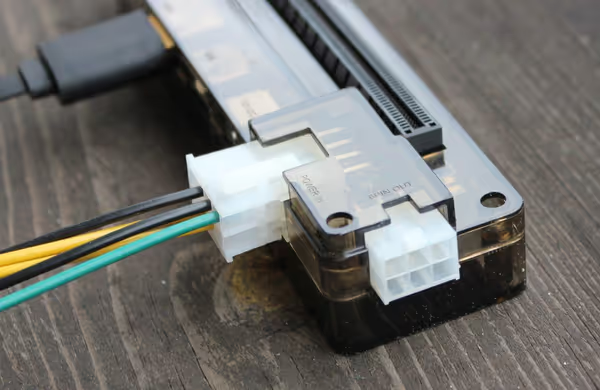
Most common adapter for those interfaces are EXP GDC kits. You can find them on ebay, aliexpress and other similar sites - you have to order one that matches your connector - ExpressCard, mPCIe, M.2. and you are good to go. Some bigger kits include a custom case for the GPU and it ATX power supply. The EXP GDC adapter can be powered from one but if your GPU doesn't need additional power a 12V power adapter may do just fine - check what connectors your model has. There is a lot of YouTube videos and other tutorials on the web showcasing this adapter in action. Do expect some compatibility issues is some/most(?) cases.
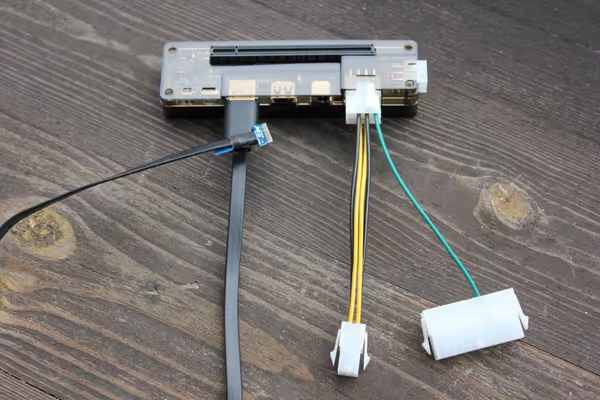
The ATX adapter cable used by EXP GDC connects to the 20/24 pin motherboard power cable and just uses one wire as it just there to make the power supply turn on (ATX power supplies must be connected to a motherboard to work and this adapter pretends that allowing using a dedicated ATX power supply for a GPU).

Computer cases with vertical and custom GPU mounting positions
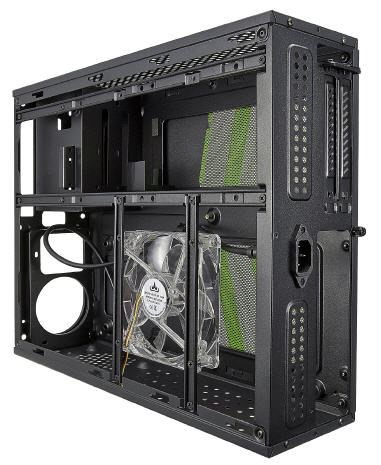
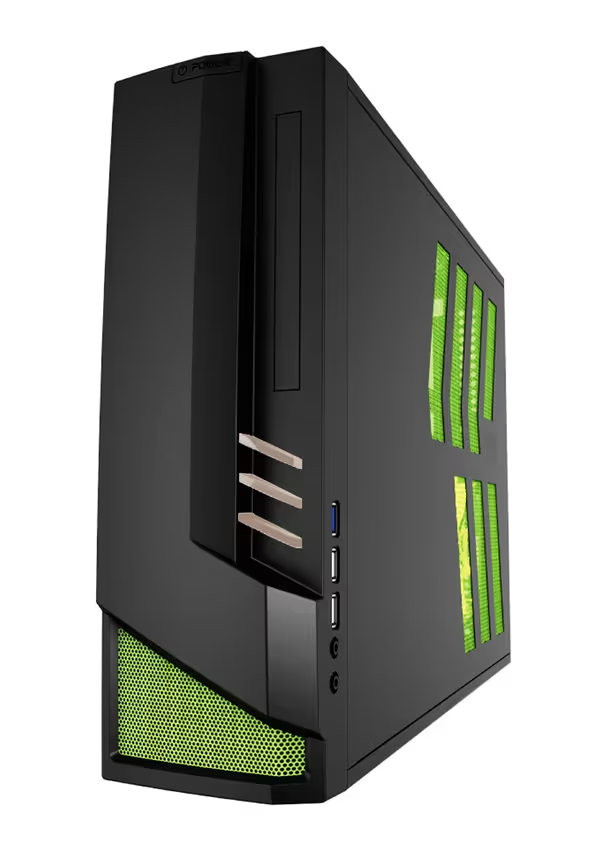
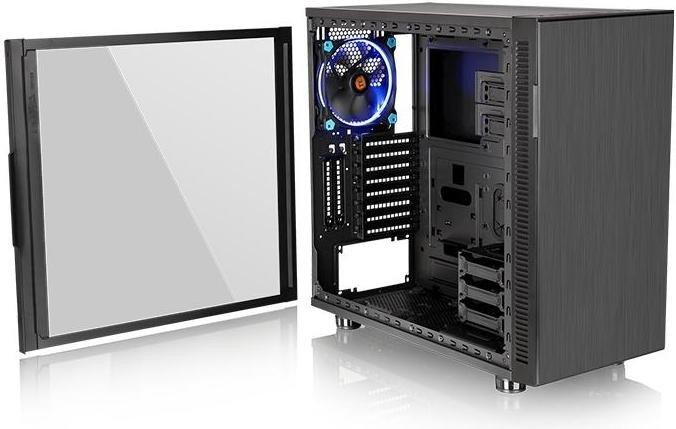
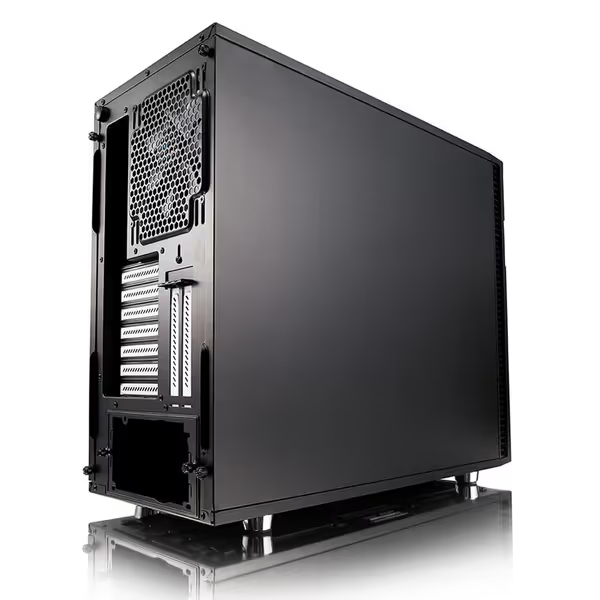
There are two groups of computer cases that support mounting GPU in a non-standard position. First are ultra thin and tall cases that flip the graphics card orientation and move it above/below the motherboard (also being compatible with low profile CPU cooling systems only).
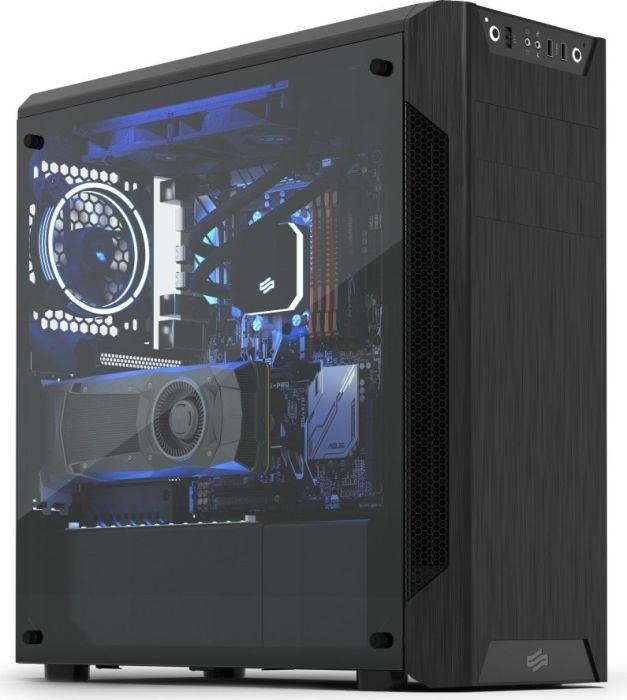
Then we also have show-off cases where the GPU is mounted above the motherboard in a vertical orientation next to a case window - to showcase it in the full glory - do note that air cooled cards may have impaired thermals in such configuration depending on the gap to the window and airflow in the case.
Cases with vertical GPU mounting options may or may not come with matching riser cable - check if it's included or sold separately or if you have to find your own.
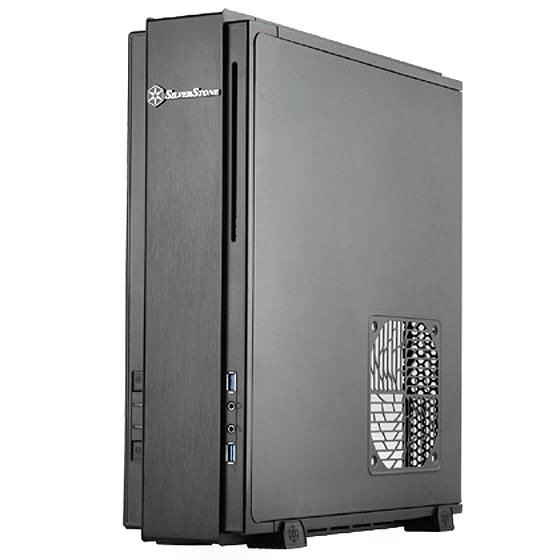
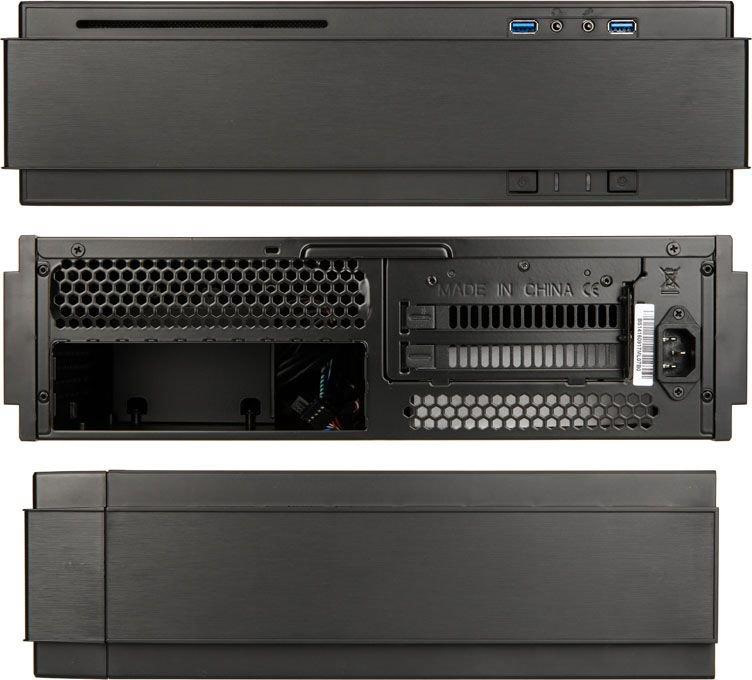
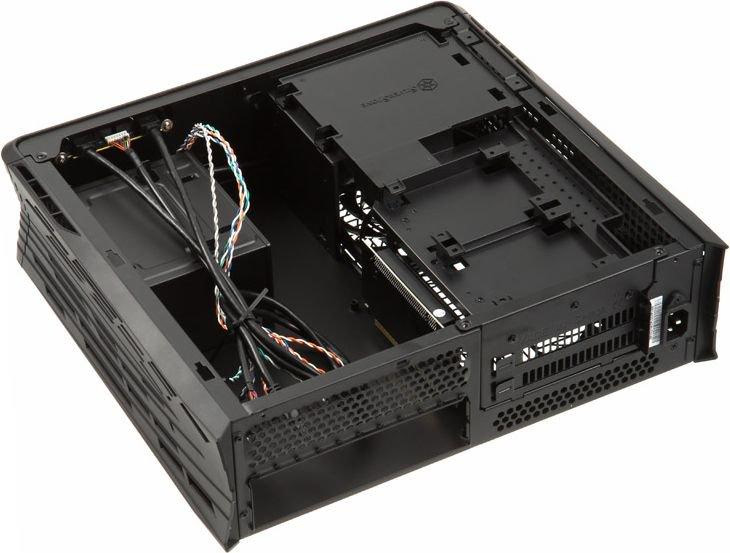
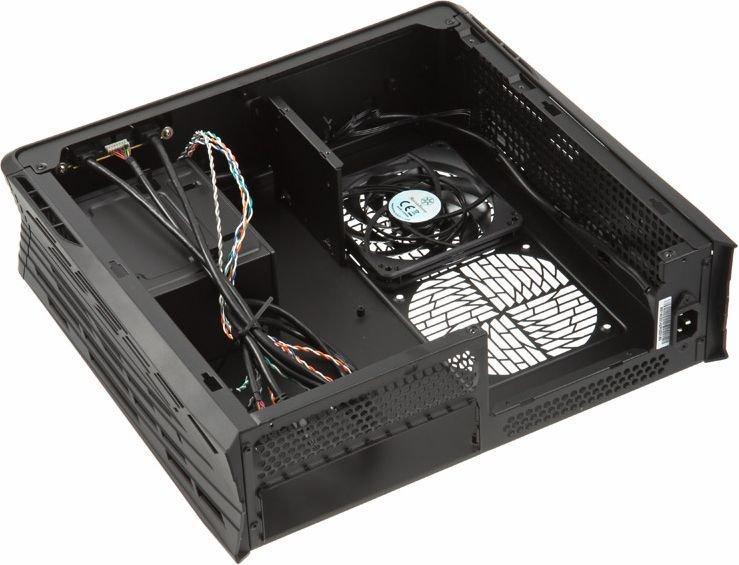
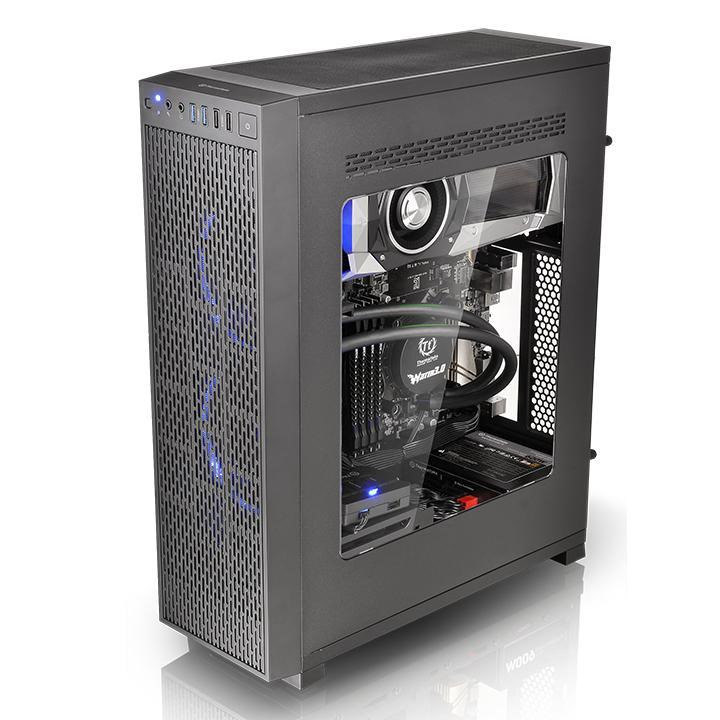
You may find some odd cases with single-slot or low profile vertical PCIe mounting spots - those usually won't be GPU compatible. For an air cooled GPU you will need a double PCIe slot mounting option, while for some water cooling blocks a single slot could suffice.
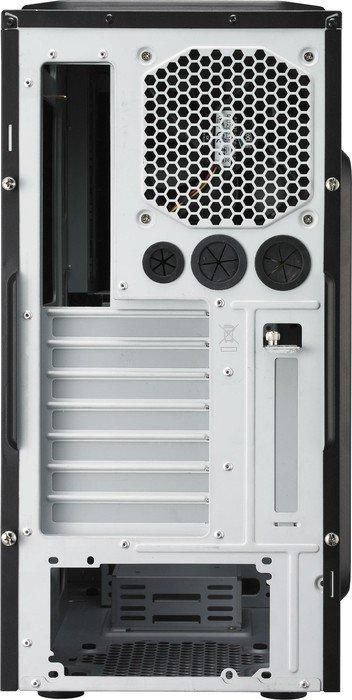
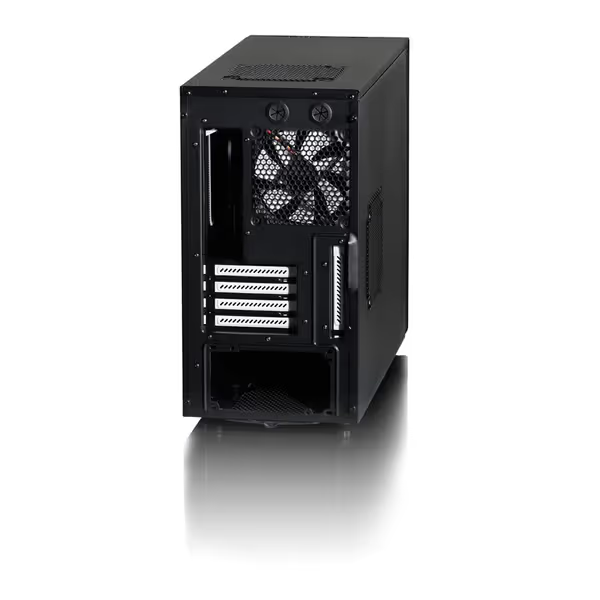
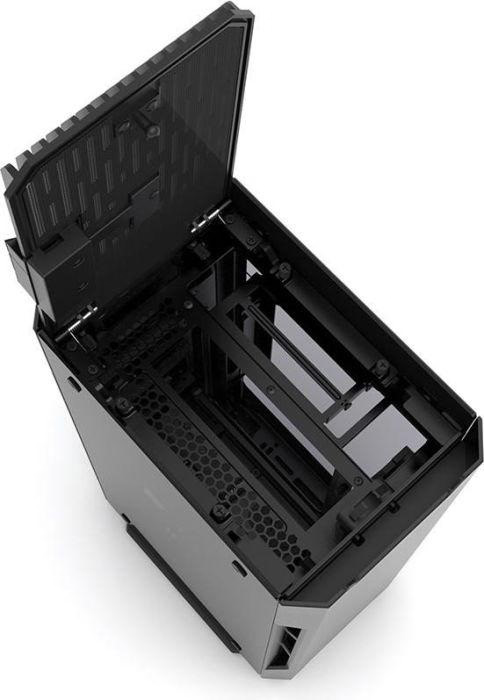
Show-off
cases are big and can handle GPU in both vertical and horizontal mounting position and usually come with big windows. Custom water-cooled graphics cards will take most of it – bling bling. I won't showcase all of them, there is to many of them. Sites like geizhals.eu have custom filters for vertical mounting feature on the cases list.
Fans in series
As you may have noticed - some of the cases put the GPU next to a panel with fans. If you use an air cooled card then case fans will blow air on the fans on the GPU. This will be pretty much a two fan configuration in a series operation. Sunon, a fan maker sums up this configuration very well: The static pressure capacity of two fans in series can be doubled at zero air flow condition, but do not increase the airflow in the free-air situation. An additional fan in series increases the volume flow in a higher static pressure enclosure. Thus, in series operation, the best results are achieved in systems with high resistance (blowing air through GPU radiator).
So it may be possible to improve GPU air cooling by combining it high static pressure fans with high static pressure fans mounted next to them in the case (like Noctua NF-F12). Air turbulence and other airflow/case geometry factors may make it harder to achieve.
And somewhat related to this are fan cards
- PCI-alike cards with fans like this one from Jonsbo, or vertically mounted fan sets like this one.
Comment article