Astrophotography, hobby with nice views and lots of hardware
Next day and another PC hardware benchmark, product rumor or new CPU specifications, not to mention some OS updates and so forth. But there is PC technology and software that can see and study places where no man has gone before. I would want to showcase to you astrophotography in a hobby form factor. 10 nm may be a cool thing, but 628 743 036 kilometers definitely has more mystery to it.
If you are curious, check out the rest of the article and the photos as well, who knows, maybe you will try it yourself?
What is amateur astrophotography?
As the name suggests - it's photographing of astronomical objects by non-astronomers for fun and/or science. You can photograph the Moon, planets like Venus, Mars, Jupiter, Saturn or other Solar System objects like comets or going far far away - so called deep space objects
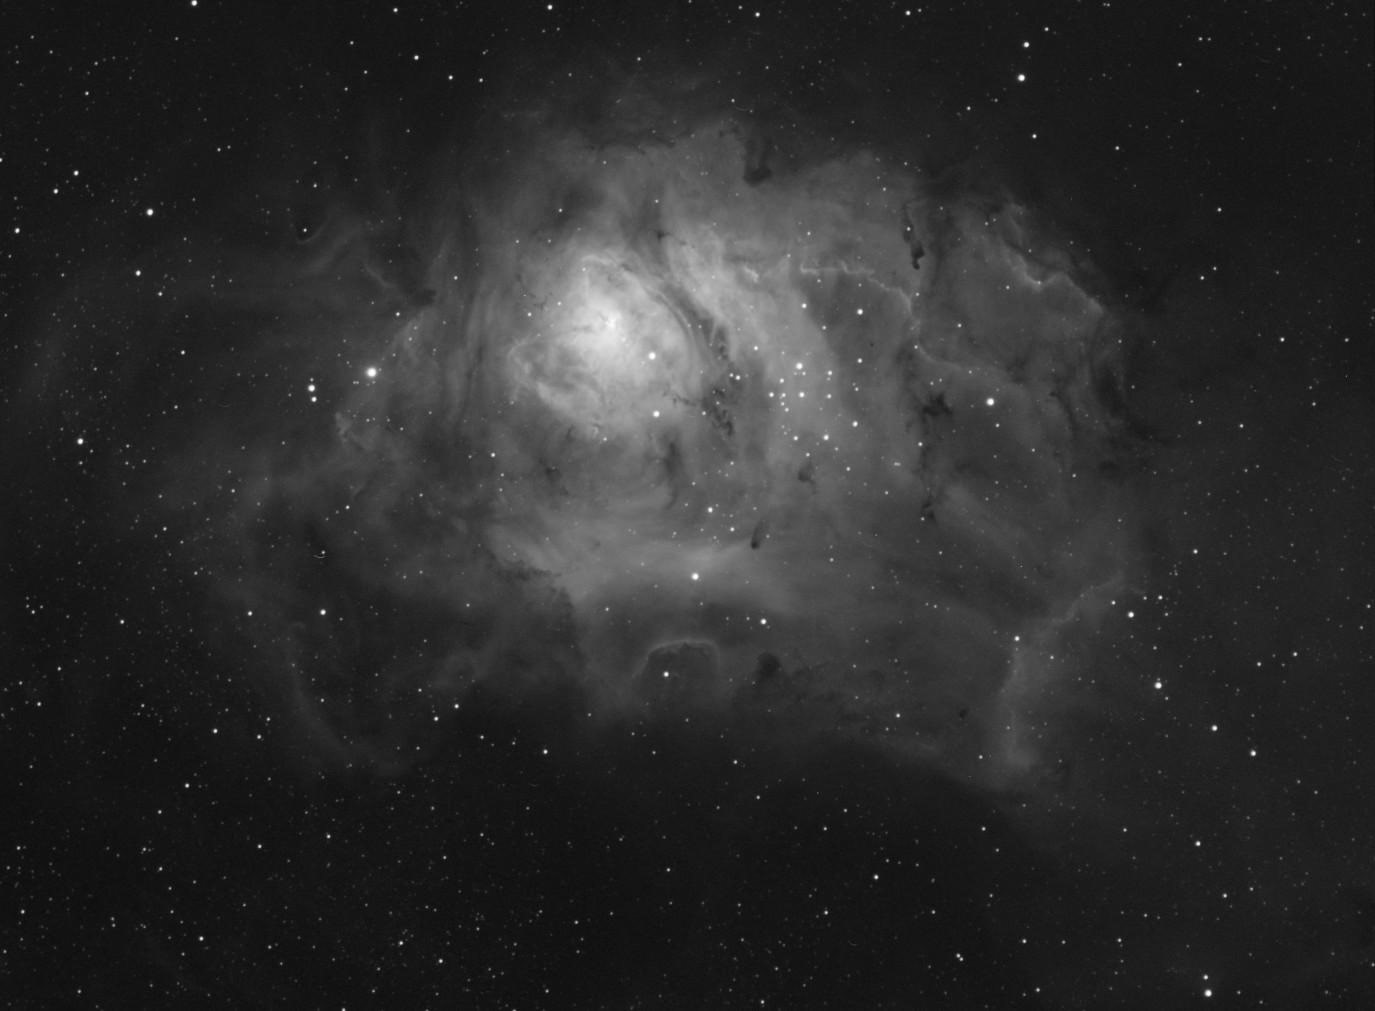
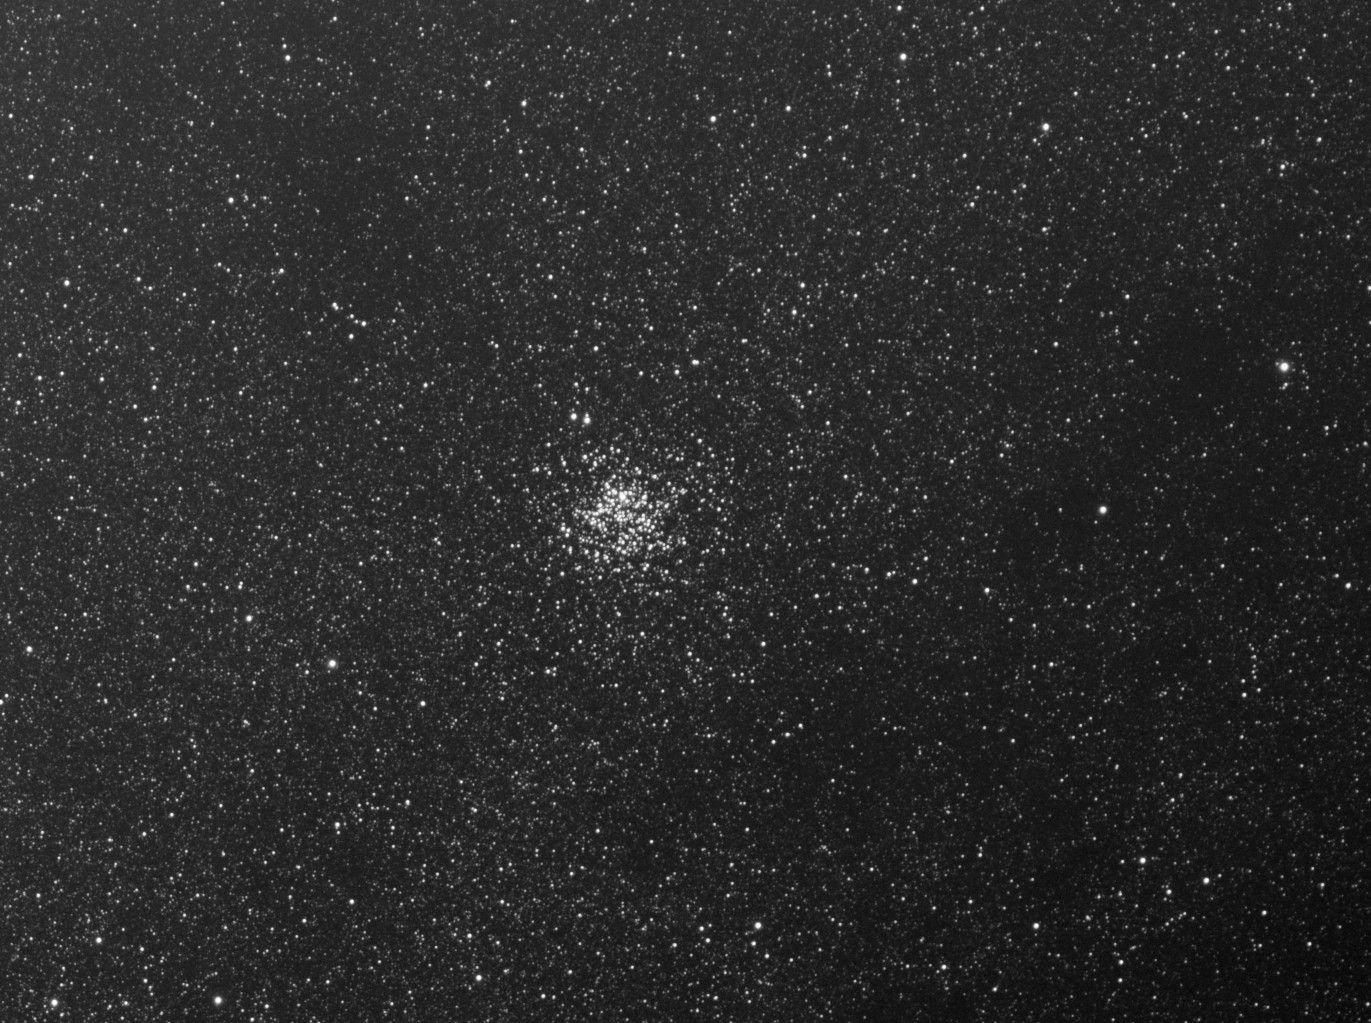
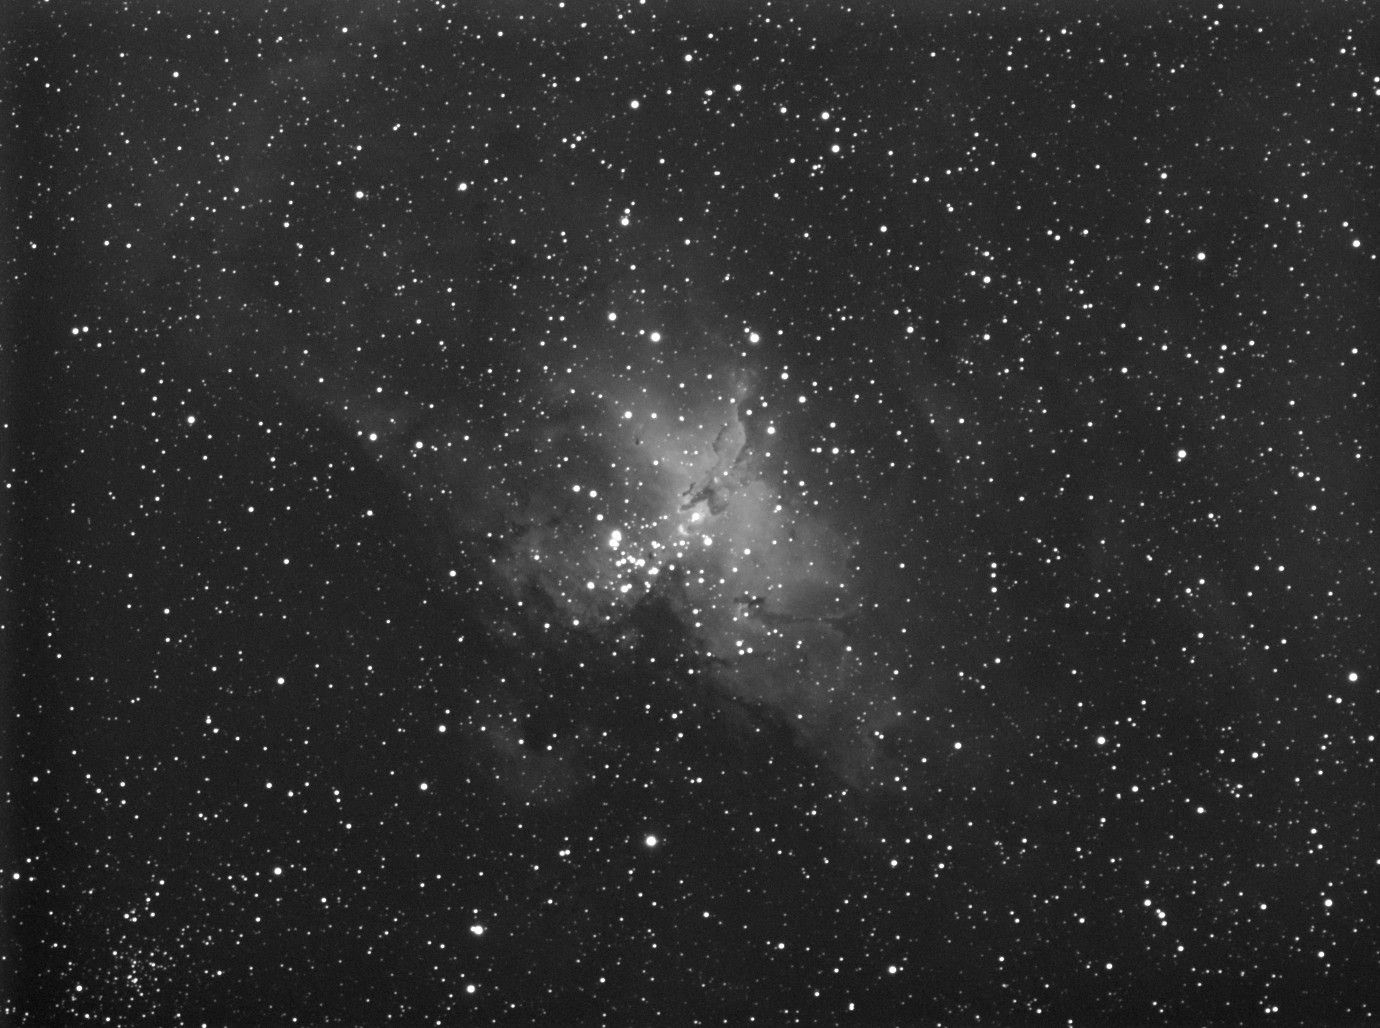
like galaxies, clouds
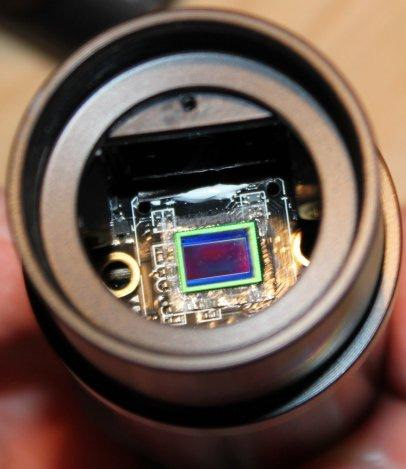
of gas called nebulae, or various star formations like globular clusters and more. Since the debut of CCD imaging sensors in webcams and affordable DSLR amateur astrophotography went through a lot and now is a high tech hobby while not being elitist and expensive to start with. You can but you don't have to have a telescope to do some of those photographs.
Astrophotography can be a cool hobby, but also has a scientific value to it. As professional observatories are usually saturated with more work they can handle there is a lot of Space for amateurs to look for unexpected events. There are comets named after their discoverers that found them from their back yard. Sometimes Hubble Space Telescope or big telescopes at the Keck Observatory may be put into high alert when amateurs
capture asteroid impacting Jupiter (which for small asteroids is a few second flash of light somewhere on the photographed planetary disc).

How does astrophotography look like?
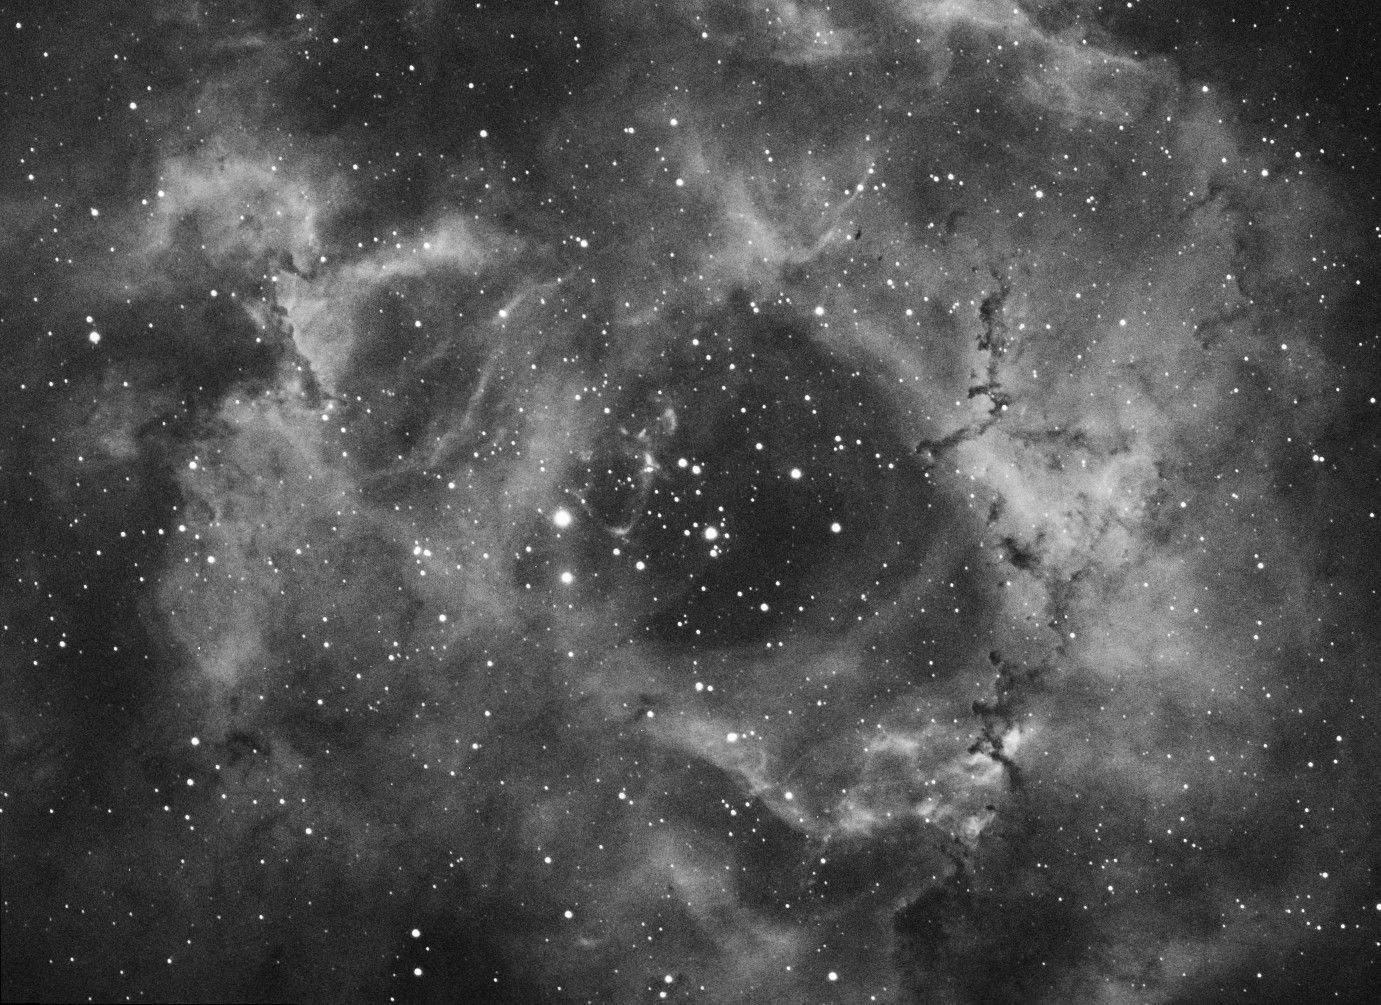
You can find a lot of beautiful astronomical images on the web, like on astrobin.com. I've added some of mine images in this article, although they won't be as refined as many images you will find on astrobin. Keep in mind that pretty
astrophotos don't come in easy and require a lot of work to pull off.
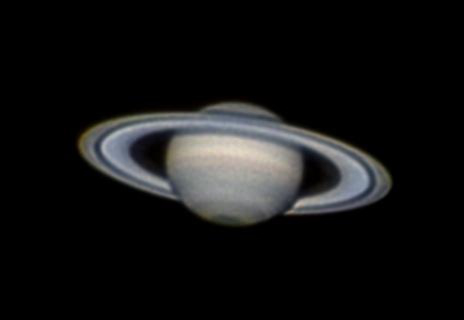
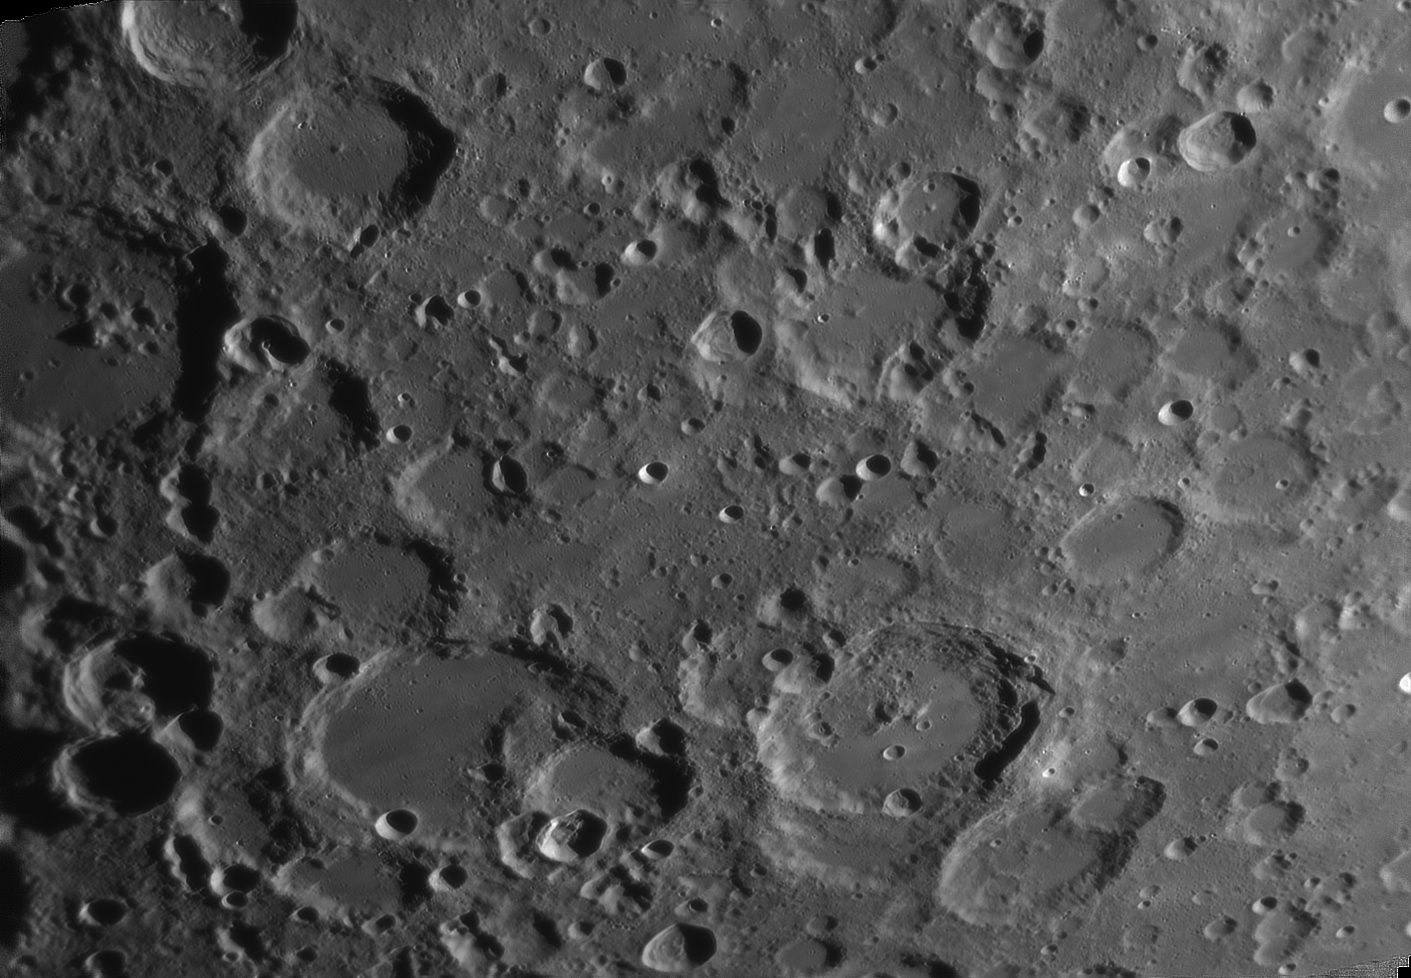
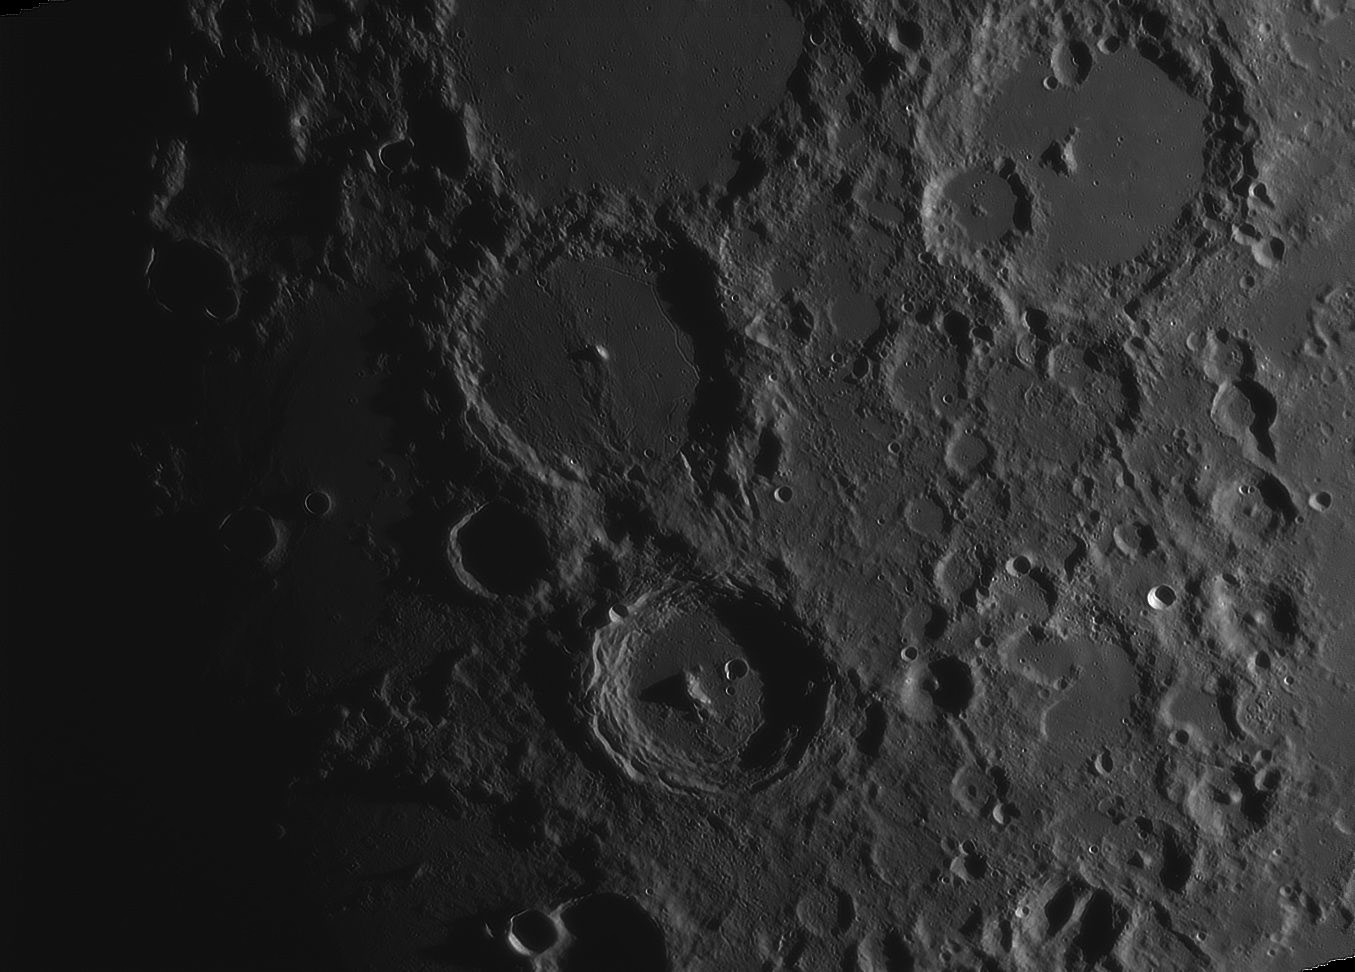
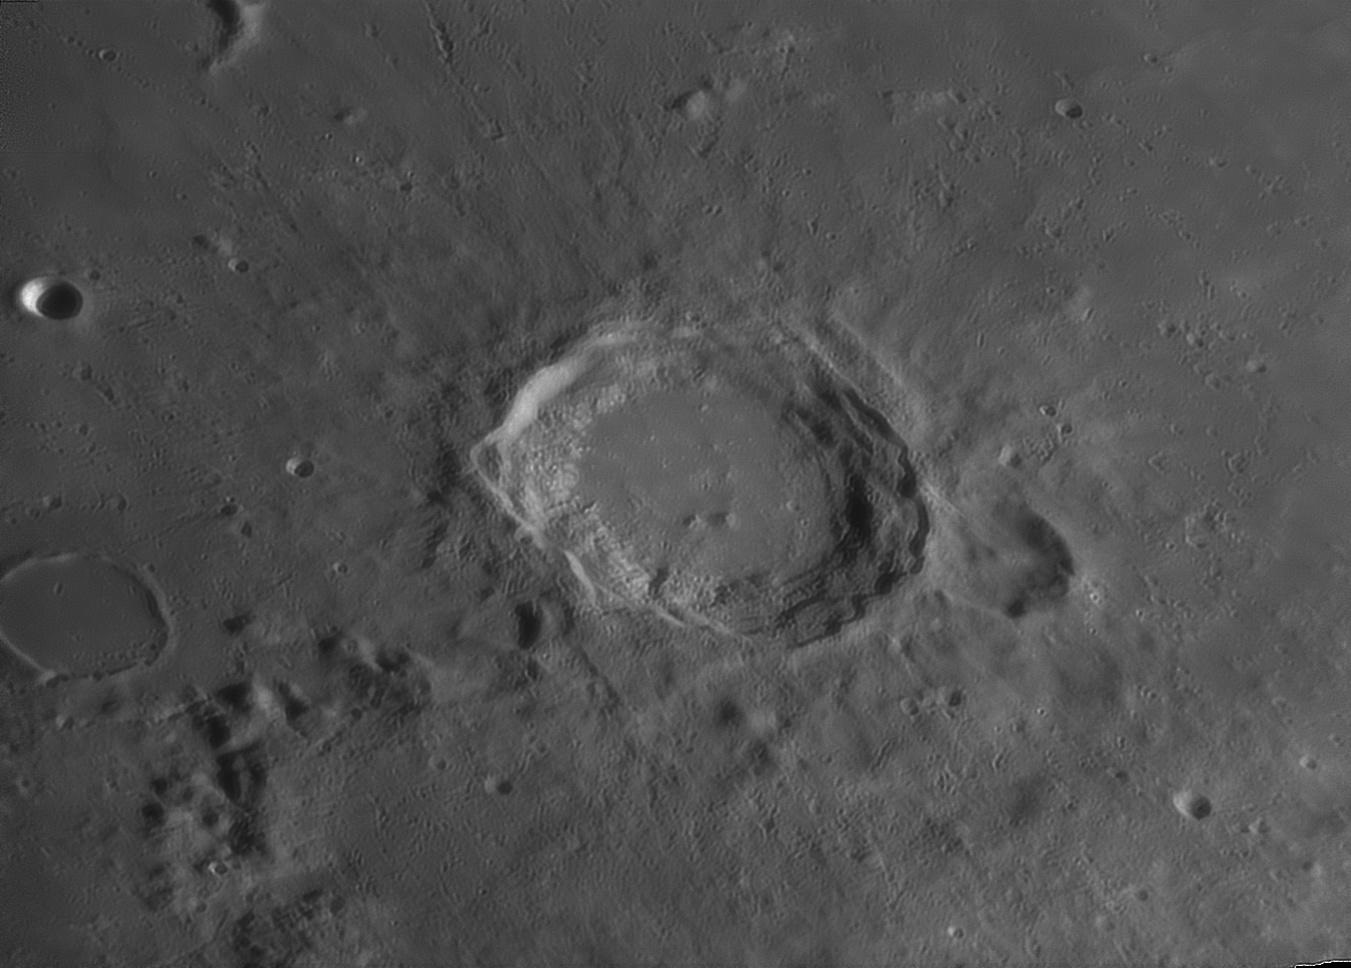
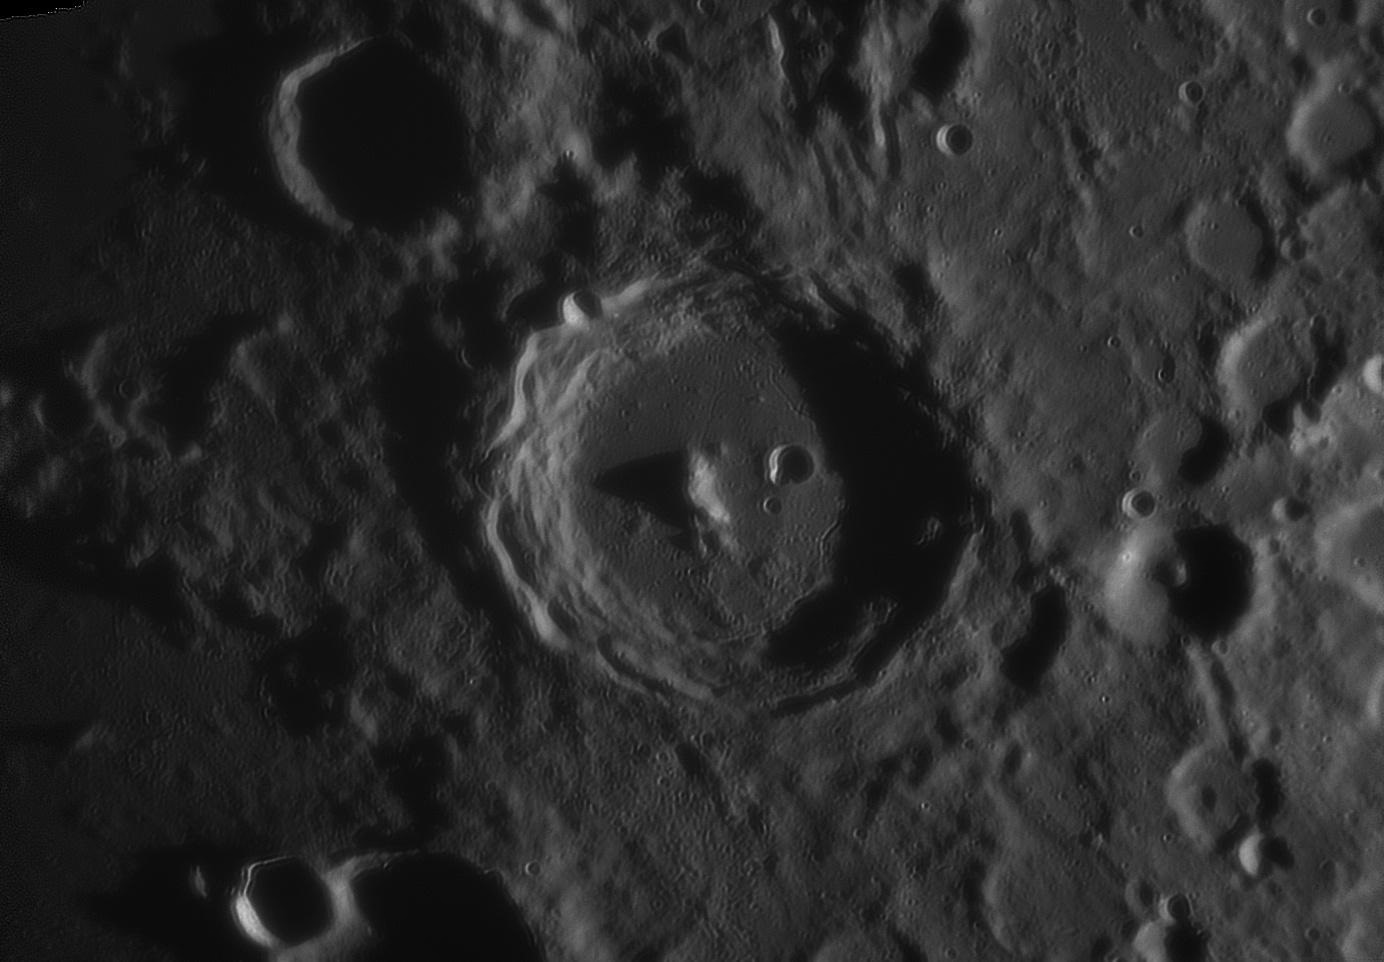
Planetary or lunar and solar astrophotography is quite unique. Most of those objects are very bright but also very small. Without a telescope you will see planets as if they were bright stars. To see the planet - like surface of Mars or clouds of Jupiter you will need a telescope, and a large one for bigger effect. Sun or Moon are way bigger and even a DSLR with a lens can show some features on their surface - although for solar imaging you must use special solar filters (like Baader AstroSolar) to make it safe - for your camera and for you eyes when doing visual observing.
You can setup a DSLR on a tripod, set appropriate exposure, focus and take a photo of the Moon. But to get some high resolution details or to take planetary photographs you will need a telescope. I'll skip how to pick a telescope?
in this article as there is a lot of guides on that topic and a large community willing to help. I want to showcase what is possible and what technology and hardware lies behind it. What's interesting about planetary photography is that you record a video clip of it. Planets are bright enough that a planetary camera can record at like 30 - 100 frames per second with good image quality. It's similar to consumer video cameras just that the video data is lossless 8-bit with no compression.
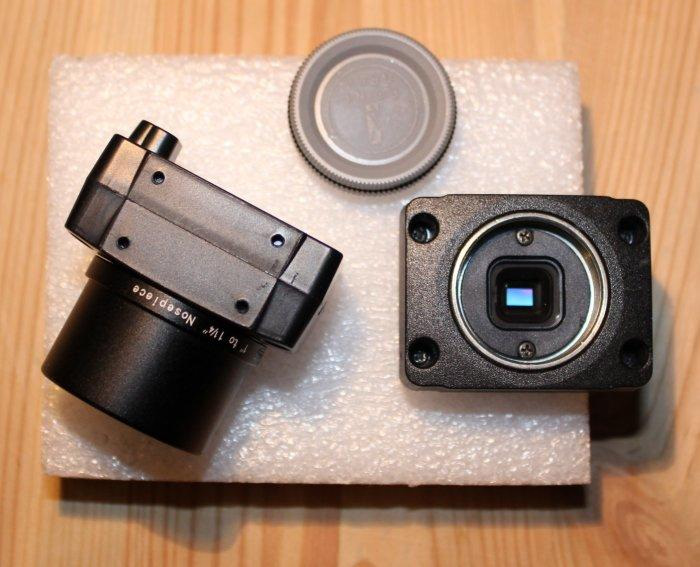
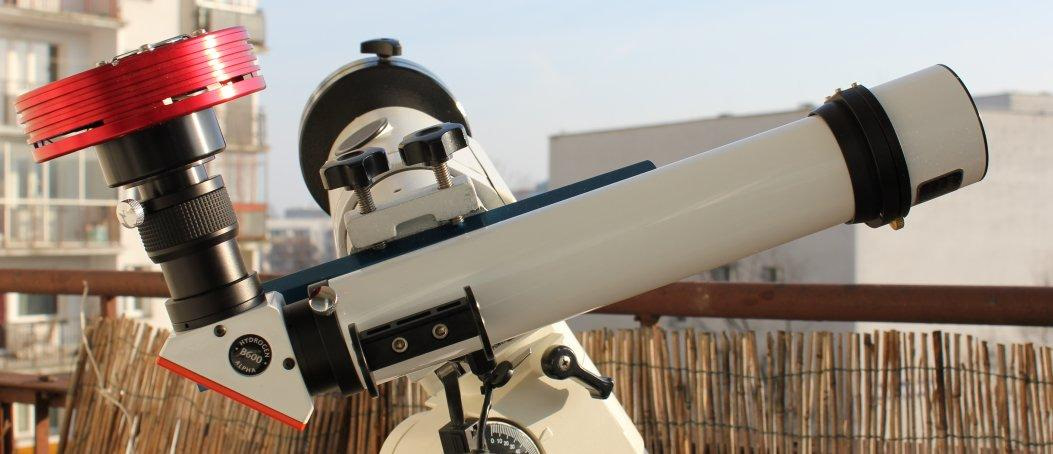
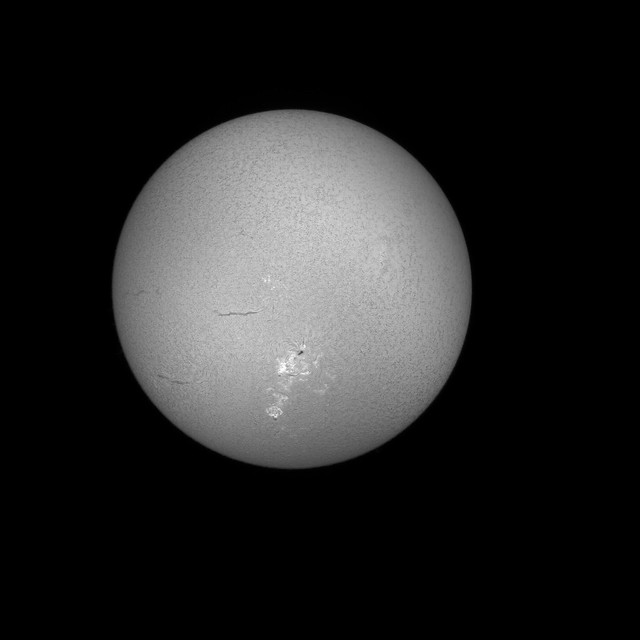
Sun through a H-alpha solar telescope photographed by a mono camera

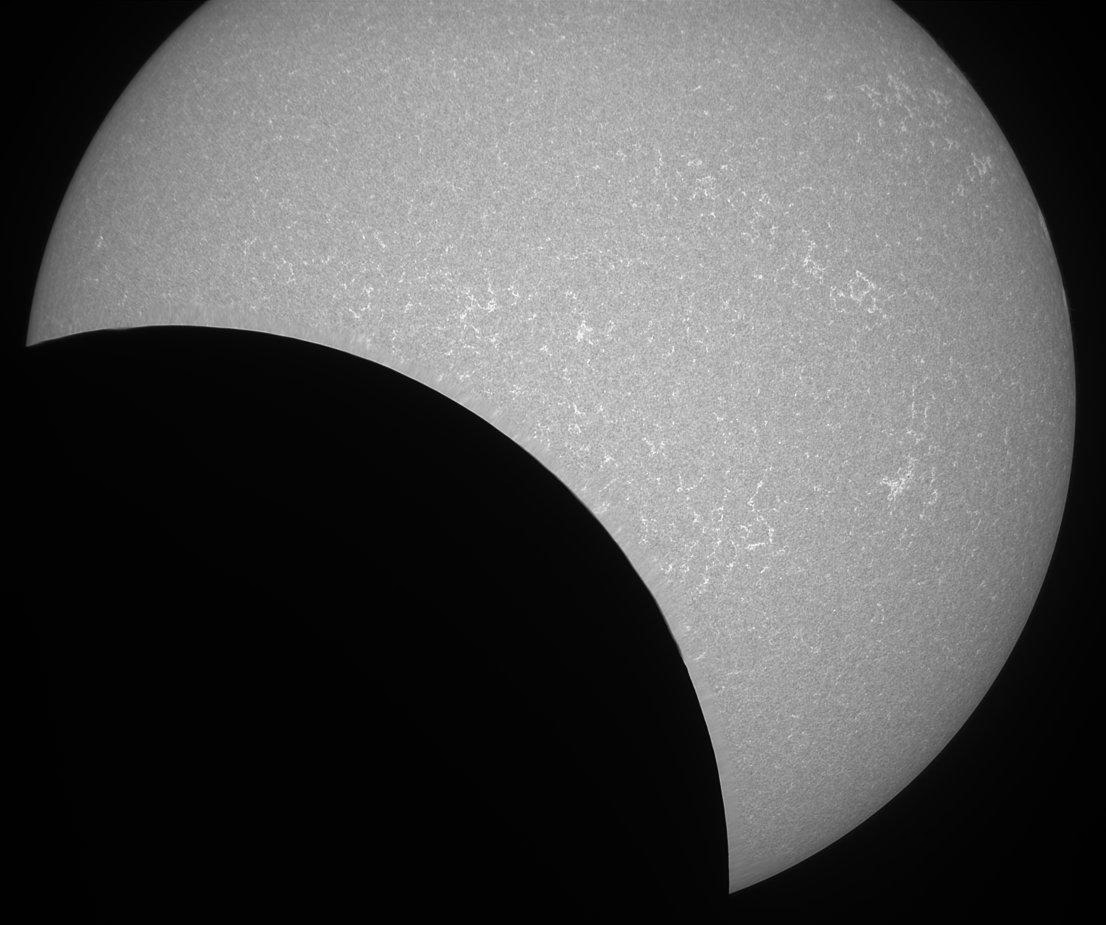
White light Baader AstroSolar filter allows observing and photographing Sun spots.

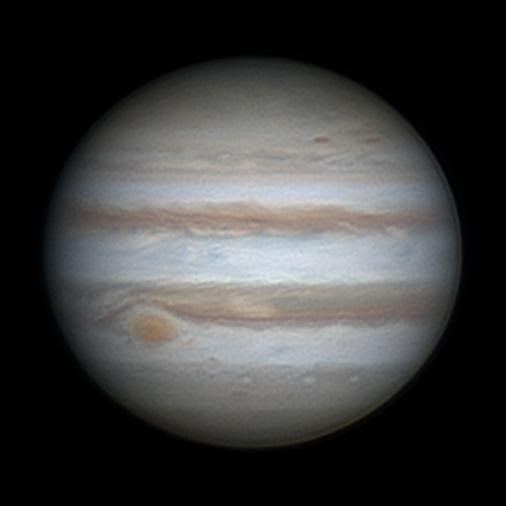
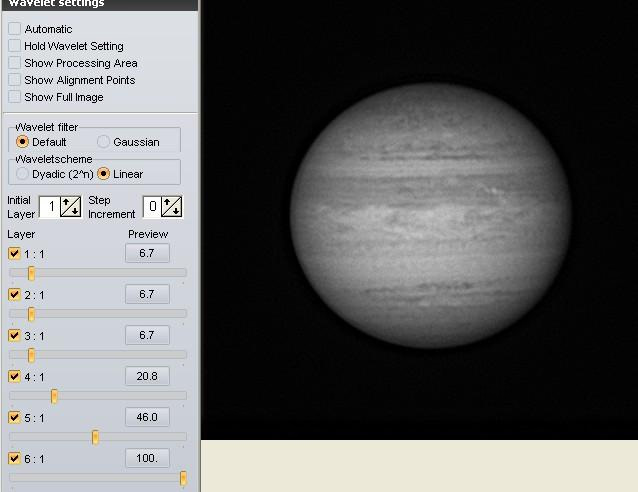
The goal of a planetary video clip is to pick and stack good quality frames and get a result image of much better signal to noise ratio than a single frame - resolution given by a planetary telescope is so large that air currents in our atmosphere blur and wobble the image and in a short period of time there will be moments when the planet is clearly visible and when it looks quite distorted. Stacking software analyzes every frame from the video, picks the best one and then stacks them into one final image (with proper alignment of each frame). Normal daytime photograph may look clear from any noise but when you are photographing Jupiter that at best is 628 743 036 km away from you and not as bright as full daylight - you have to use high camera gain that will add a lot of digital noise to each frame.
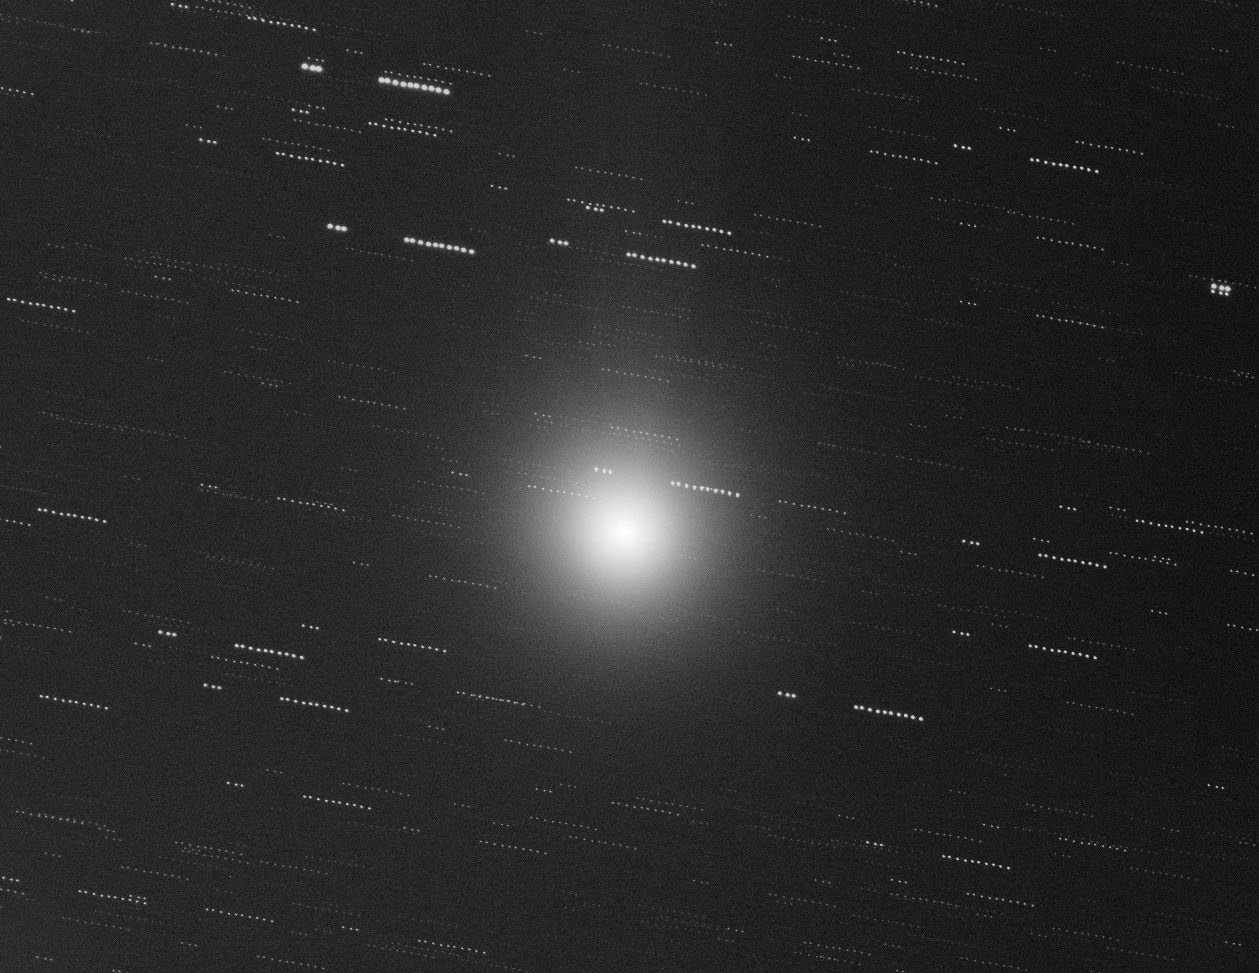
Image stacking is the core concept of astrophotography. It can be done with normal
photography as well, but it's not needed. Deep space objects tend to stay the same across years, while a planet on a 1-3 minute video clip will not rotate around it axis that much and so the only variable between frames will be noise. Stacking increases signal that will repeat on every frame and evens out signal that will not be present. Noise is random and so it will not get as amplified as the photographed object. The math is that signal to noise ratio (SNR) increases by a square root of amount of stacked frames.
Deep space photography also stacks frames, but video clips aren't recorded. Usually you would take few single frames-photographs of given object. The difference is that all those galaxies or nebulae are way dimmer than planets. This requires photographing given object for many hours to have data for a good image. And the exposure time is way longer. Typical daytime photo uses a fraction of a second as exposure time. Typical deep space frame exposure time may take even minutes... and the thing you are photographing also moves across the sky due to Earth rotation so for the exposure duration you have to precisely track the object or you will get a blurry, moved
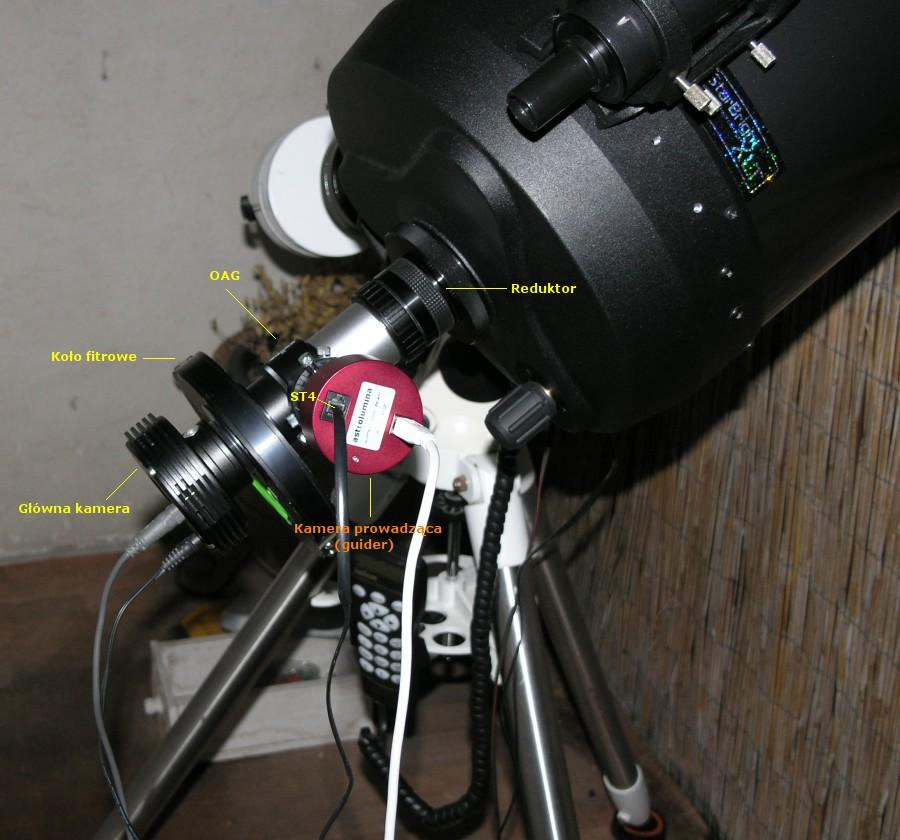
photo as a result. That’s the job of a telescope mount and often a guide camera – where software observes some stars in the field of view of the camera and if it detects any drift will send corrections to the mount motors. Deep Space photography can be most demanding and quite expensive to pull of as it requires a lot of good hardware.
There is also more simple widefield imaging. You can put your DSLR on a tripod, aim and focus on a night sky and then remotely (to avoid any vibrations) trigger manually controlled exposure (bulb mode
usually) that will last 5, 10, 15 seconds. If you then open such photo in some editing software and start playing with image levels you may notice that there are some stars visible, maybe even the Milky Way or some bigger and brighter nebulae or galaxies like the Andromeda Galaxy.
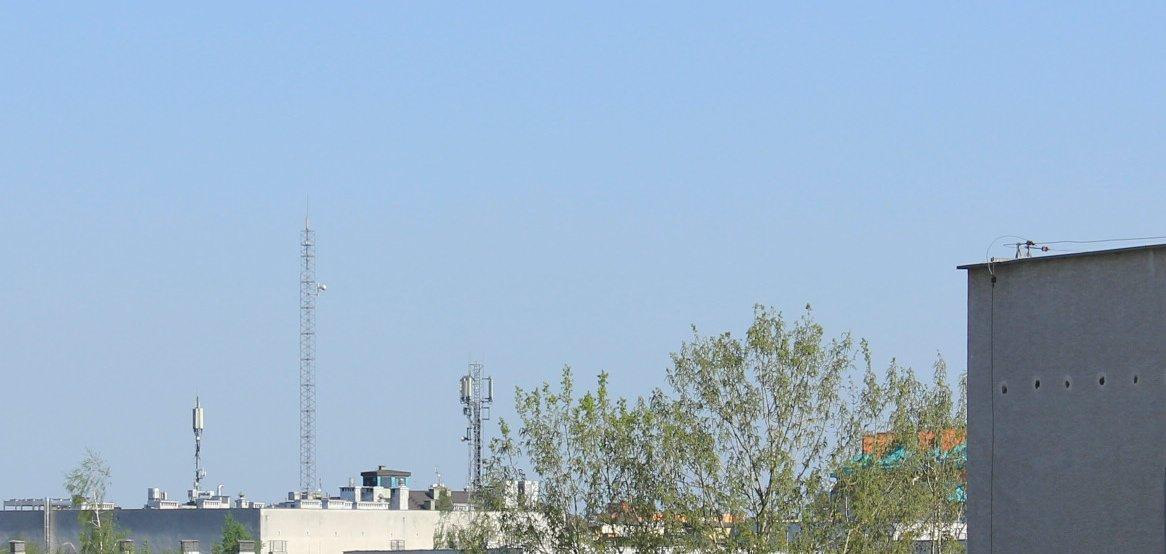
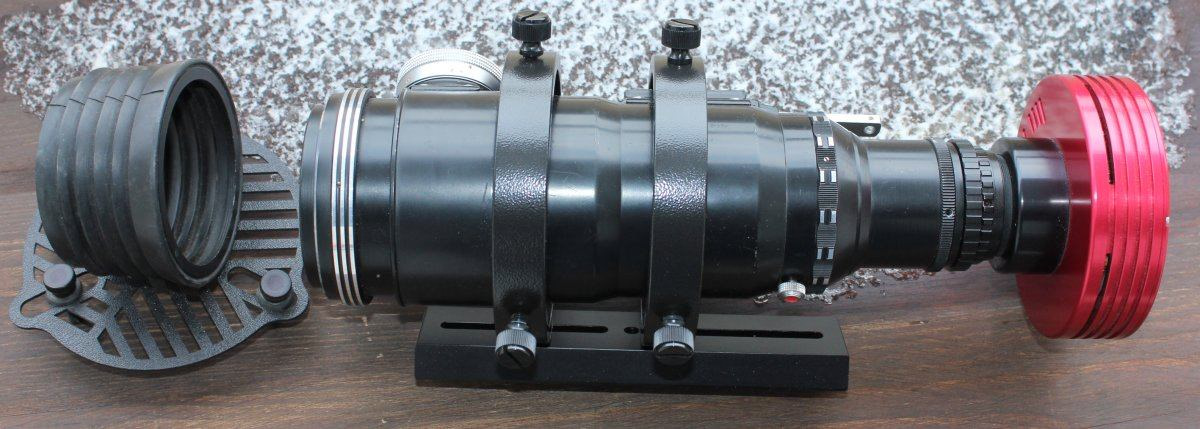
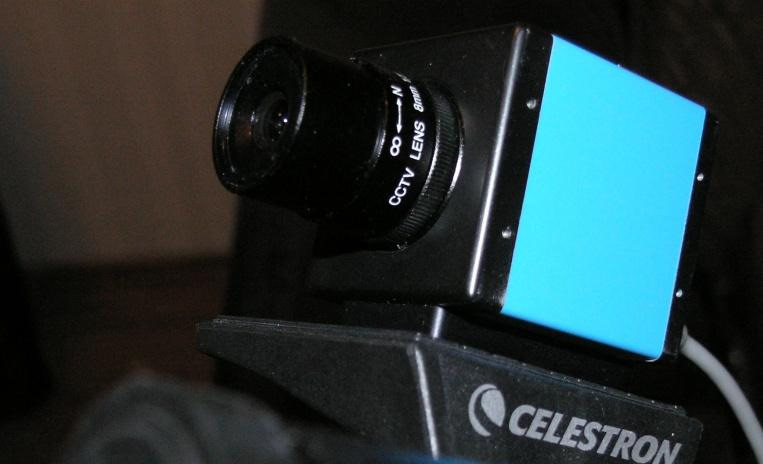
Widefield imaging uses a DSLR or even a surveillance camera with a lens. No telescope needed. The exposure time can't be to long due to Earth rotation (unless you put it on a tripod with motors that can compensate for it) but the resolution is low enough that few seconds long exposure will not be affected. When you use one of better surveillance
camera you may get into Electronically Assisted Astronomy or EAA for short. Human eye isn't the best light detector and even with big telescope for visual observing may not see as much as small camera with a small lens. Good EAA camera can give almost-live enhanced view of deep space objects and display them for example on a small standalone display connected to them. No PC needed even. Some EAA systems may be integrated with mobile devices.
PC Hardware
There is a lot of dedicated astronomical hardware. We have motorized mounts that can handle telescopes while tracking given object (compensating for Earth rotation), we have various telescopes - for visual observing, for deep space or planetary photography. There are dedicated cameras (no compression, low noise, with specific settings and so forth) and other accessories. But there is a lot of computer hardware involved as well.
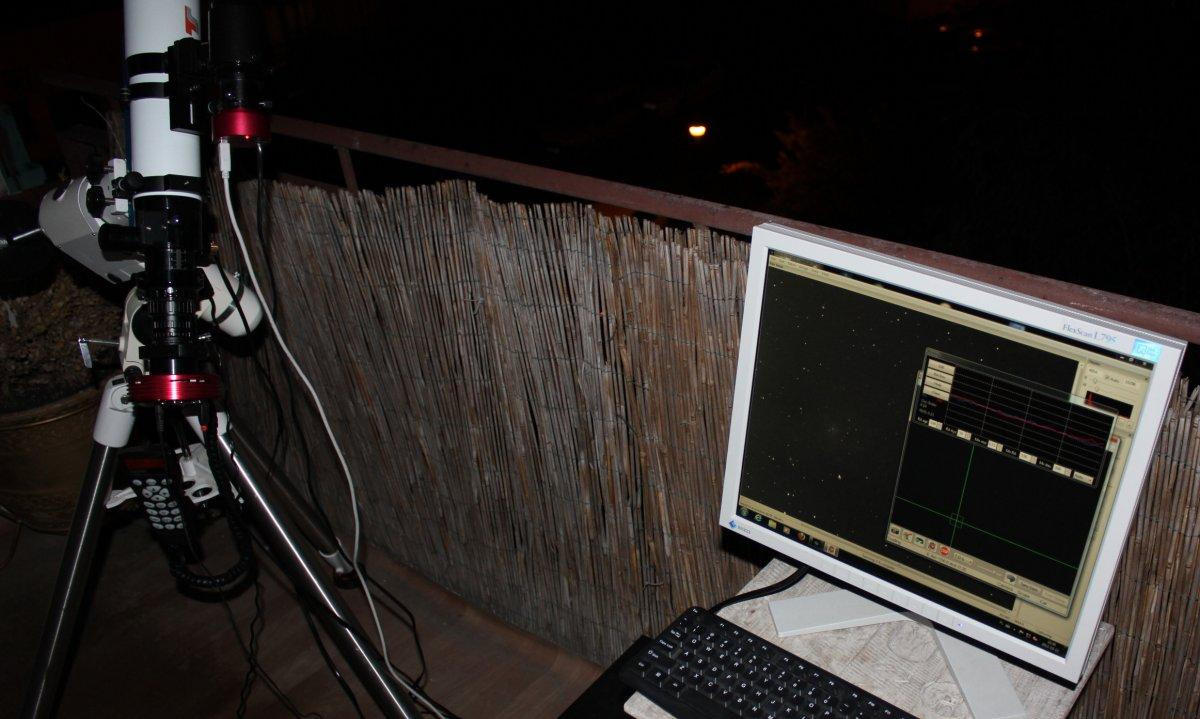
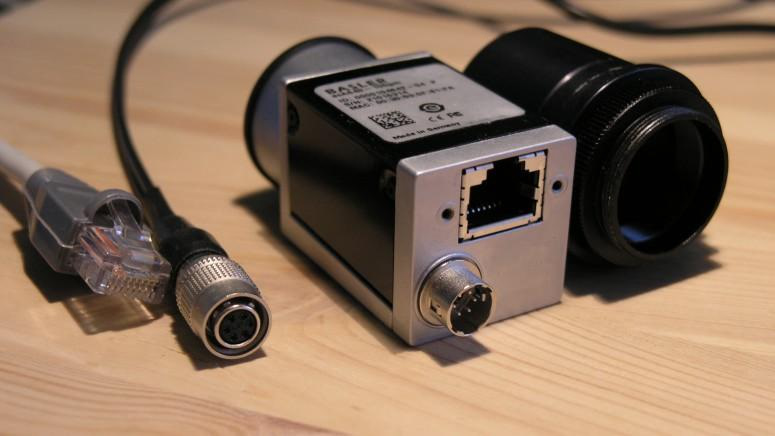
Typical astrophotography setup will be controlled by a PC. Dedicated astronomical cameras will be a USB devices with few Gigabit Ethernet or Firewire 800 planetary cameras here and there. Things like motorized filter wheels, focusers will also be USB based. Telescope mount can also be connected to a computer by wired (USB) or wireless connection (with some RS232 interface somewhere).
Aside lots of USB ports good storage will be needed. For planetary videos captured with a USB3 fast framerate camera a SSD nowadays is a necessity. For deep space imaging where you get only few frames it's less demanding. Wherever you will use a laptop or a PC - it also should be somewhat water or frost proof as during night you may get some condensation (or going imaging during winter at -20 C it may be frosty).
Planetary video clips will require CPU compute power to stack so the more the better, but even average quad core i5 or i7 of past generations can handle it in reasonable time. Deep space images often have a lot of pixels so more RAM is used when post-processing them.
PC Software
Hardware needs software. For MS Windows a lot of astronomical hardware is handled through ASCOM platform - a unified system of controlling of astronomical devices. Some planetary cameras (which are usually just machine vision industrial cameras) used their own apps or interfaces for other recording apps. Under Linux there is INDI as an equivalent to ASCOM. Mac OS X is also supported, although Windows usually gets the most support of all operating systems.
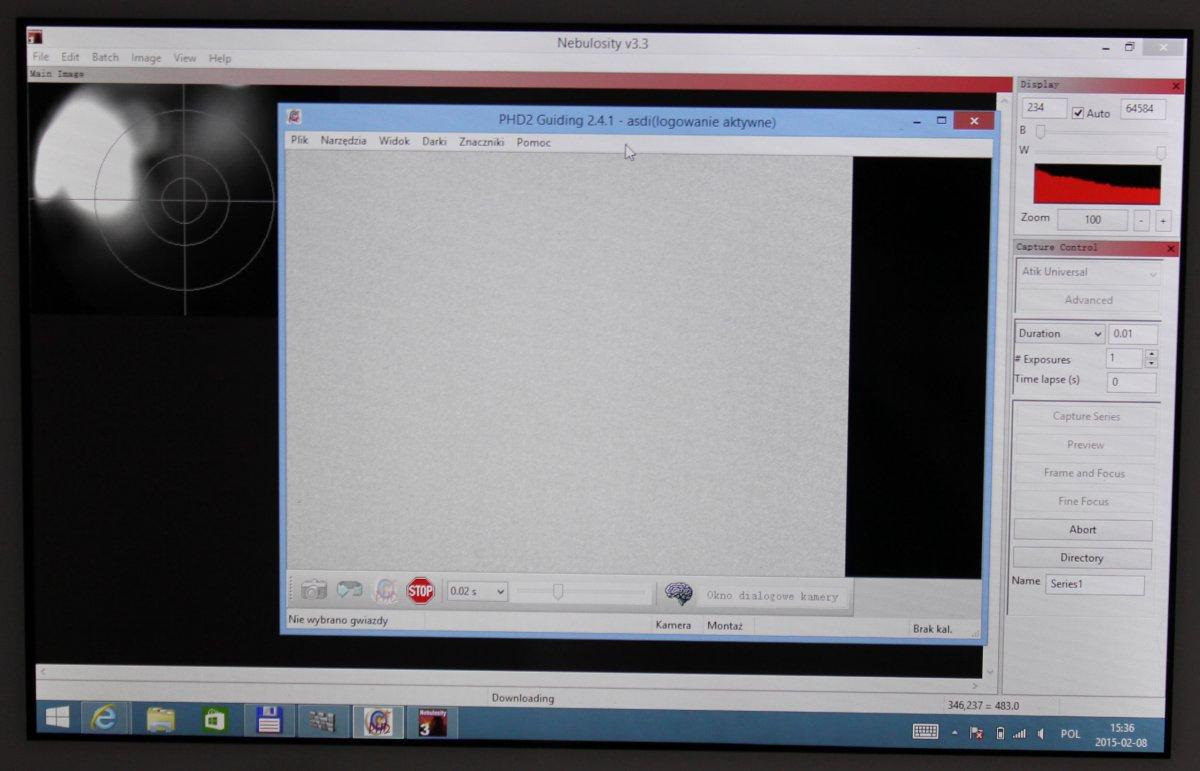
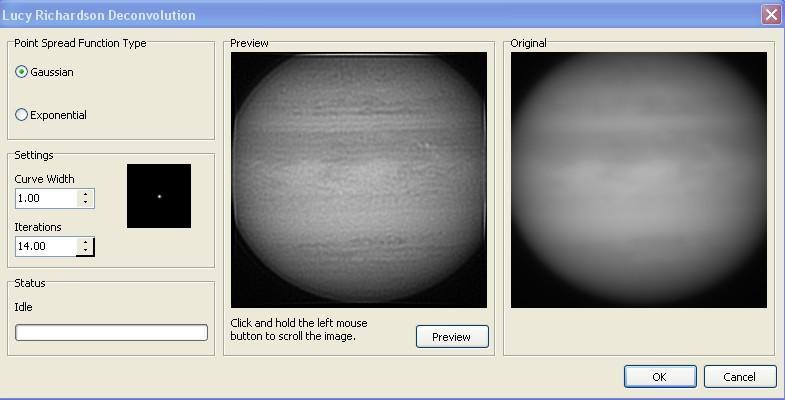
For image stacking a dedicated software is used. Registax or Autostakkert for planetary clips or Nebulosity and DSS for deep space images. For post processing like sharpening, curves, gradient removal etc. well known apps like Photoshop or PixInsight can be used, but there are some dedicated too, like AstraImage with various sharpening methods, IRIS for gradient removal or Nebulosity for general deep space image processing.
Planetary recordings can be done in FireCapture, SharpCap and alike apps. Those apps support various machine vision camera makers like Basler, Point Grey (FLIR), IDS Imaging as well as dedicated planetary camera makers like QHY or ZWO through each vendor proprietary interfaces and drivers. Deep space cameras have ASCOM drivers and any ASCOM based imaging application can handle them (Nebulosity, Backyard EOS and so on). A win for good standard.
It's also a good thing to know what is where on the night sky. Planetarium software like Stellarium, KStars or various mobile apps can help you with that.
How to get started
If you want to know more you can ask the community at popular forums like cloudynights or stargazerslounge. I have a lot of tutorials on planetary imaging and you will be able to find more on the web, including YouTube. I also advise checking telescopes before buying - either at a local shop or better - at a local star party. Astronomical setup costs some money and does require time and effort to use efficiently.
Comment article