How to guide a mount with PHD?
PHD is a free and popular application for mount guiding. Applications checks position of a star on an image from a guide camera, and if it detects any shift in the position of the star - it sends corrections to the mount. This allows taking very long exposures of deep space objects. PHD is easy to use and can be used with variety of mounts and guide cameras.
Download PHD and install it on your PC or Mac (there is also OpenPHD for Linux, but it's bit different and limited by low Linux support rate among vendors). It is also very likely you will need platformy ASCOM platform and Celestron Unified for SkyWatcher SynScan and Celestron mounts (if you can't guide them via ST-4 port).
When you start the application you will see something like that: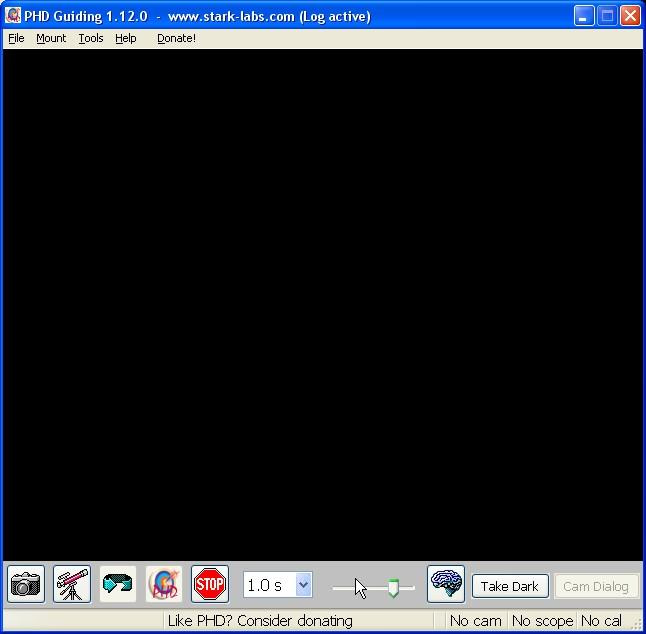
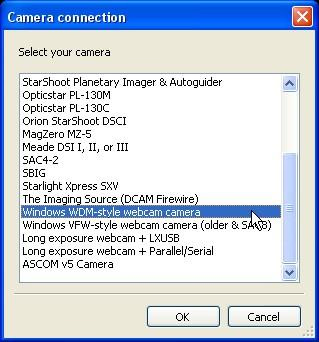
Selecting guide camera in PHD
When you click on the camera icon you will see a list of cameras or cameras groups. From that list you have to select the guide camera you want to use: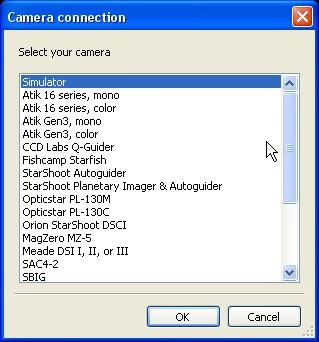
Connecting mount to telescope
There are two (or even three) options to do this:- ST-4 guide camera and ST-4 capable mount connected together (skip this section)
- Guide camera without ST-4 port - you need to connect the mount to the computer and use ASCOM mount drivers (with RS-232 cable).
- Guide camera without ST-4 port but Shoestring GPUSB ST-4 relaybox used to connect to the mount ST-4 port from a computer (skip this section)
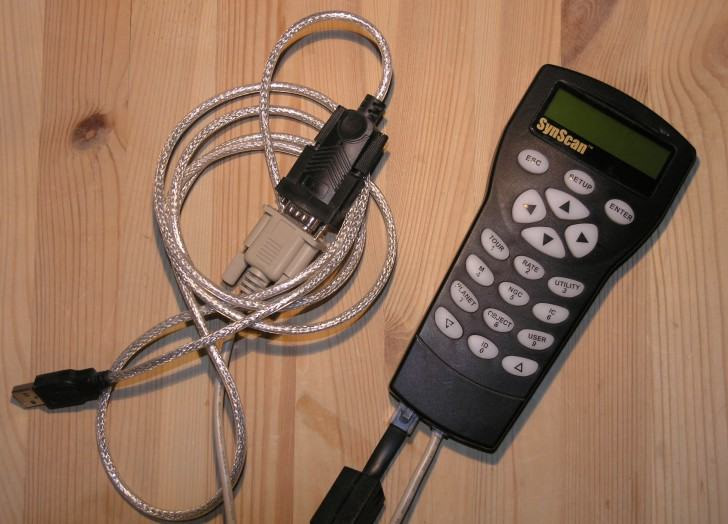
RS-232/USB adapter should be provided with a software to select a virtual COM port for the adapter to use. You need to select one, reboot and then use that COM port (like COM1) in the PHD mount settings.
Syntrek mount need a EQDir adapter to connect them to a PC. To control those mount you will need EQMod platform and software.
Mounts like Syntrek, SynScan and other with ST4 port may use a ST4 relay box like Shoestring GPUSB. You won't need fancy cable or adapters. Just USB to the computer and ST4 to the mount, and in PHD this device should be either on the ASCOM mount list (if it has ASCOM drivers) or selectable from the top mount platform menu (GPUSB type).
Selecting a mount in PHD
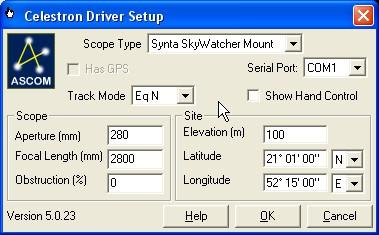
For ST-4 guider select in the top mount menu "On Camera". For SynScan (and Celestron mounts) use the Celestron drivers: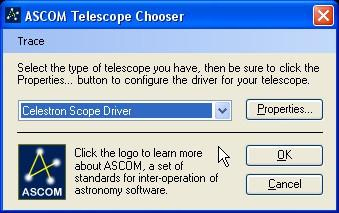
PHD Settings
Under the brain icon we have a lot of guide parameters: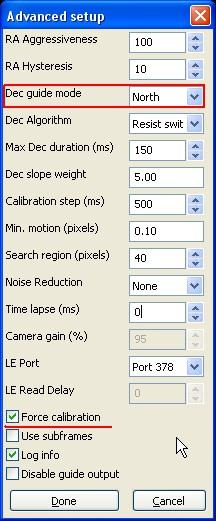
When you start the calibration PHD will star moving the scope observing how the star moves on the guide camera FOV. It calculates camera axis orientation, as well as effects of correction pulses, slacks in the mount... If you change the guide camera position or PHD guide settings you have to force a new calibration. (select check box on the bottom of the settings window).
On default settings PHD should do just fine - unless you have quite big or low focal length on the guide camera (OAG, guide scope - whatever). For small focal length you have to increase "calibration step", and decrease it for big focal lengths (SCTs and alike). If the drift is high (from for example big resolution) increase "Max Dec duration" slightly if needed.
If PHD will show a message "Star did not move enough" then the calibration failed as the "calibration step" was to low and the star didn't moved as much as needed. Open settings, increase the value, force calibration and start over again (check also DEC guide mode - if it's off set it to auto).
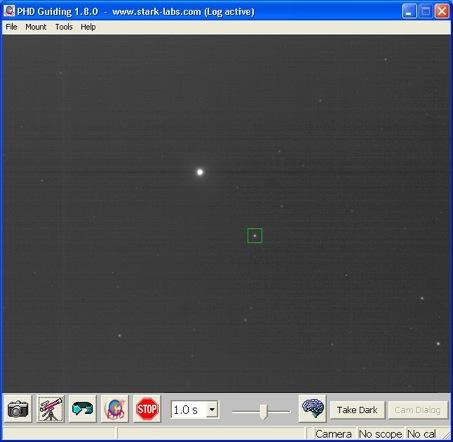
The Guiding
When the calibration finished without any errors and targeting lines in PHD turned green - guiding have started. Check how it's working. If the guide star is bounced back and forth then the corrections are to strong. If it drifts away from the guide point then corrections may be to weak or calibration wasn't as good as it should be (wrong calculations due to fast drift, wind buffet) - recalibration needed.
If it's guiding as required you may stop it, correct the FOV on the imaging camera and start guiding on other guide star. No recalibration is needed.
Comment article