Making HDR images of deep space objects in IRIS
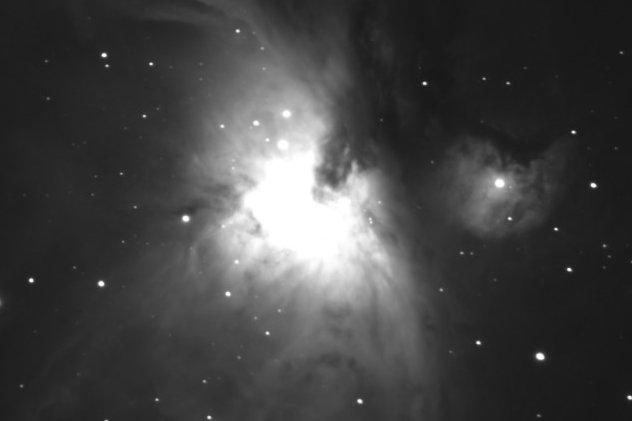
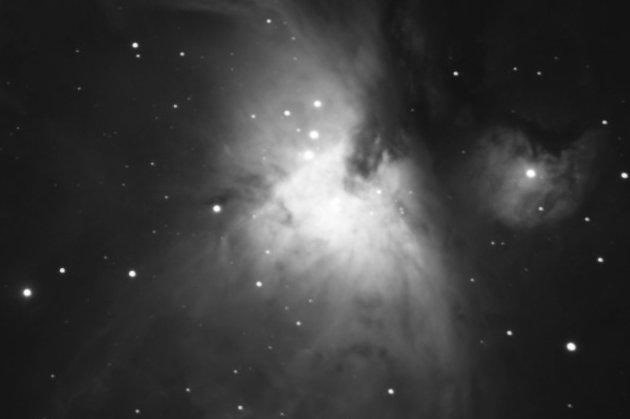
Imaging some DS objects like M42 - the Orion Nebula overexposing some areas is nearly inevitable. In M42 bright trapezium region is easy to overexpose when catching the much fainter nebulosity around it. In post processing its however possible to correct this problem by using not overexposed trapezium region from an image made on much shorter exposure. Such images are quite often called HDR image - high dynamic range.
HDR images are made out of 2 or more images of the same area - each image on different exposure time to catch either faint or very bright areas. Combining them in to one HDR image can be done in multiple apps, like Photoshop but those are not free. IRIS however is free and has a ready to use feature that will merge all images into a HDR image.
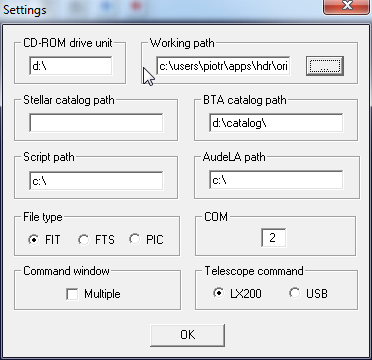
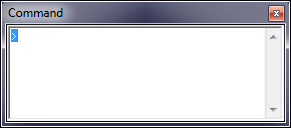
IRIS is a quite powerful but not so "easy" to use application for image processing. Download the ZIP file and extract the application. When you run it you should get something like this:

Making a HDR image in IRIS
At start we need few images shot at different exposures. Those images must have the same dimensions and must be aligned vs each other (Nebulosity can do that). When you have such files (like FITS files) you may start making a plain text config file - DESC.LST. Put the filename and relative exposure time in every line, like so:
align_z300 1.00000
align_z60 0.20000
align_z30 0.10000
align_z5 0.01666
Comment article