MS Lifecam Studio conversion for Solar System photography
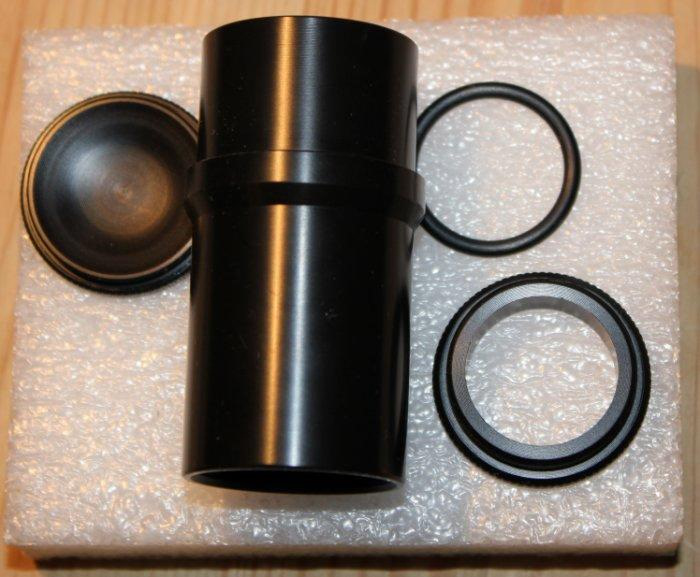
Microsoft webcams got quite popular among amateur astronomers as their performance is very good and the price is still low. Lifecam Cinema or Studio HD webcams are very good at lunar, solar and planetary imaging, but to use them they have to be modified. Their lens must be removed and replaced with a 1,25" nosepiece adapter. Such adapters can be made from various astro-parts (extenders, Barlow, eyepiece parts). There is also billetparts adapter for MS Lifecam Cinema.
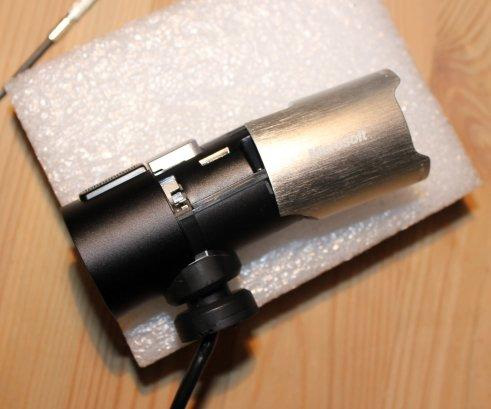
In this article I'll show you how to convert a MS Lifecam Studio using the billetparts adapter/nosepiece. You can also check Cinema conversion on ghonis2.ho8.com. Both cameras look similar but some parts differ a bit.
For the basic modding you will need some screwdrivers. For complete tear down bit more - including something for de-soldering few wires.
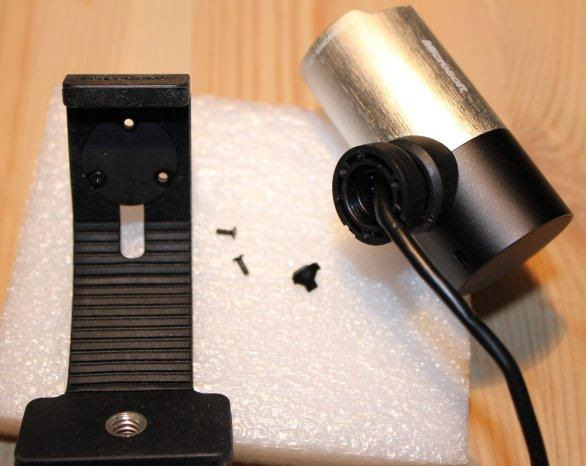
This adapter is designed for MS Lifecam Cinema. It replaces the outer webcam shell. For Lifecam Studion some extra modifications will be needed to fit the webcam inside.
Lifecam Studio has a bigger (2 MPix) sensor than Cinema. That's the main difference.
Modification plan
- Disassemble the webcam housing
- Remove the lens
- Cover blue LED
- Mount webcam back into the inner housing
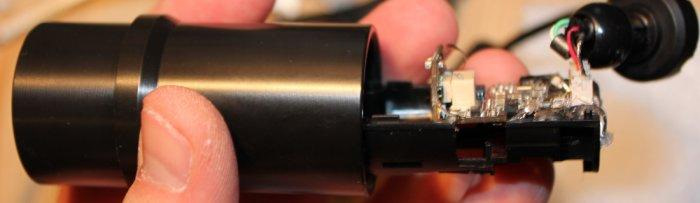
- Make a 1,25" nosepiece for it - or use the billetparts adapter
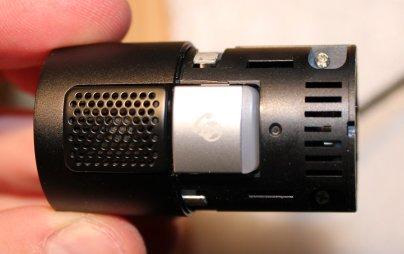
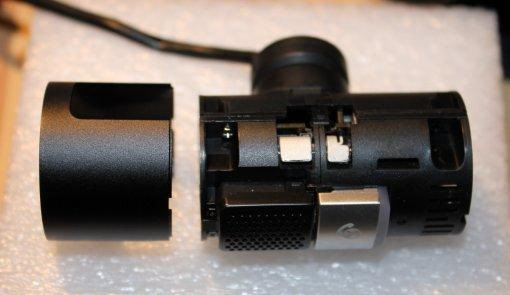
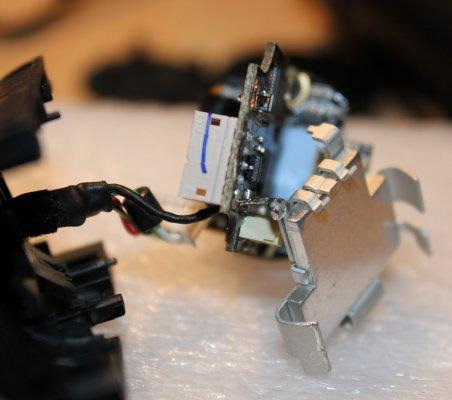
MS Lifecam Studio Disassemble
To remove the lens we need to remove some parts. To disassemble the housing follow those steps:
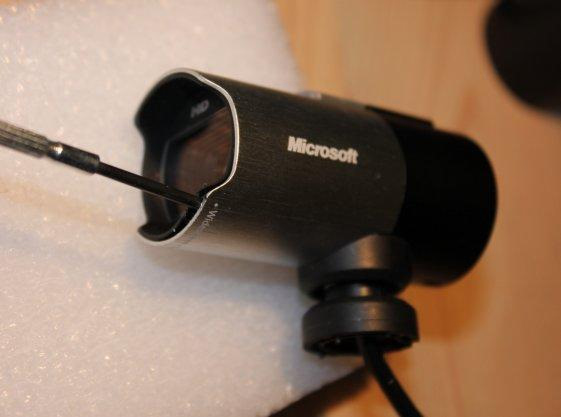

If you don't want to tear down the whole webcam apart you can stop now by just unscrewing the lens of using scissors or some similar tool to catch the lens and unscrew it like a screw. The opening is small, and it may happen that you get some vignetting in fast focal ratio scopes (like imaging Moon or Sun at f/5 in a Newtonian). If you want to use the billetparts (or you want a fully modded webcam) you have to tear down the whole webcam. To do so:
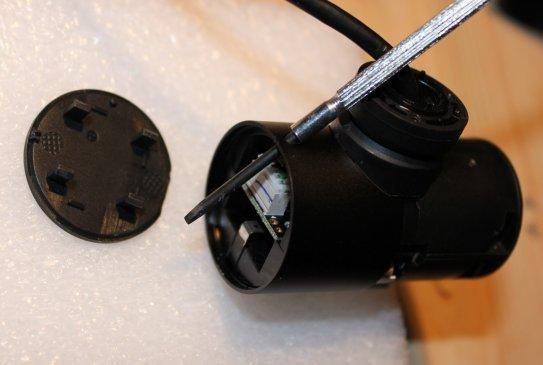
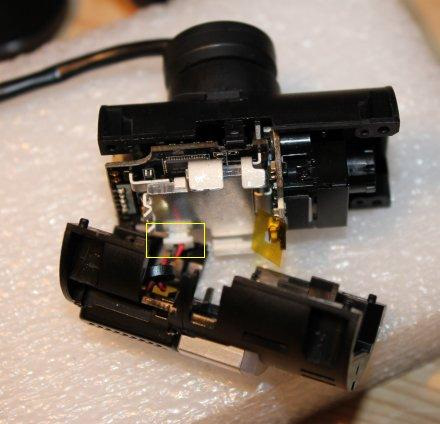
When you disconnect the cable going to the board you will notice a black cable going to the other side. It's soldered to a radiator - cut or unsolder the cable and remove the radiator too.
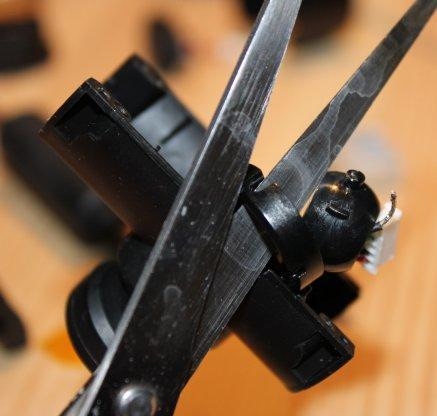
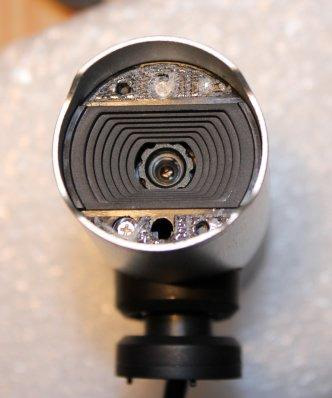
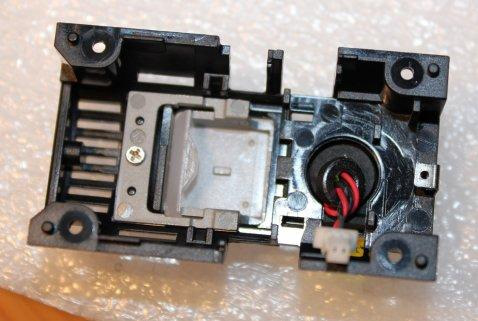
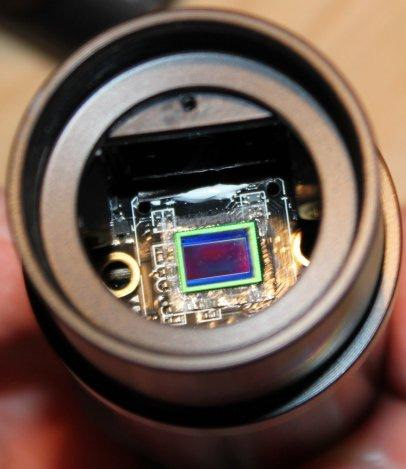
Removing the lens and autofocus block
The whole block is screwed with two screw and is soldered to the board by two wires. We have to unscrew the screws and unsolder/cut those wires.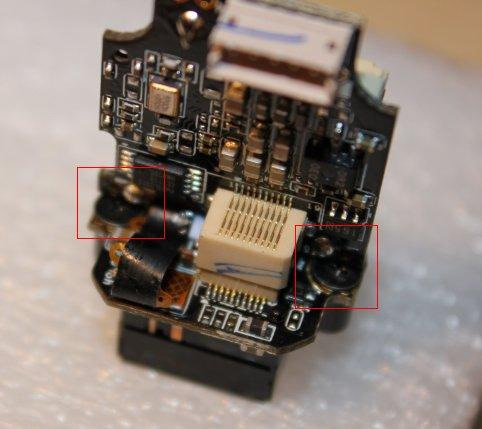
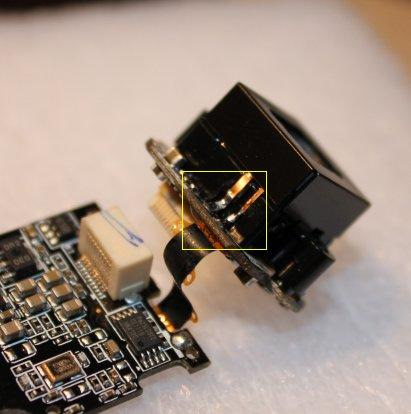
Tilt the sensor board on the sides and gently pull it out of the plug. Note that there is also a thin wired tape - it may not be damaged so be very carefull. Unscrew the screws and put the sensor board back into the plug.
When you unscrew the screws tilt the autofocus block with a screwdriver from the opposite side - then unsolder/cut those wires to remove the block completely.
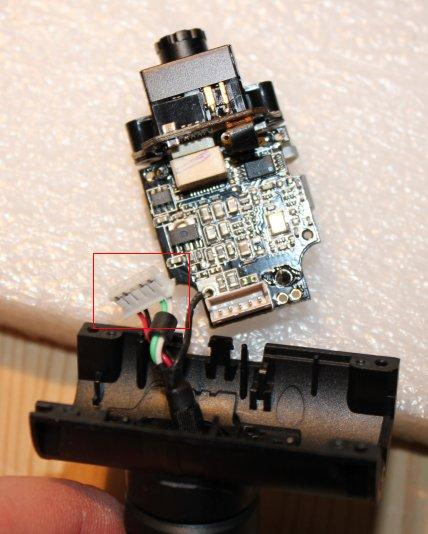
Blue LED
Those webcams have an annoying blue LED. When the autofocus block is gone we have to cover it so that it won't pollute the sensor with light. There are various ways - some damage it, some don't. I covered the area with a computer thermal ceramic white paste/grease (thick paste, doesn't conduct electricity). On top of that I put a small metal plate (from the autofocus block cover):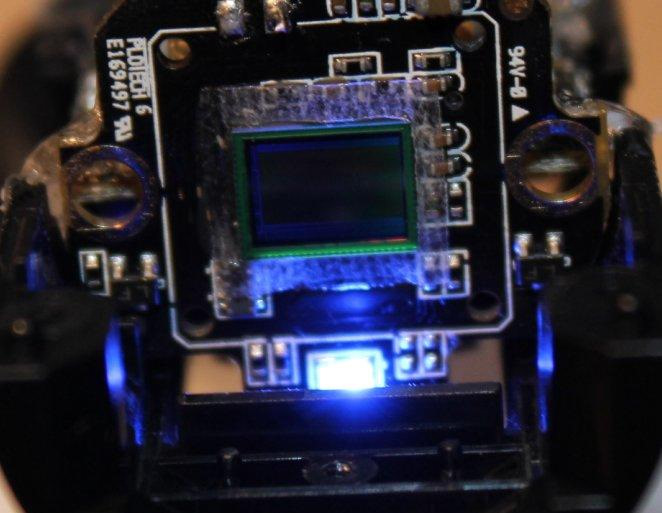
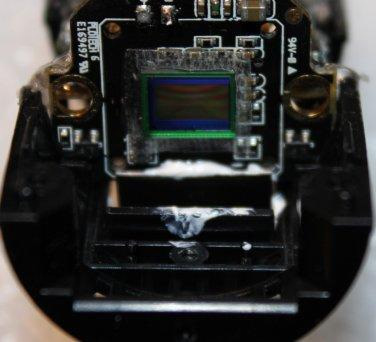
Putting the webcam back together
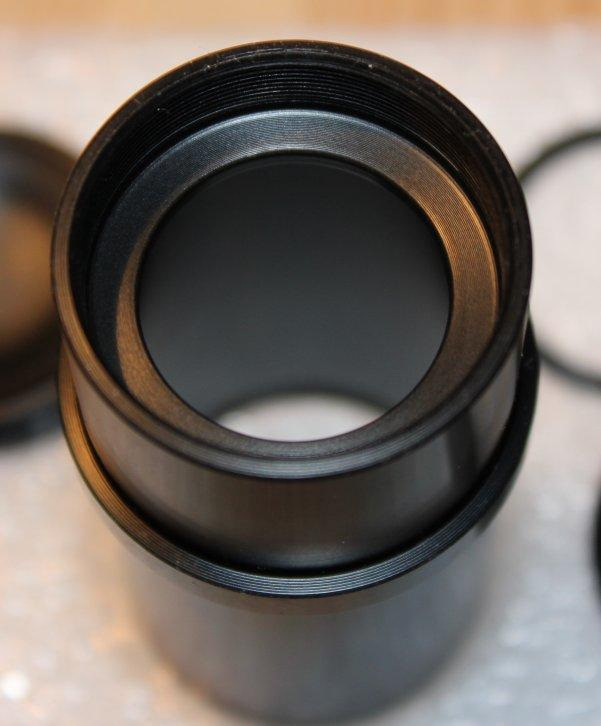
When the lens is take of and the LED isn't a problem we can start putting the webcam back together. In general it's a good idea to use the inner housing as a holder to the webcam boards. That inner housing will also fit inside billetparts adapter (for Cinema). If you are making a custom nosepiece you should use the inner housing too - it holds the sensor in good position without any tilts.
In case of Studio webcam I couldn't use the bottom part of the inner housing as it was incompatible with the billetparts adapter. I only used the upper part. I also used a plastic glue to lock the webcam in the housing.

Comment article