Planetary imaging with atmospheric dispersion corrector
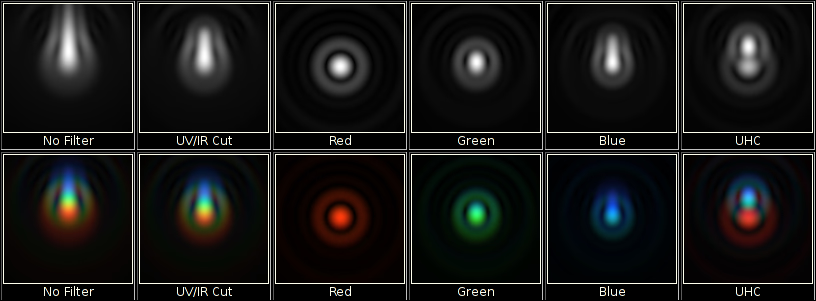
To correct this effect we can use atmospheric dispersion correctors (ADC for short). I've got one from astro-electronic.de. It's almost like a Barlow. It has two levers that need to be set to correct value of correction (equal values for both levers, but opposite directions). When that is set the spectrum will be corrected for dispersion and even super-clean and sharp luminance recording will be doable.
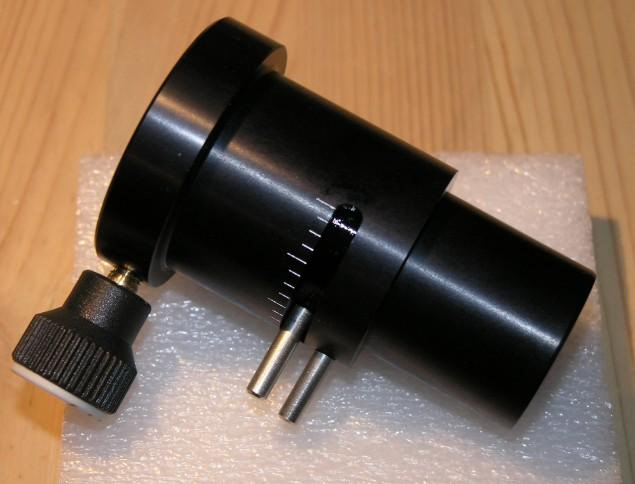
As this device like big f-ratios >> f/10 it has to go between a Barlow and the camera/eyepiece. As I have f/10 C11 I've decided to use Meade TeleXtenders - 2x and 3x. They are 4-element telecentric design (like Powermates) that keep the magnification stable even with extension caused by the ADC.
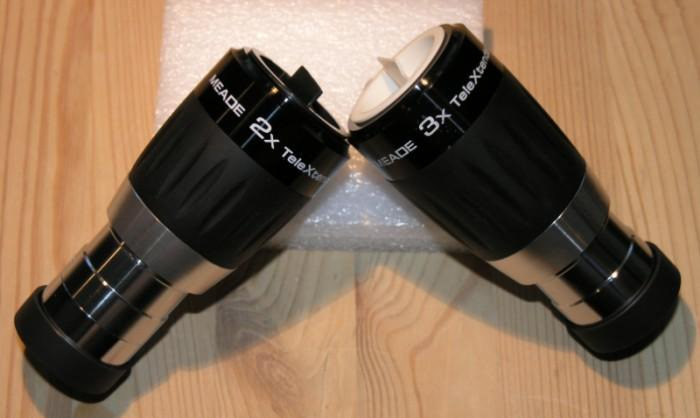
Images take with those TeleXtenders in the imaging setup confirmed that they do work as designed. 2x adn 3x work nicely with Basler Ace. Quick Moon test with DSI III Pro (no ADC) revealed however that the 3x give a strange reflection (plausibly a back-flash from the metal nose back on IR reflective filter and from filter onto the camera - will have to check that).
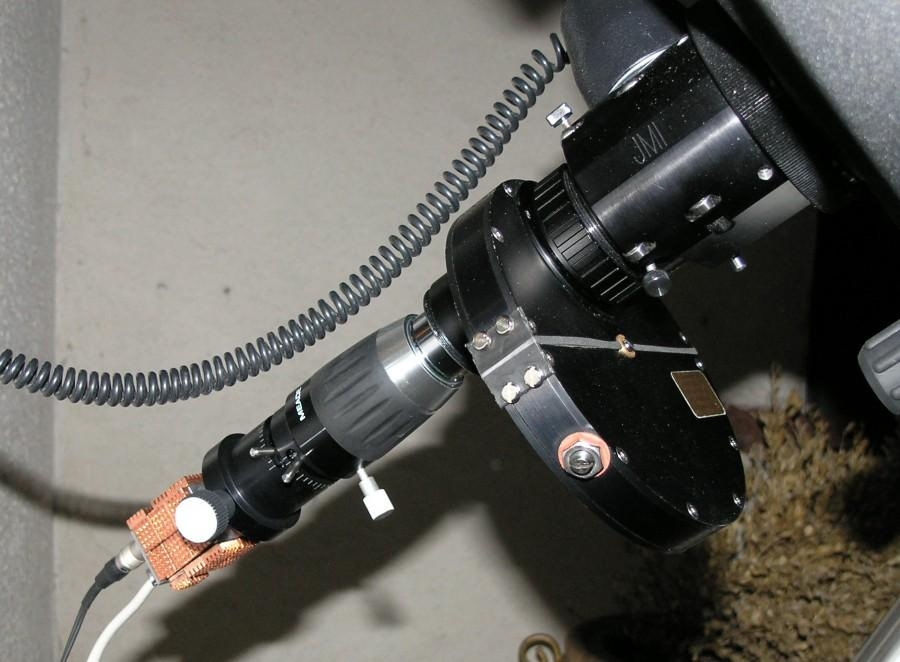
As for the ADC some set the correction level using two-band filters (UHC-S or IR-leaking UV filters). In my case visually with UHC-S I've seen reddish edge on Saturn and I could set the levers untill it disappears. With the Basler camera looking at the image from L filter (IR/UV cut) was better. The Cassini division and overall sharpness is was a good reference on how the image is corrected. In visual and imaging setup routine setting the levers to second mark was the best setting. With 0 or 3 marks the image did look bit more fuzzy (noticeable for me). So my setup is: Basler Ace, ADC, TeleXtender, filter wheel, motocryford, C11


Comment article