Numato and Pi Supply generic USB GPIO boards
Sometimes you need a simple GPIO connected via USB to your PC to do some automation, to read sensors or control some devices. It can also be handy on SBC like Raspberry Pi when you are running out of GPIO pins. In this article I'll look at Numato Lab and Pi Supply generic USB GPIO boards.
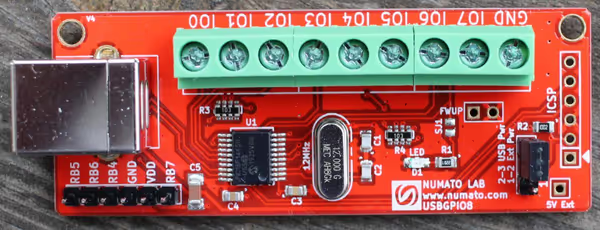
Numato Lab 8 Channel USB GPIO Module With Analog Inputs
Numato Lab offers various relay and GPIO boards as well as various FPGA solutions. Among GPIO boards you can have Ethernet, WiFi, Bluetooth, Modbus and USB GPIO boards. I've picked the smallest 8 channel USB module that offers 8 GPIO with 6 of which can also function as ADC.
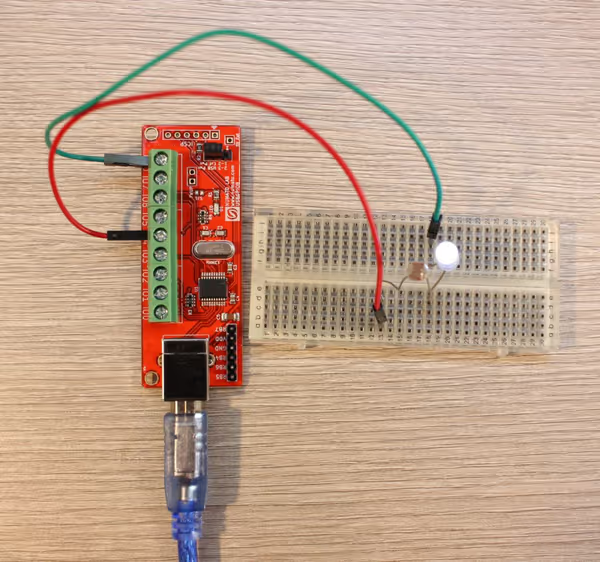

The prices aren't the lowest but it's not a low quality product. You get a good board, extended documentation and supplementary applications. GPIO boards start at 8 pin but can go up to 128 which should be enough for anyone.
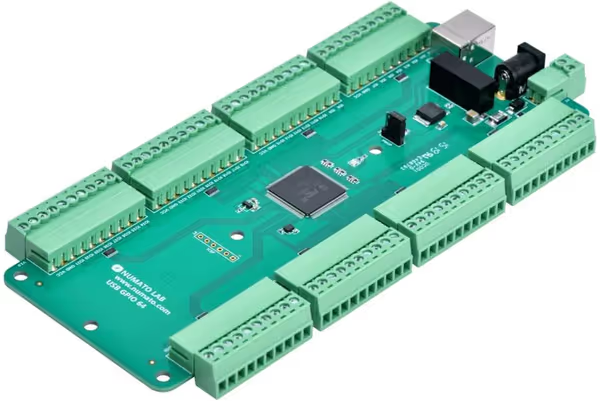
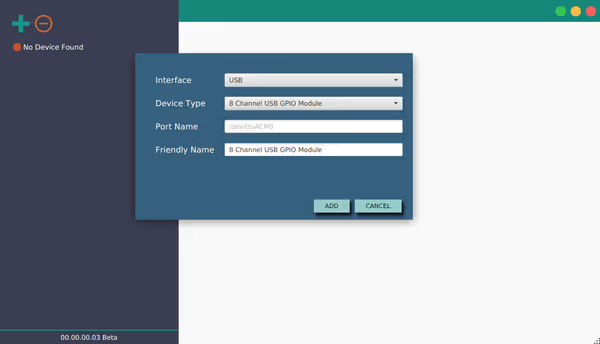
GPIO boards can be controlled on (most) Android devices with USB Host/OTG (or other matching interface) via serial console and also Theia application. Desktop operating systems can use Rhea application.
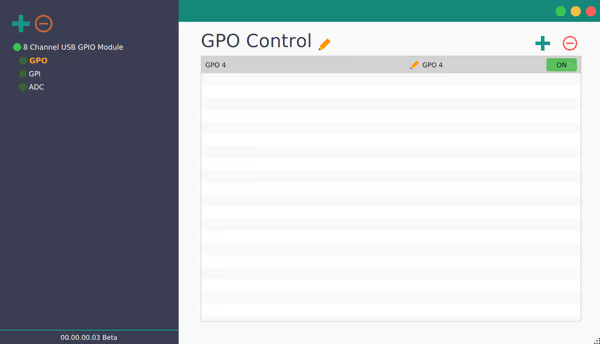
From the programming side the GPIO board uses a serial-USB adapter. You connect to it via serial connection and you control it by using plaintext commands. Numato has a detailed documentation and code examples. There are also third party Python modules like numato-gpio.
Digital GPIO can be used for automation, controlling some stepper motors and devices with simple digital interfaces. ADC can be used to get values from various measurement equipment, potentiometers, analog joysticks and alike.
Scripting GPIO Board
The documentation describes how to use a simple serial connection to connect to the board. On Linux it will be simple:
The ttyACM0 - name of the device may vary, check logs from dmesg
command for assigned name. When connected you can use text commands as described in the documentation, for example:
- gpio set NUMBER: sets given pin to high
- gpio clear NUMBER: sets given pin to low
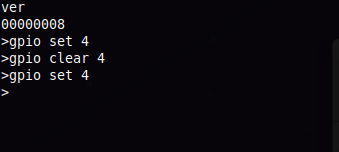
Python examples use pyserial to send such text commands while numato-gpio provides some level of abstraction. Note that the master branch of numato-gpio is tailored around 32-pin version while a more generic version is being prepared on the support-all-numato-usb-gpio-devices
branch at the time of writing this article.
A simple LED blink code would look like so:
import time

import numato_gpio as gpio

my_device_id = 0
gpio.discover()
device = gpio.devices[my_device_id]

device.setup(4, gpio.OUT)

for _ in range(10):
    device.write(4, 1)
    time.sleep(1)
    device.write(4, 0)
    time.sleep(1)
I used Pin 4 for this example. For my standard stepper motor (28BYJ-48 stepper motor with ULN2003 controller) test I used GPIO from 0 to 3:
import time

import numato_gpio as gpio

my_device_id = 0
gpio.discover()
device = gpio.devices[my_device_id]

device.setup(0, gpio.OUT)
device.setup(1, gpio.OUT)
device.setup(2, gpio.OUT)
device.setup(3, gpio.OUT)

pins = [
    0, 1, 2, 3,
]

steps = [
    [0],
    [0, 1],
    [1],
    [1, 2],
    [2],
    [2, 3],
    [3],
    [3, 0],
]

current_step = 0


def set_pins_low(pins):
    [device.write(pin, 0) for pin in pins]


def set_pins_high(pins):
    [device.write(pin, 1) for pin in pins]


while True:
    high_pins = steps[current_step]
    set_pins_low(pins)
    set_pins_high(high_pins)
    current_step += 1
    if current_step == len(steps):
        current_step = 0
    time.sleep(0.01)
This can control this simple stepper motor, however there seems to be some debounce time (or UART connection speed) preventing me from using shorter sleep between steps.
ADC can be used in a similar manner:
import time

import numato_gpio as gpio

my_device_id = 0
gpio.discover()
device = gpio.devices[my_device_id]

device.setup(0, gpio.IN)


while True:
    print(device.adc_read(0))
    time.sleep(0.5)
ADC should return a value from 0 - 1023 range based on voltage present on input (0-5V for this board).
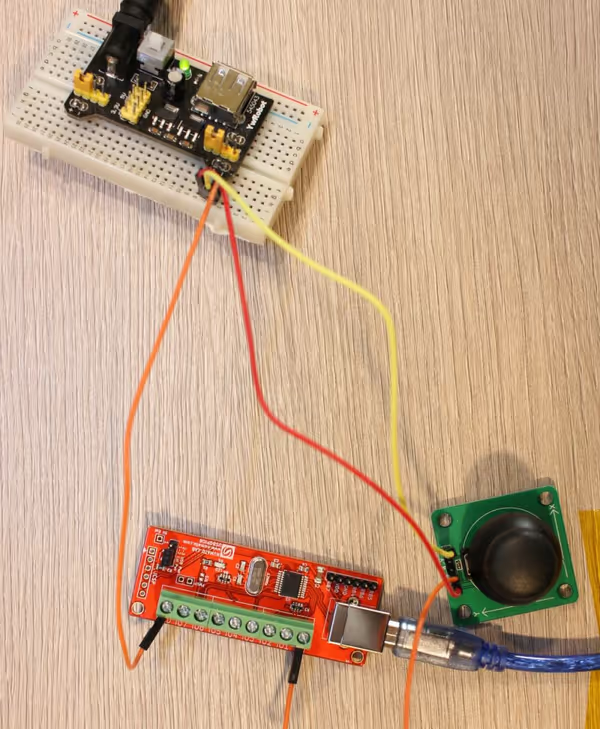
As it's simple serial communication it can be scripted from nearly any language having access to serial connection. It can also be used with some Android devices which can be handy for mobile/handheld projects.
Pi Supply Ryanteck RTk.GPIO
The RTk.GPIO board is a similar USB serial device that offers 28 GPIO pins arranged in a similar fashion to Raspberry Pi pin block however it's just digital GPIO and not the full I/O set Raspberry Pi offers.
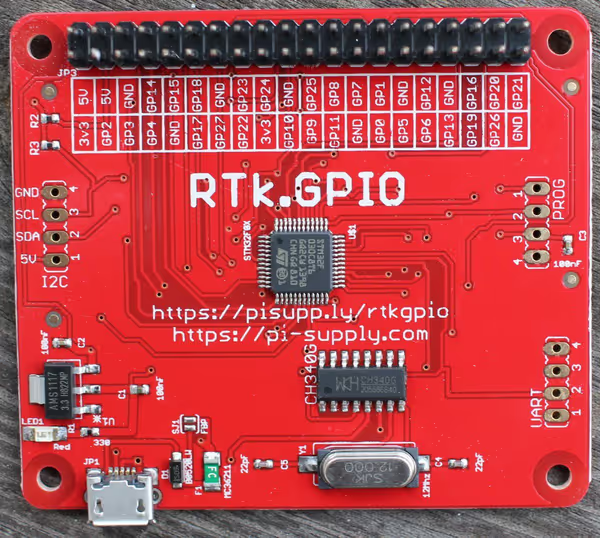
The board can be scripted via RTk Python package:
LED Blink example would look like so:
from time import sleep

import RTk.GPIO as GPIO

GPIO.setmode(GPIO.BCM)
GPIO.setup(26, GPIO.OUT)


for _ in range(10):
    GPIO.output(26, 1)
    sleep(0.5)
    GPIO.output(26, 0)
    sleep(0.5)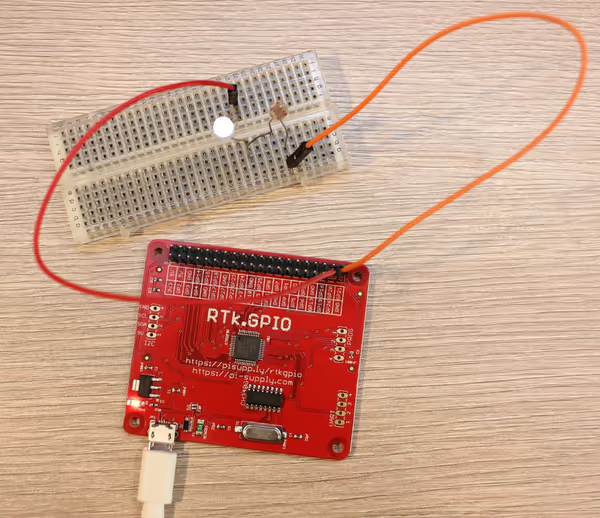
I used GP26 pin in this example. The stepper motor example will be very similar to the Numato board:
from time import sleep

import RTk.GPIO as GPIO

GPIO.setmode(GPIO.BCM)
GPIO.setup(26, GPIO.OUT)
GPIO.setup(19, GPIO.OUT)
GPIO.setup(13, GPIO.OUT)
GPIO.setup(6, GPIO.OUT)


pins = [
    26, 19, 13, 6,
]

steps = [
    [26],
    [26, 19],
    [19],
    [19, 13],
    [13],
    [13, 6],
    [6],
    [6, 26],
]

current_step = 0


def set_pins_low(pins):
    [GPIO.output(pin, 0) for pin in pins]


def set_pins_high(pins):
    [GPIO.output(pin, 1) for pin in pins]


while True:
    high_pins = steps[current_step]
    set_pins_low(pins)
    set_pins_high(high_pins)
    current_step += 1
    if current_step == len(steps):
        current_step = 0
    sleep(0.005)
I used pins next to each other but they have a random
order in terms of labels. The motor worked better on this board - managed to drive it faster than on the previous board.
Summary
There are various generic GPIO boards on the market. Some are part of a bigger project like the Numato ones, some are local and simpler like the RTk. They can be a handy tool when working with various components or when running out of pins on a SBC. For microcontroller boards you can get serial or I2C GPIO boards as well.
Comment article