PC scripting and monitoring with microcontrollers and custom components
Raspberry Pi or Arduino and other microcontrollers allow scripting electronics, using various displays or controlling LED panels, strips, and much more. When it comes to PCs the choices are limited usually to a premium PC case or motherboard with an LCD or some Chinese DIY display kit and an unknown executable to control it. When it comes to sensors, and power draw you are left with what the vendor put inside the CPU or on the graphics card. It's hard to use additional sensors or customize the look and feel of your PC.
In this article I want to list options and ideas possible when it comes to customizing a PC or building custom test benches. In separate articles, I'll provide some proof-of-concept implementations of some of those ideas.
Displays and monitoring panels
Let's start with LCD panels for PC statistics and monitoring data. There are ready to use HDMI display kits that can be used with AIDA64 application. The vertical ones use resolutions like 1920x480 or 3480x1100, but there are also smaller ones with more typical aspect ratios.
You can put such panel inside your case behind the glass panel or somewhere around your primary display. What and how it's displayed is controlled by AIDA64, which is a good but non-free application. Just note that some custom displays from Aliexpress and friends will come with their own custom software and may not be compatible with AIDA64 - so you would have to run a no-name executable on your PC.
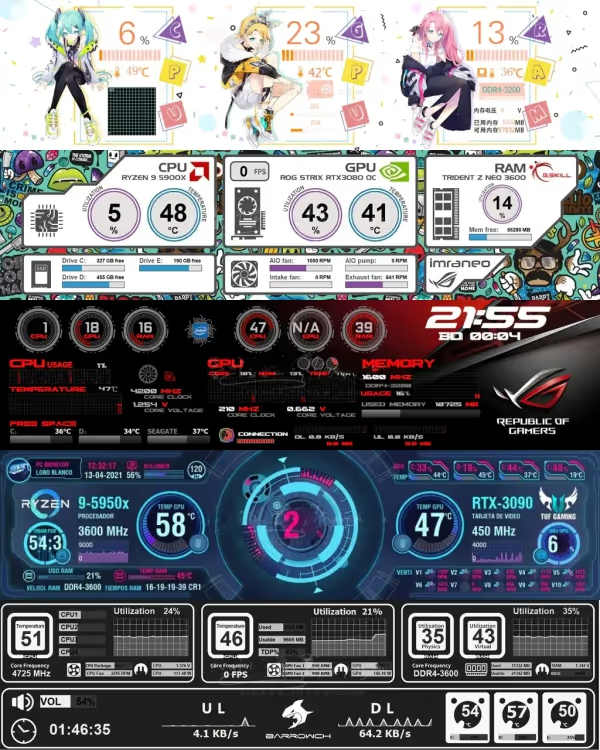
Some sellers provide configuration files that place the background image and the sense widgets in the correct positions for it to look that good. Your starting configuration for the AIDA64 Sensor Panel (in the preferences) won't look that good.
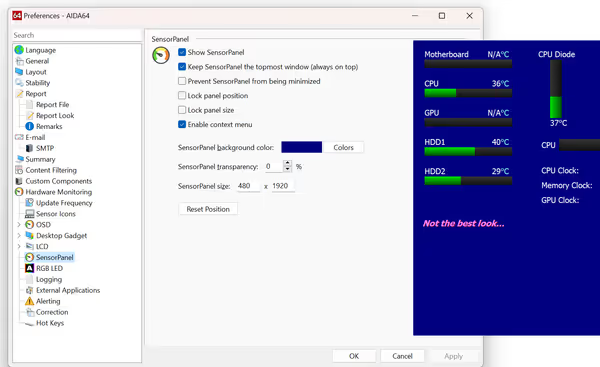
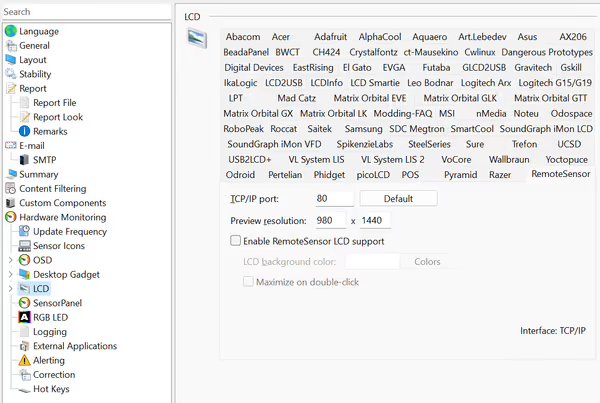
If you want to use a custom LCD panel that would fit your case panel or other part of the case you can use a kit without a case and select a matching size. You can take a look at for example Wisecoco kits - you need the LCD panel and an HDMI converter board to make it work.
All of those displays connect via HDMI to your graphics card/motherboard. This can have a few disadvantages or potential problems:
- You need additional HDMI ports on your graphics cards.
- Some games/Windows can have a problem when you have multiple displays connected and each has a different refresh rate and resolution.
- Some games and applications may launch on the wrong display.
If you lack extra HDMI ports or having problem with G-Sync/FreeSync or a particular game due to multi-monitor setup you can try using a DisplayLink HDMI video output generator that may be ignored
by the game/FreeSync/G-Sync as it does not support 3D acceleration (and isn't connected to the GPU) and allow primary display to function properly. Another option is to move the HDMI display to a single board computer integrated inside your PC case - like for example even Raspberry Pi Zero. You can't use AIDA64 or other PC native software, but you can come up with your code and solutions I'll mention later.
E-Ink, LCD, LED and VFD displays, nixie tubes
There are simpler displays, that usually can't do graphics and colors but can display text and simple pixel-art-type graphics. They can be connected to a microcontroller board via I2C or Serial interfaces. Some motherboards have serial headers present, but you can also use USB-Serial (UART) converters.
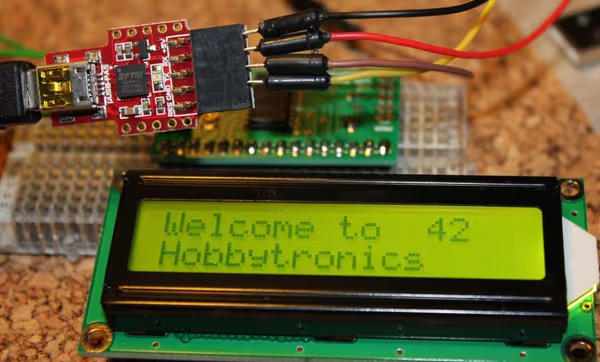
Such displays are much smaller and come in green or blue background backlight and matching contrast pixel color. There are also OLED variants (not the same as OLED PC monitors and TVs) with different color combinations or VFD displays and Nixies tubes meant for clocks, volume indicators, and alike that could be adapted for PC CPU/GPU load or temperature indicators. Those will require a microcontroller or RPi depending on which platform has ready-to-use libraries.
With luck you could find a VFD/LCD UART kit compatible with AIDA64, like this one, allowing you to use it directly with the PC without a need to code stuff.
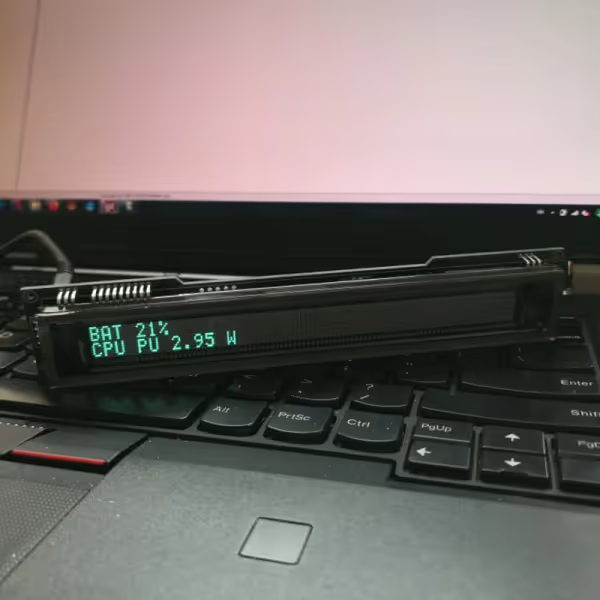
Industrial displays can have more features, even handle simple graphics, but will come at a higher price tag and may have limited support by existing MCU platforms.
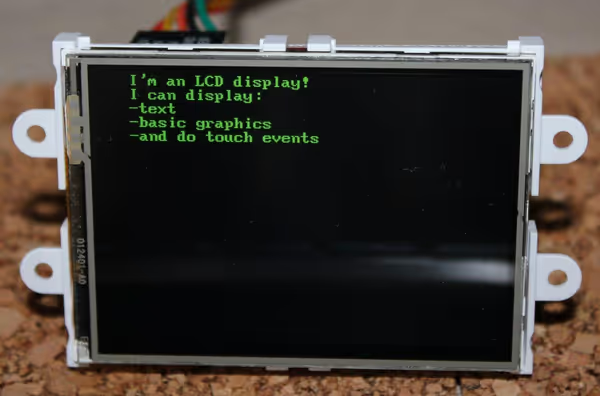
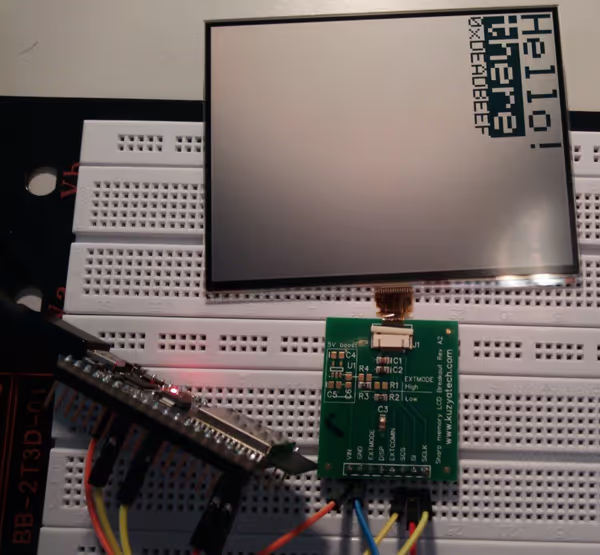
Waveshare is offering ePaper/eInk displays for Raspberry Pi and some microcontroller platforms. Such displays don't have a backlight but can be used for clean and low-power monitoring panels, but you will have to code the integration on your own. Bigger eInk displays do come at a big premium.
LED panels and strips
Makers familiar with microcontrollers or Raspberry boards know NeoPixel LED strips and panel quite well. With a WS2812B controller such LED components can be controlled up to a specific LED, so you can choose which LEDs to turn on and what color if it's an RGB LED.
You can use NeoPixel strips inside your PC to illuminate components according to your design or use rings or panels to visualize your PC load by the amount and color or LEDs turned on... This does however require some coding and integration of your PC with an MCU/RPi. The advantage is that you won't have to deal with some locked vendor app for the LEDs.
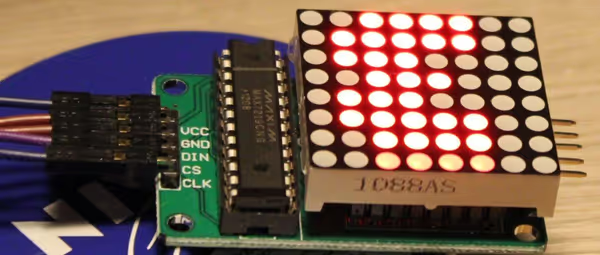
There are also MAX7219 8x8 LED blocks and sometimes bigger ones made of multiple combined 8x8 blocks. Those are simpler, single-color, and often used to display flowing text and other effects. But can also be used to turn on/off specific LEDs to visualize PC load or other sensor values. The support for MAX7219 and NeoPixel among Arduino/MicroPython/RPi is really good and there are ready-to-use libraries.
Integrating microcontrollers and single board computers
Most microcontroller boards can be connected to a PC via USB to be programmed. However, they function on their own and can't be directly bound to PC monitoring data or triggers. If you want an MCU to display the current load on a display or LED strip you have to send such data to the microcontroller over a serial connection (UART, Bluetooth, WiFi), and the code on the microcontroller must be watching for serial communication and reacting when specific data arrives.
Arduino has a custom protocol that could be used - Firmata - but this isn't getting direct access to board GPIO pins. The microcontroller will be using a library for a given display type and that can't be handled RAW from the PC. You need to code an interface - read incoming serial data and then display it. A similar design would be true for MicroPython/CircuitPython boards.
Single-board computers like Raspberry Pi, Pi Zero, and others can provide more connection options, like SSH server, shell over serial access, and more but still serial communication would be the easiest to integrate the two worlds. Pi Zero with its low power requirements could be powered from an internal USB header on your motherboard.
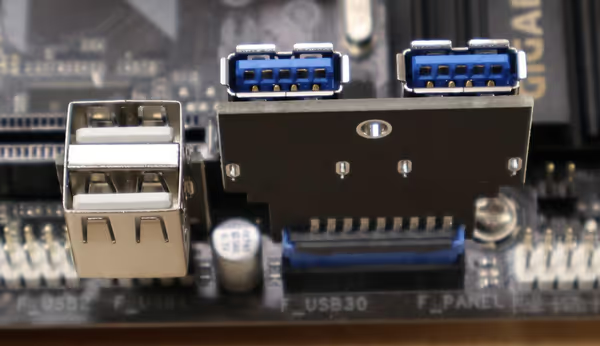
Some electronics prototyping platforms like TinkerForge can be scripted and controlled directly from your PC. The communication interface is nicely hidden behind their programming APIs available for multiple languages.
Power monitoring
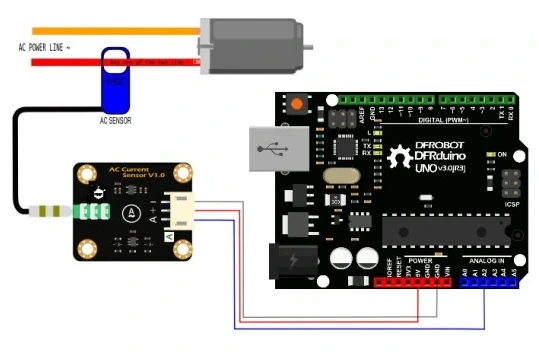
If you want to integrate an MCU with your PC then it's likely for external sensors handling like power usage. If you want to measure what's current is flowing through a given PCIe or CPU power wire (or any other power wire) then there are analog current meters that can be handled by ADC pins of a microcontroller board.
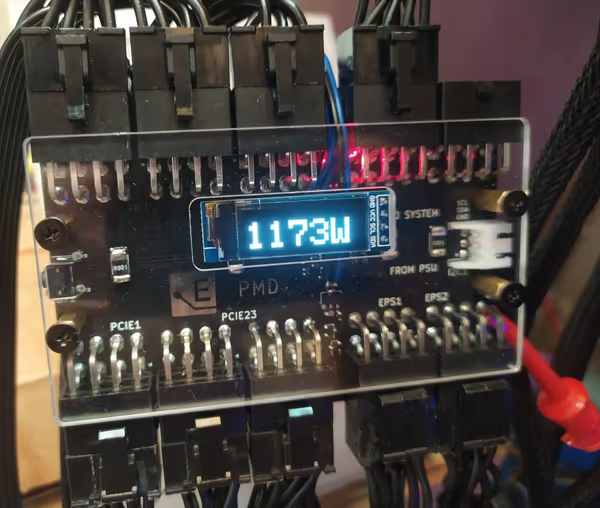
But if you want a full package and something more professional then Elmorlabs has you covered. For something custom, when making a closer to production
prototypes then TinkerForge boards and custom electronics services may come in handy. Sadly Nvidia PCAT is not being sold by Nvidia.
Temperature monitoring and fan control
If you want additional temperature measuring points then that is not a problem for a microcontroller. Same with controlling 12V fans with a relay. If you want some airflow after PC power off or want to cool some external device that can get hot this can be done outside of PC control.
Some magnetic sensors should be even able to detect if an existing fan is spinning, allowing for a fan spin monitoring application ;)
Remote power on/off and reset control
To power on or reset a PC you need to connect two pins on the motherboard. A MCU can do that with for example an optocoupler or a solid state relay. You can program the microcontroller to power on/off or reset the PC based on some triggers.
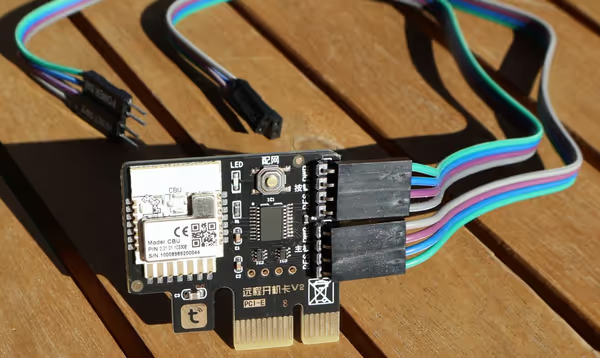
Optionally you can use available PCIe or USB-powered remote/wireless control boards you can control remotely via an Android app (which leaves some questions when it comes to security).
Custom PC cases and test benches
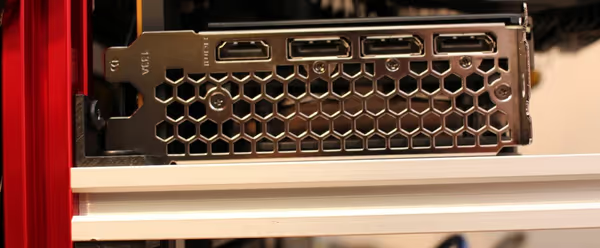
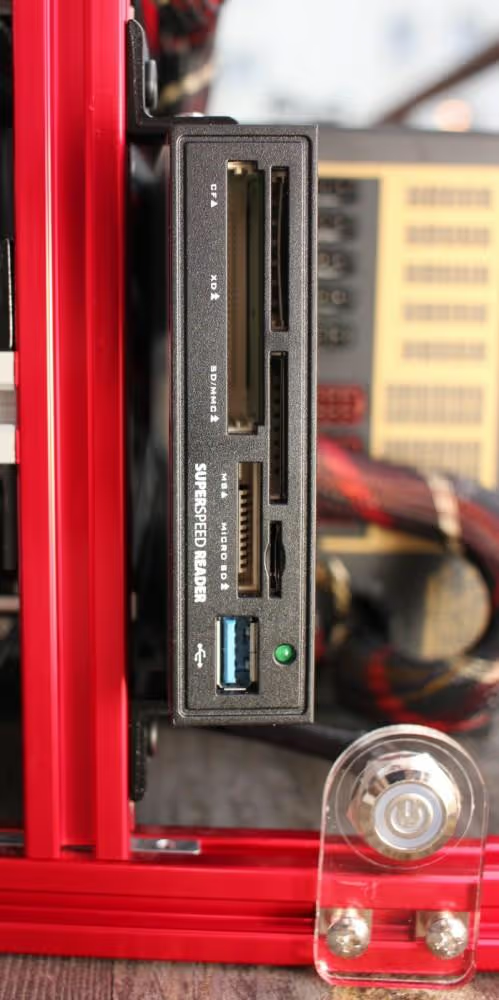
If you are building a very custom test bench or just an open PC case and want to mount some additional fans, boards, panels, or water cooling kit you may look at V-slot based PC case kits. As V-slot is a popular construction standard for various workshop devices you can find local providers quite easily and get more components needed to mount things.
Aliexpress has multiple kits, some vertical some horizontal like this one. I would not recommend those using plexi panels as base as the kit I got had quite elastic plastic panels. The problem with V-slot-based PC cases is that you will spend a while placing all the motherboard mounting standoffs.
Aside from that you may find simple plexi or metal open test benches which are just plexi boards with standoff for a motherboard. If you have multiple motherboards you swap back and forth then getting such plexi bases could be handy
Comment article