Scripting Ximea cameras in Python with Flask and PyQt
Machine vision cameras are usually intended to be integrated into third party vision systems. This puts a requirement on camera makers to maintain a good set of APIs for their products so that so software developers can use their hardware easily. In this tutorial I'll showcase a PyQt5 and a web based simple imaging applications using Ximea Python API.
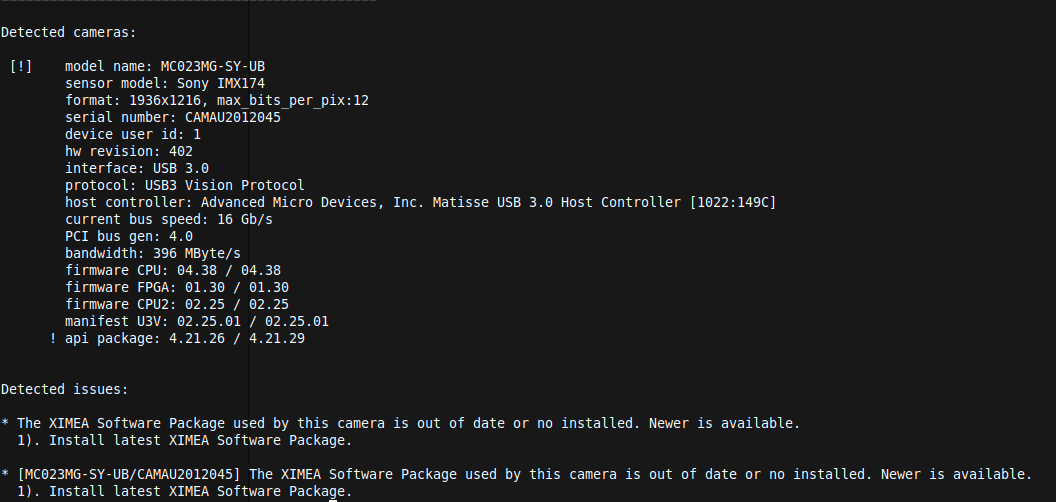
For this tutorial I used Ximea XiC MC023MG-SY - a monochrome USB 3.1 camera that I reviewed few days ago. The API will work for other Ximea cameras. Color cameras will have a small difference in saving frames as images.
IronPython
Before we go and play with Python APIs we can have some Windows fun with .NET bindings. IronPython is a Python implementation on the .NET platform and can use .NET libraries. I used Ximea .NET API in 2012 when scripting one of their cameras and the API didn't changed in any major way. For the mono XiC MC023MG-SY simple capture script looks like so:
#-*- coding: utf-8 -*-

import clr

clr.AddReference("xiApi.NETX64.dll")
clr.AddReference("System.Drawing")

import System.Drawing
from System.Drawing.Imaging import PixelFormat

from xiApi.NET import *


cam = xiCam()
cam.OpenDevice(0)
cam.SetParam(PRM.BUFFER_POLICY, BUFF_POLICY.SAFE)
cam.SetParam(PRM.EXPOSURE, 9000)
cam.SetParam(PRM.GAIN, 10.0)
cam.SetParam(PRM.IMAGE_DATA_FORMAT, IMG_FORMAT.MONO8)

fileobj = System.Drawing.Bitmap(1936, 1216, PixelFormat.Format8bppIndexed)
cam.StartAcquisition()
cam.GetImage(fileobj, 1000)
fileobj.Save("a.bmp")
cam.StopAcquisition()

cam.CloseDevice()
We open the first camera, set exposure, gain and alike and then save a frame as a BMP.

Python
Python bindings are a newer addition for Ximea and this is the first time I was able to use it. It exposes same feature set as the .NET library so we can write a similar simple frame capture script:
from ximea import xiapi
import PIL.Image

# create instance for first connected camera
cam = xiapi.Camera()

# start communication
print('Opening first camera...')
cam.open_device()

# settings
cam.set_imgdataformat('XI_MONO8')
cam.set_exposure(20000)

# create instance of Image to store image data and metadata
img = xiapi.Image()

# start data acquisition
print('Starting data acquisition...')
cam.start_acquisition()

# get data and pass them from camera to img
cam.get_image(img)
data = img.get_image_data_numpy()

# stop data acquisition
print('Stopping acquisition...')
cam.stop_acquisition()

# stop communication
cam.close_device()

# save acquired image
print('Saving image...')
img = PIL.Image.fromarray(data, 'L')
img.save('xi_example.bmp')
# img.show()

print('Done.')
On Linux the SDK installs Ximea Python package in global site-package while on Windows you have to copy-paste it to your Python install site packages (or virtualenv). The package itself isn't available on pypi at the time of writing this tutorial.
On Linux the initialization may take a while so wait until it finishes or returns an error (you may have to change some settings of your system).
Desktop application with PyQt5
Qt and it Python bindings can be used to create modern cross-platform desktop applications. Using QtDesigner I created a simple interface:
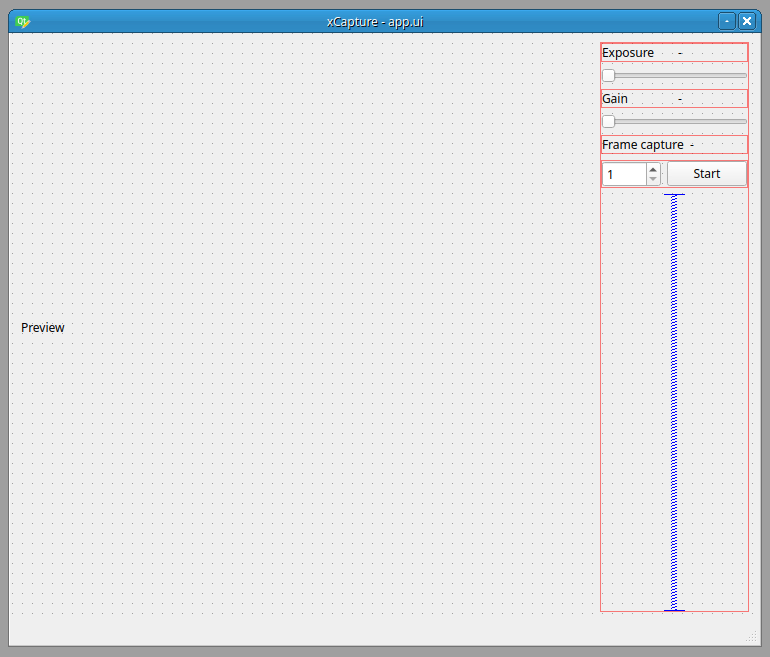
Main application class can look like so:
class Recorder(QtWidgets.QMainWindow, viewer.Ui_xCapture):
def __init__(self, parent=None):
super().__init__(parent)
self.setupUi(self)
xiC = ximea.XiCMonoConfig()
self.camera = ximea.XimeaCamera(xiC.get_instance())
self._configure_sliders(xiC)
self._connect_signals()
self._start_preview()
def _configure_sliders(self, xiC):
self.exposureSlider.setMinimum(xiC.min_exposure())
self.exposureSlider.setMaximum(xiC.max_exposure())
self.exposureSlider.setSingleStep(xiC.exposure_increment())
self.gainSlider.setMinimum(xiC.min_gain())
self.gainSlider.setMaximum(xiC.max_gain())
self.gainSlider.setSingleStep(xiC.gain_increment())
def _connect_signals(self):
self.exposureSlider.sliderMoved.connect(self._exposure_changed)
self.gainSlider.sliderMoved.connect(self._gain_changed)
self.frameCounter.valueChanged.connect(self._frame_count_changed)
self.captureButton.clicked.connect(self._start_capture)
def _start_preview(self):
self.preview_timer = QtCore.QTimer()
self.preview_timer.timeout.connect(self._render_preview)
self.preview_timer.setInterval(200)
self.preview_timer.setSingleShot(False)
self.preview_timer.start()
def _exposure_changed(self, exposure):
self.exposureValue.setText(str(exposure))
self.camera.set_exposure(exposure)
def _gain_changed(self, gain):
self.gainValue.setText(str(gain))
self.camera.set_gain(gain)
def _frame_count_changed(self, frame_count):
self.captureValue.setText(str(frame_count))
def _start_capture(self):
pass
def _render_preview(self):
raw = self.camera.get_frame()
pixmap = self._convert_to_pixmap(raw)
self.previewWidget.setPixmap(pixmap)
@staticmethod
def _convert_to_pixmap(pillow_image):
qim = ImageQt(pillow_image)
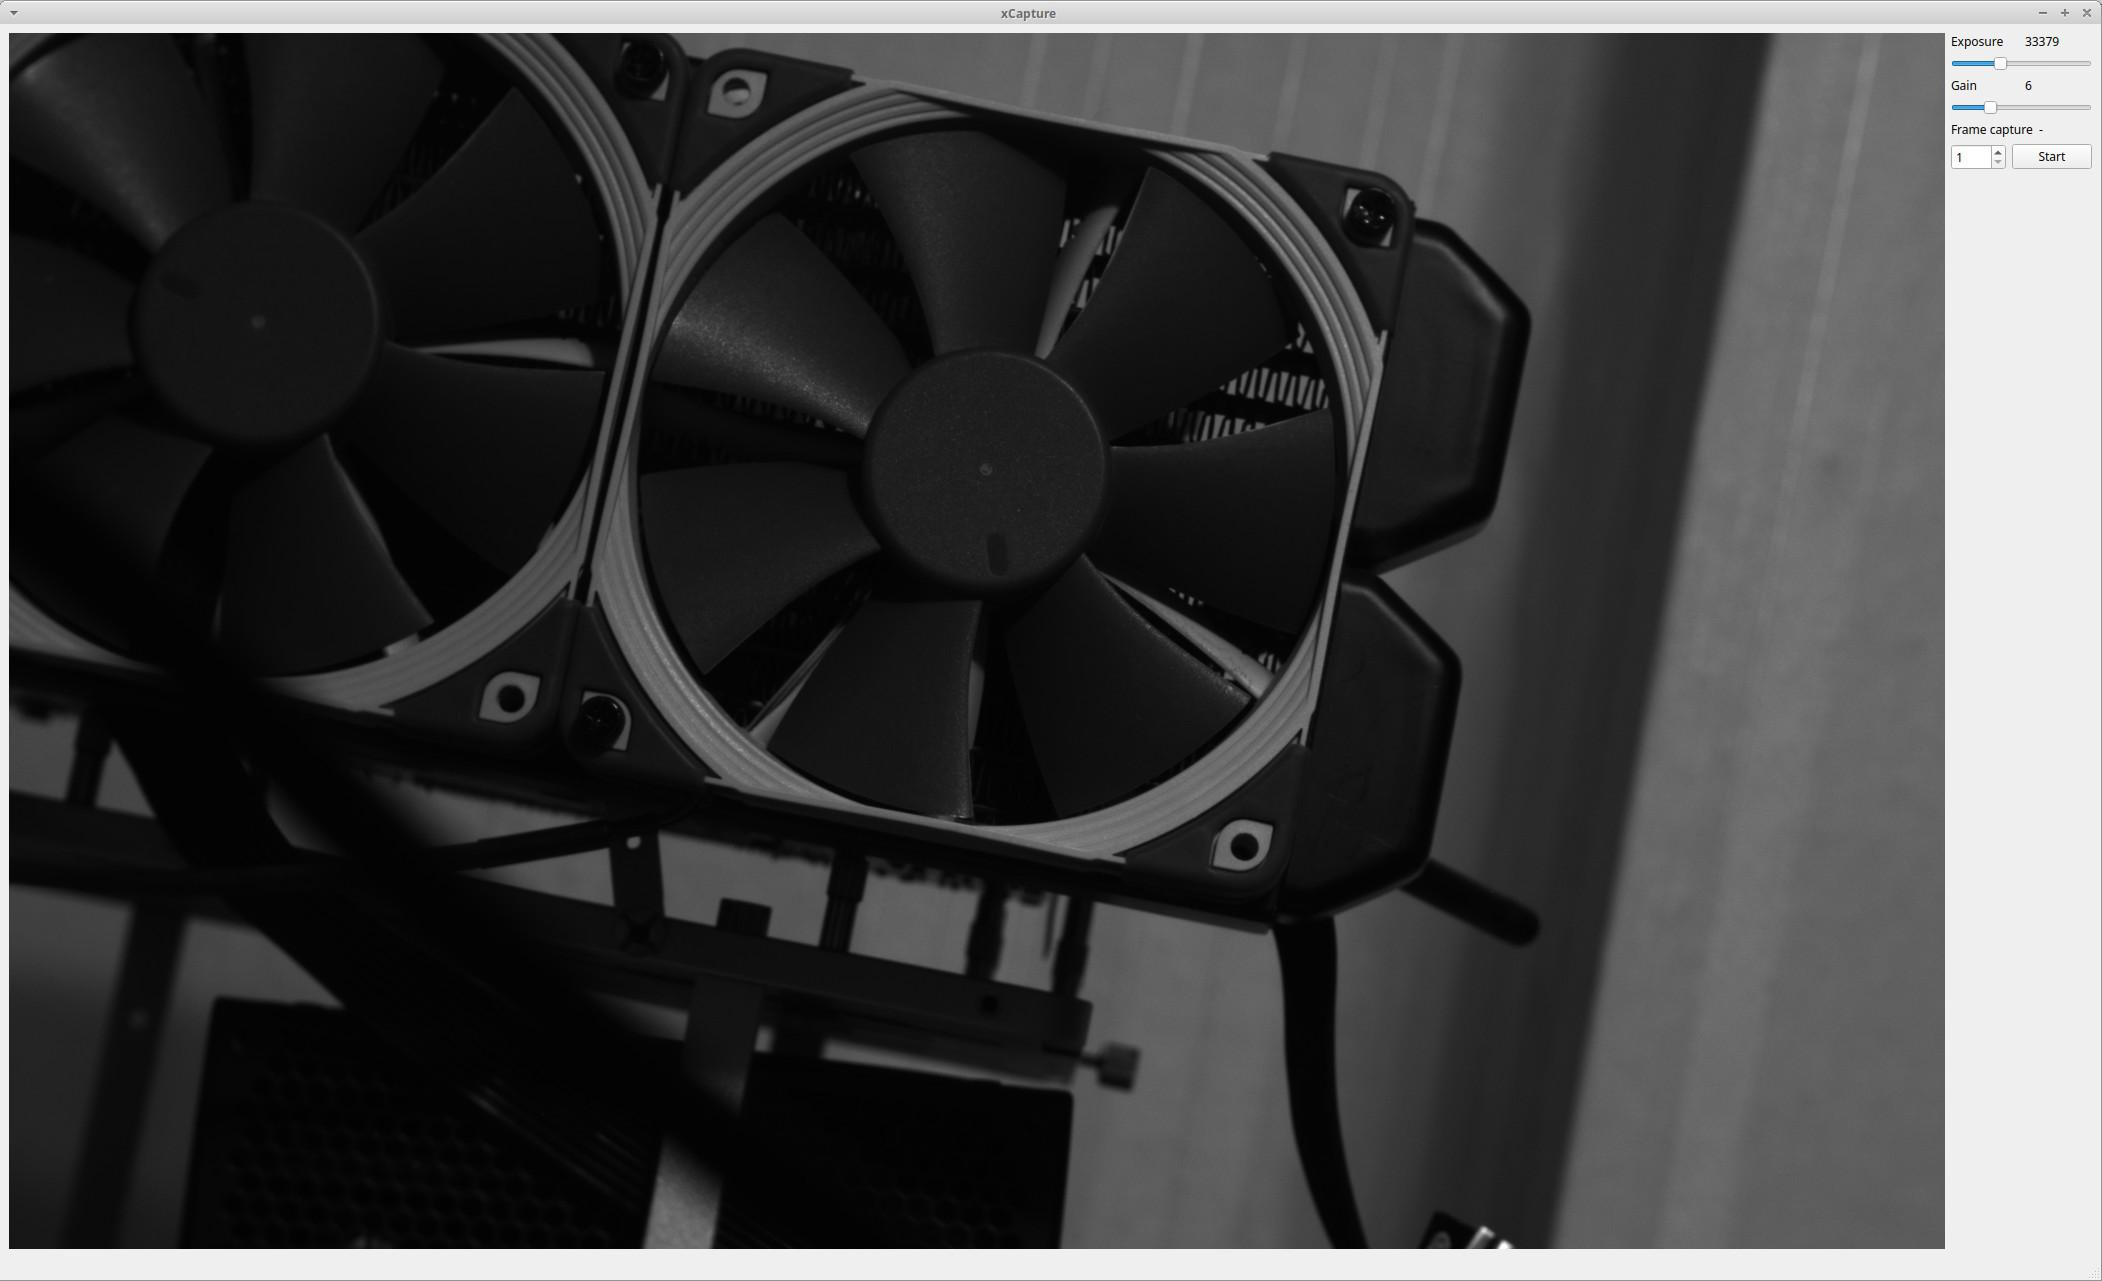
return QtGui.QPixmap.fromImage(qim)In this example in __init__ I initialize the camera API and then in _configure_sliders I use the API to set min/max values for exposure time and gain sliders. Next in _connect_signals I connect PyQt signals from those sliders to class methods that then set exposure time and gain value on the camera.
Preview is made by a Qt Timer that takes and displays one frame every 200ms in _start_preview. The camera API returns a Pillow image object so before displaying it within QLabel I have to convert it to Qt Pixmap object.
To make recording of multiple frames non-blocking to the app we have to use another thread. For Qt apps we can use QThread:
class RecordingWorker(QtCore.QObject):
    finished = QtCore.pyqtSignal()
    progress = QtCore.pyqtSignal(int)

    frames_to_capture = 0
    camera = None

    def run(self):
        for i in range(self.frames_to_capture):
            image = self.camera.get_frame()
            image.save('frames/%d.bmp' % i)
            self.progress.emit(i + 1)
        self.finished.emit()
def _start_capture(self):
self.preview_timer.stop()
task = self._get_recording_task()
task.start()
def _get_recording_task(self):
self.thread = QtCore.QThread()
self.recorder = RecordingWorker()
self.recorder.frames_to_capture = self.frameCounter.value()
self.recorder.camera = self.camera
self.recorder.moveToThread(self.thread)
self.thread.started.connect(self.recorder.run)
self.recorder.finished.connect(self.thread.quit)
self.recorder.finished.connect(self.recorder.deleteLater)
self.thread.finished.connect(self.thread.deleteLater)
self.thread.finished.connect(
lambda: self.preview_timer.start()
)
self.recorder.progress.connect(
lambda progress: self.statusbar.showMessage("Captured: %d" % progress)
)
return self.threadHere we create a QObject class that has the task defined and then we assign it to a QThread. During capture we have to stop the preview timer as both methods use camera acquisition. A final, much better solution would be to show last captured frame as the preview as well.
This is a very basic application missing some essential UX/UI features:
- Tested camera supports long exposures thus making the range to large for simple slider - it would be better to offer an exposure ranges to allow easy exposure setting for any range.
- Preview is relatively slow and run directly with a timer - in an actual application it's better to run it non-blocking and at higher rate and offer preview while recording.
- There is no camera selection/setup
- Recording is very basic saving at fixed filenames - you would want directory selection, prefixing captures and more.
Full source code is available on Github
Web/server application with Flask
Desktop apps get complex quite quickly and you have to build and distribute the software for end PCs. Other option is to combine a camera with a local PC or local embedded PC system that offers a web based interface that can be accessed easily from desktop or mobile via a browser.
For this proof of concept app I used Flask and bit of JavaScript. The UI is made with HTML and some CSS:
<table>
<tr>
<td class="preview">
<img alt="Preview" id="preview" src="/static/placeholder.bmp"/>
</td>
<td class="ui">
<h3>Exposure <span class="exposure-value"></span></h3>
<div class="slider">
<input id="exposure" max="{{ max_exposure }}" min="{{ min_exposure }}" type="range" value="0"/>
</div>
<h3>Gain <span class="gain-value"></span></h3>
<div class="slider">
<input id="gain" max="{{ max_gain }}" min="{{ min_gain }}" step="0.5" type="range" value="0"/>
</div>
</td>
</tr>
</table>
JavaScript is used to send via AJAX requests exposure time and gain values as well as trigger the preview:
function setupSliders() {
var exposure = $('#exposure');
exposure.change(function () {
var value = exposure.val();
$('.exposure-value').text(value);
setExposure(value);
});
var gain = $('#gain');
gain.change(function () {
var value = gain.val();
$('.gain-value').text(value);
setGain(value);
});
}
function setExposure(value) {
doRequest("/set-exposure/", value);
}
function setGain(value) {
doRequest("/set-gain/", value);
}
function doRequest(path, value) {
return $.ajax({
url: path,
data: {'value': value},
method: 'POST',
});
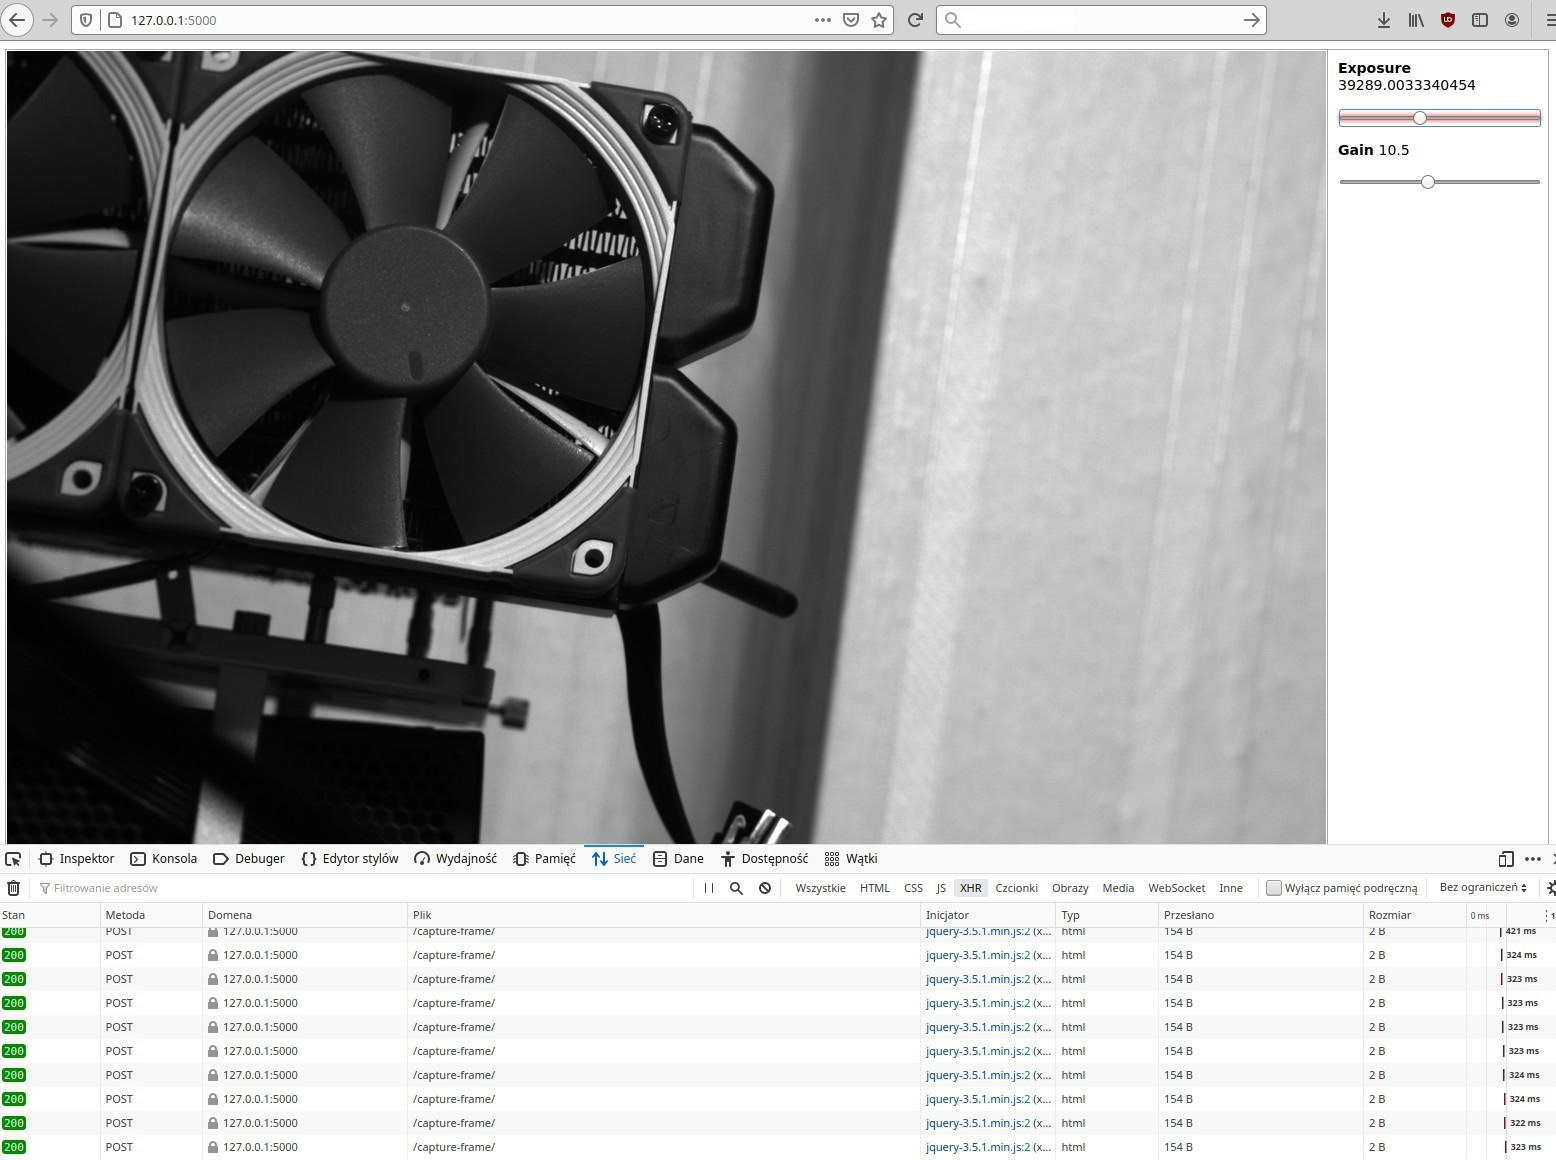
}Preview is done by refreshing an image tag on an interval:
setTimeout(function() {
    refreshPreview();
}, 200);

function refreshPreview() {
    captureFrame().done(function () {
        var time = new Date();
        $('#preview').attr("src", "/static/preview.bmp?" + time);
        setTimeout(function() {
            refreshPreview();
        }, 200);
    });
}
In this example next preview cycle is started after current one finishes as the API will throw an exception if you try to capture a frame when one is already in the acquisition process.
Flask application is quite simple:
import flask

from cameras import ximea

xiC = ximea.XiCMonoConfig()
camera = ximea.XimeaCamera(xiC.get_instance())
app = flask.Flask(__name__)


@app.route('/')
def main_page():
    max_exposure = min([xiC.max_exposure(), 1000000])  # max_exposure to high for simple slider
    return flask.render_template(
        'index.html', min_exposure=xiC.min_exposure(), max_exposure=max_exposure,
        min_gain=xiC.min_gain(), max_gain=xiC.max_gain(),
    )


@app.route('/set-exposure/', methods=['POST'])
def set_exposure():
    camera.set_exposure(float(flask.request.form['value']))
    return 'ok'


@app.route('/set-gain/', methods=['POST'])
def set_gain():
    camera.set_gain(float(flask.request.form['value']))
    return 'ok'


@app.route('/capture-frame/', methods=['POST'])
def capture_frame():
    image = camera.get_frame()
    image.save('static/preview.bmp')
    return 'ok'
Flask will start after camera gets initialized. The main route displays the template with the interface while other are used by the AJAX requests - set exposure, gain, take exposure.
This is a very basic application. For a more production-ready you would want a more refined solution:
- Camera handling should be moved to separate internal server/process and Flask should be used as a proxy between the web and the camera.
- AJAX/REST API for managing camera actions and settings should use some validation and schema
- For a more advanced and user friendly web interfaces you can use SPA framework like Ember.js or Angular.
Web based interfaces could be used for edge-type imaging systems where camera performs capture locally but then sends to the main server only processed data - using for example a machine learning coprocessor or some image analysis software running locally. Or for a stand-alone camera in a portable package.
Full source code is available in the Github repository.
Other solutions
Ximea among others supports also GenICam standard for camera operations. In Python there is a highly sophisticated Harvester project that can be used for various vision applications. There is also a PyQt5 GUI for it. It will require a CTI file, which is provided with Ximea SDK package (on Linux it will be /opt/XIMEA/lib/).
Other machine vision camera vendors offer their own APIs as well as quite often support some of the industry standards (like GenICam) and popular apps. You can pick exactly what you need.
Comment article