Atrix Lapdock - a laptop-like docking station for mini PCs
Motorola Atrix Lapdock is a docking station (dock) for Motorola Atrix smartphones, which aren't on the market any more. Remaining Lapdocks can now be found much cheaper on ebay and similar sites. Atrix Lapdocks provide a latop-like features - they have a battery, keyboard, touchpad and a screen.
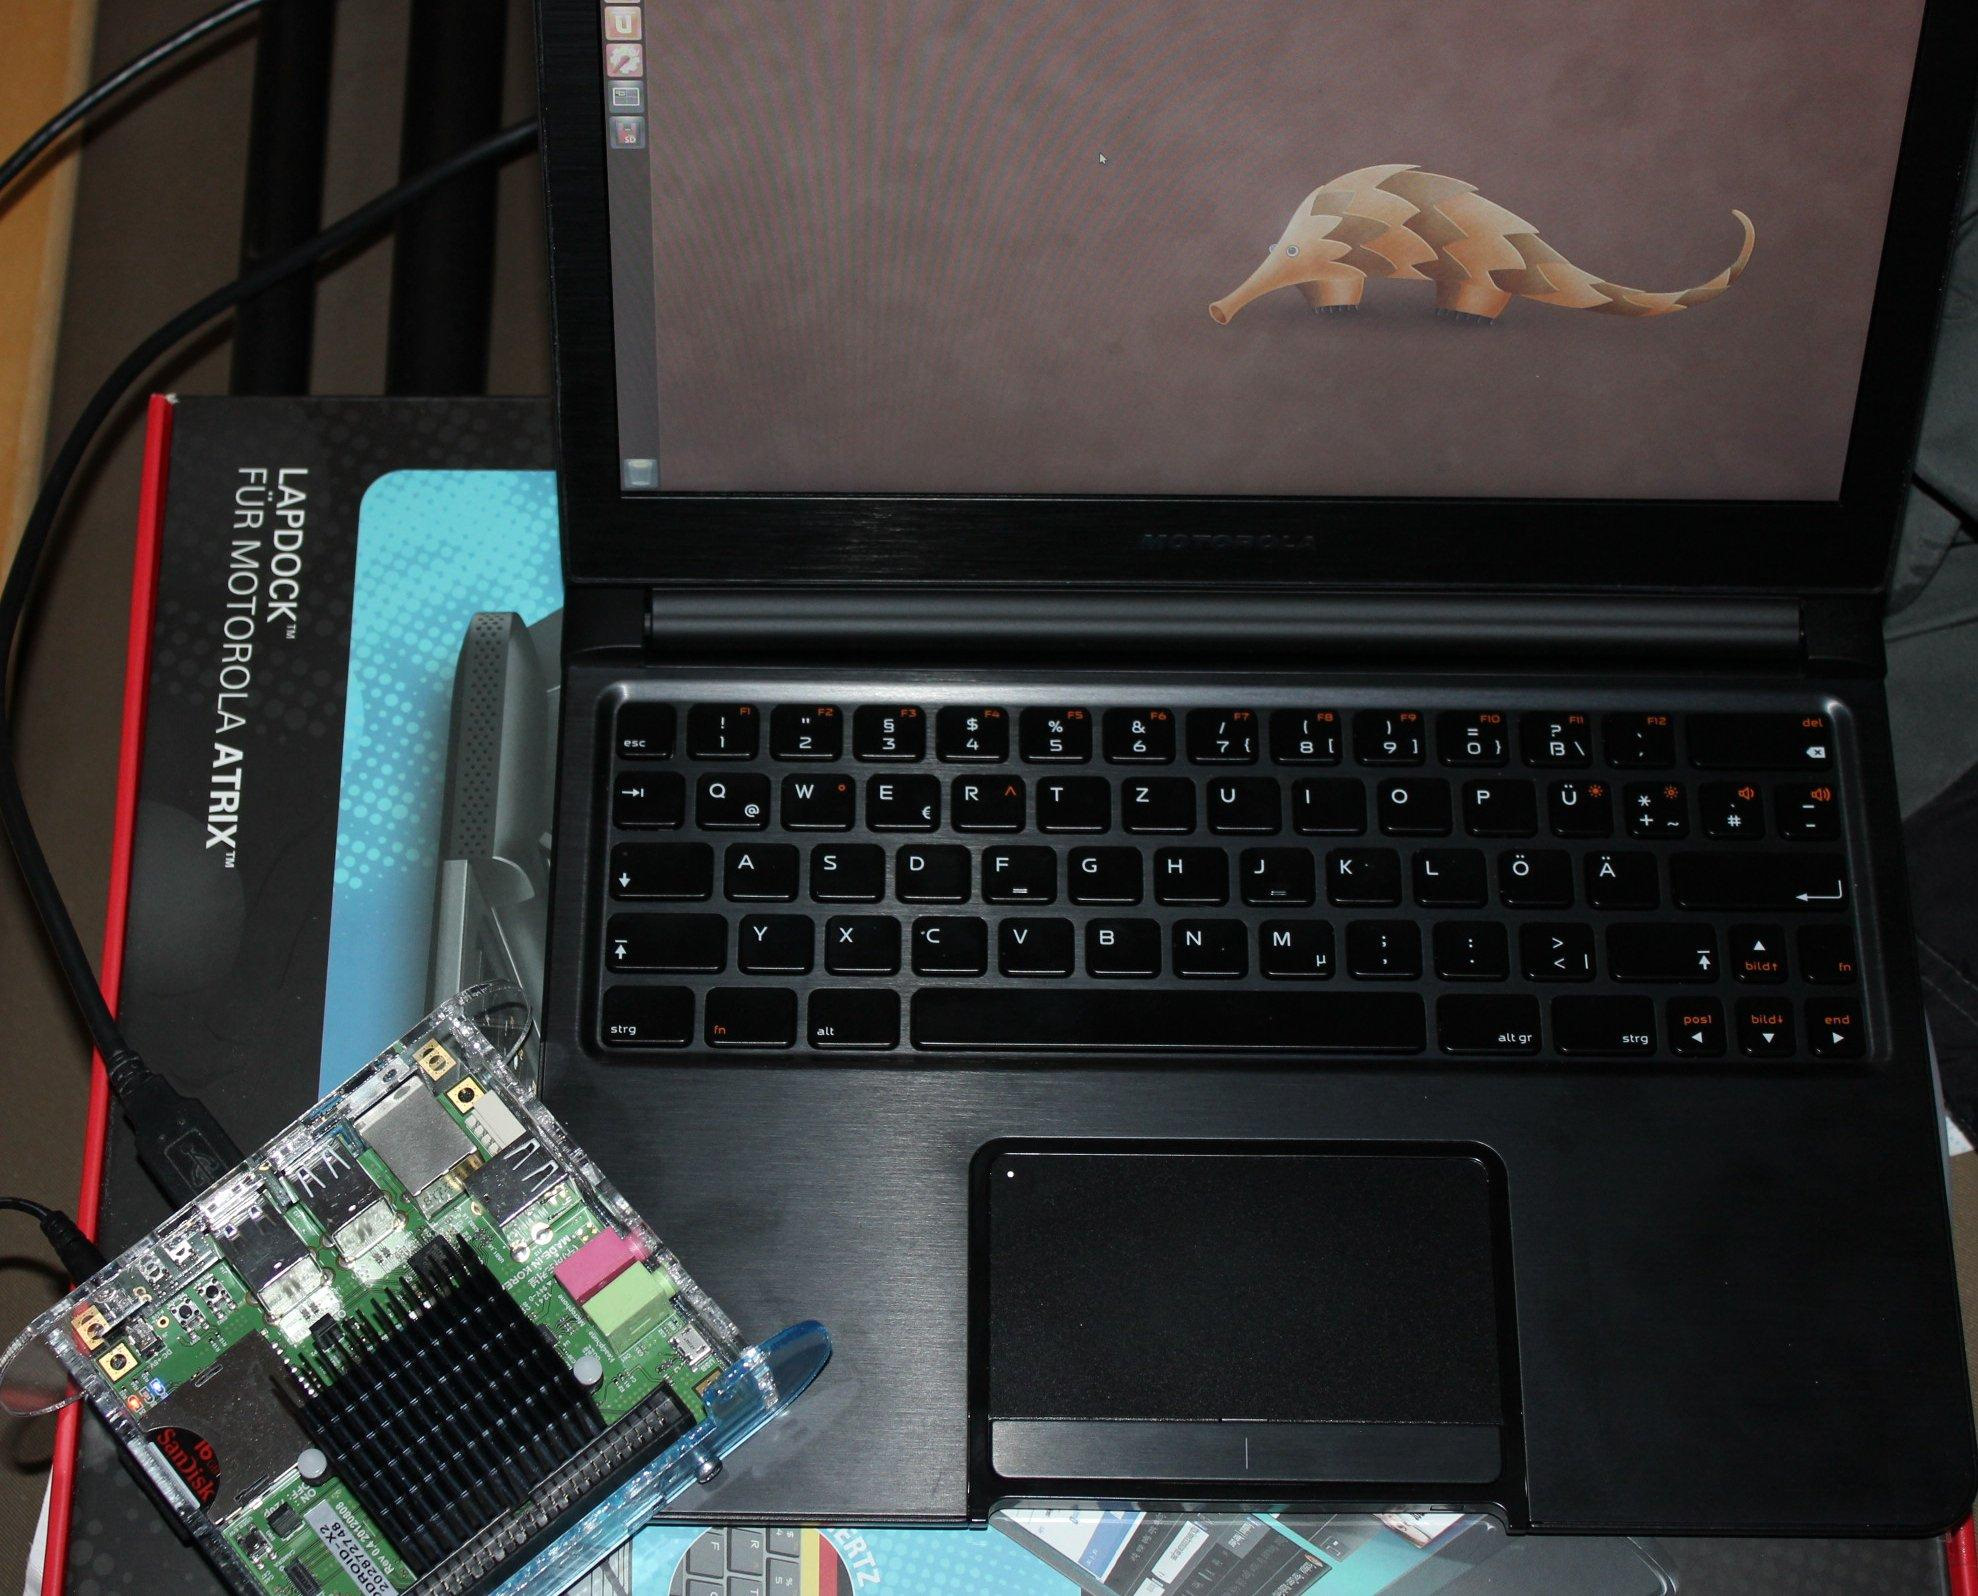
Atrix Lapdocks are now an interesting piece of hardware for Raspberry Pi and similar mini PC users. The docking station allows us to create a laptop-like Raspberry computer. The battery in the dock provides power to the mini computer allowing "mobile" use.
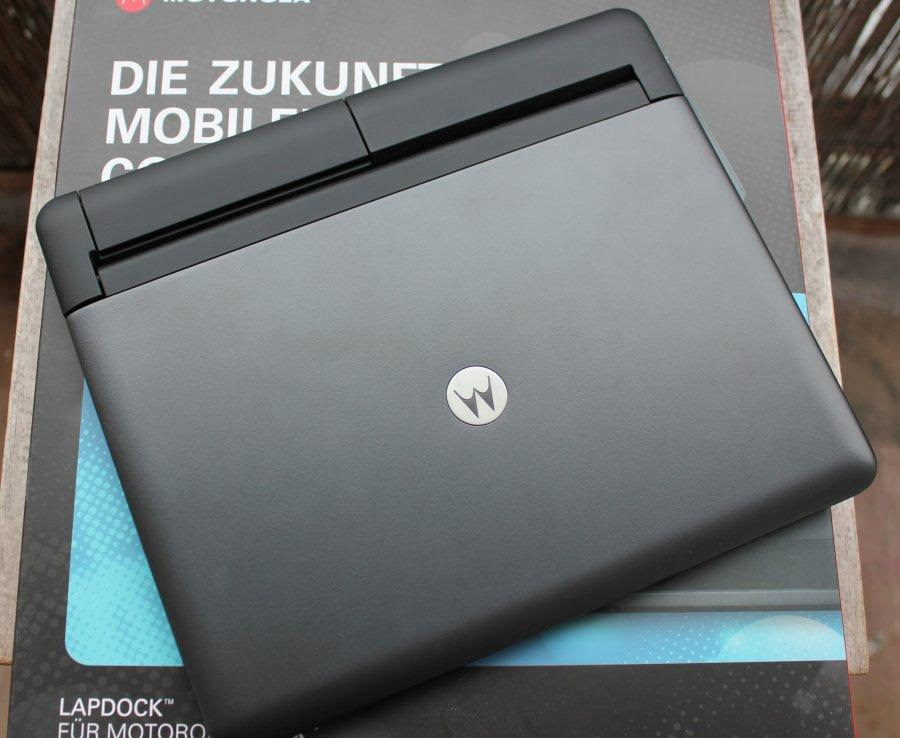

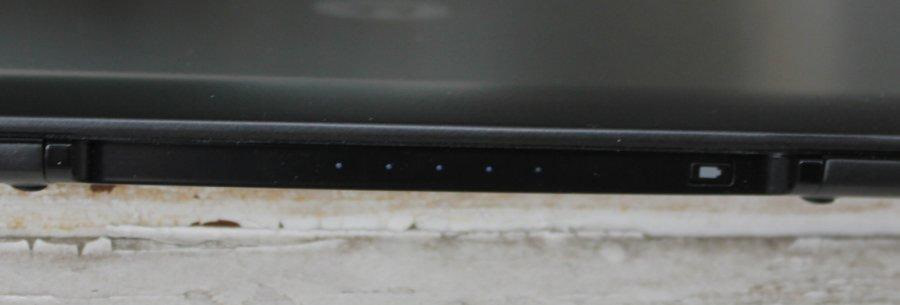
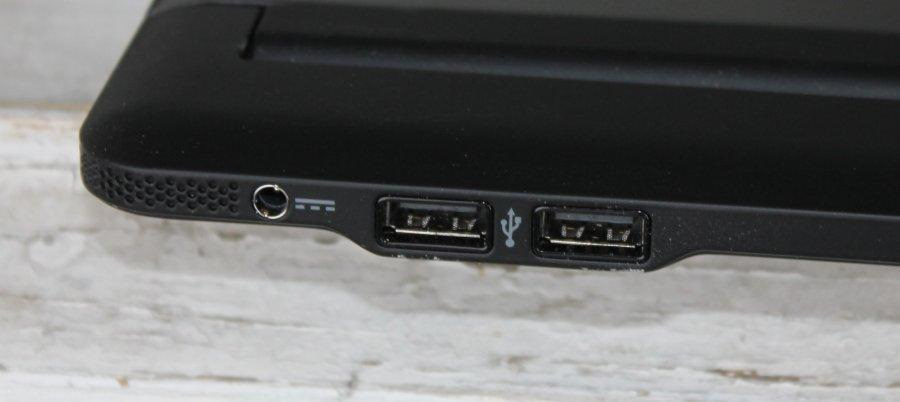
Lapdock consists of 36Wh rechargeable battery, 11,6" screen, a touch pad, keyboard, stereo speakers and two USB ports. It connects to the Atrix smartphone or other devices via micro HDMI and micro USB. The USB provides power for the device.
You can find the device on ebay and similar sites. Some shops still sell new Lapdocs, but used can also be found. Note that depending on the origin the keyboard layout may differ (including like Hebrew keyboard layout). Read the description before buying.
Connecting Atrix Lapdock to a computer
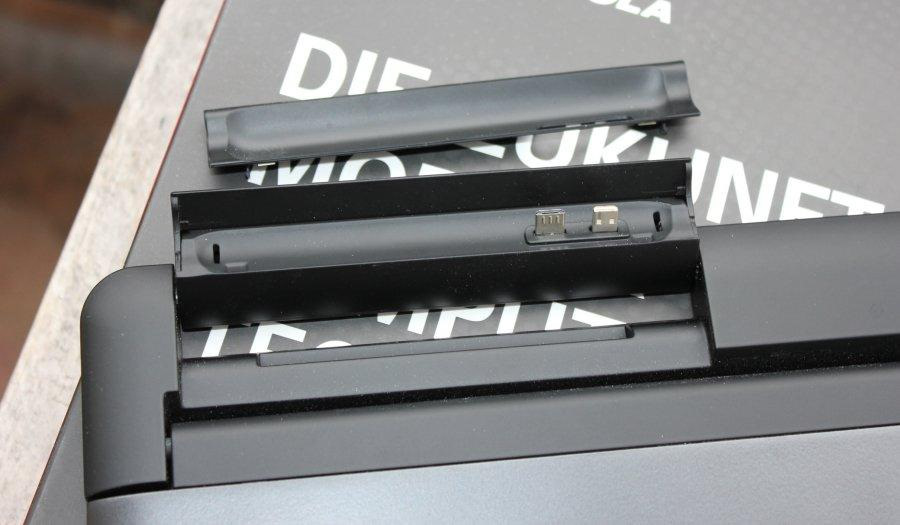
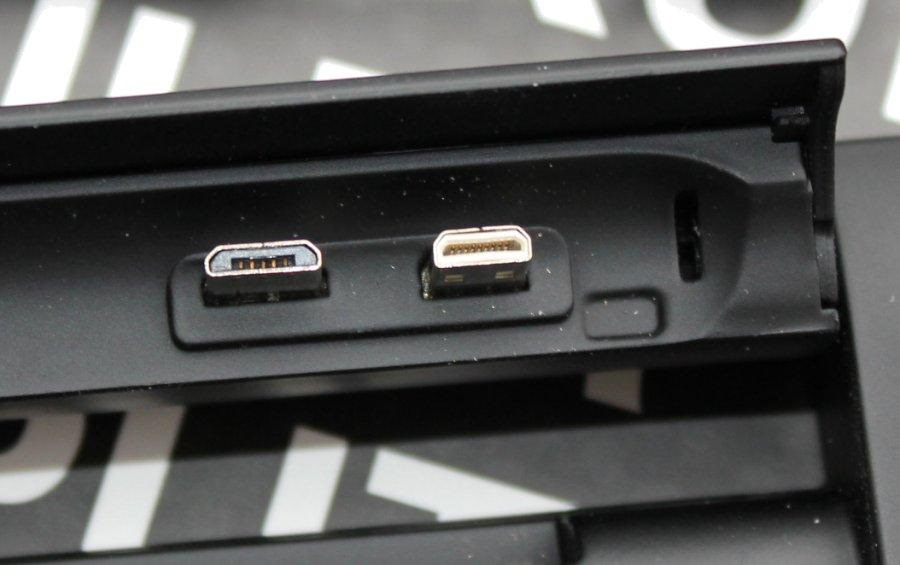
On the back of the dock you can flip a panel to reveal a Micro HDMI and Micro B USB male ports. Those were used to connect Atrix phone to it. To connect the dock with Raspberry Pi or other computer we have to use some cable magic. The ports are male and they are close to each other which makes it harder than usual. Also the Micro B USB provides power as well as keyboard/touchpad functionality. That worked for the phone, but for computers we will have to split the power lines from the keyboard/touchpad lines (even if you don't plan to use the power from the dock).
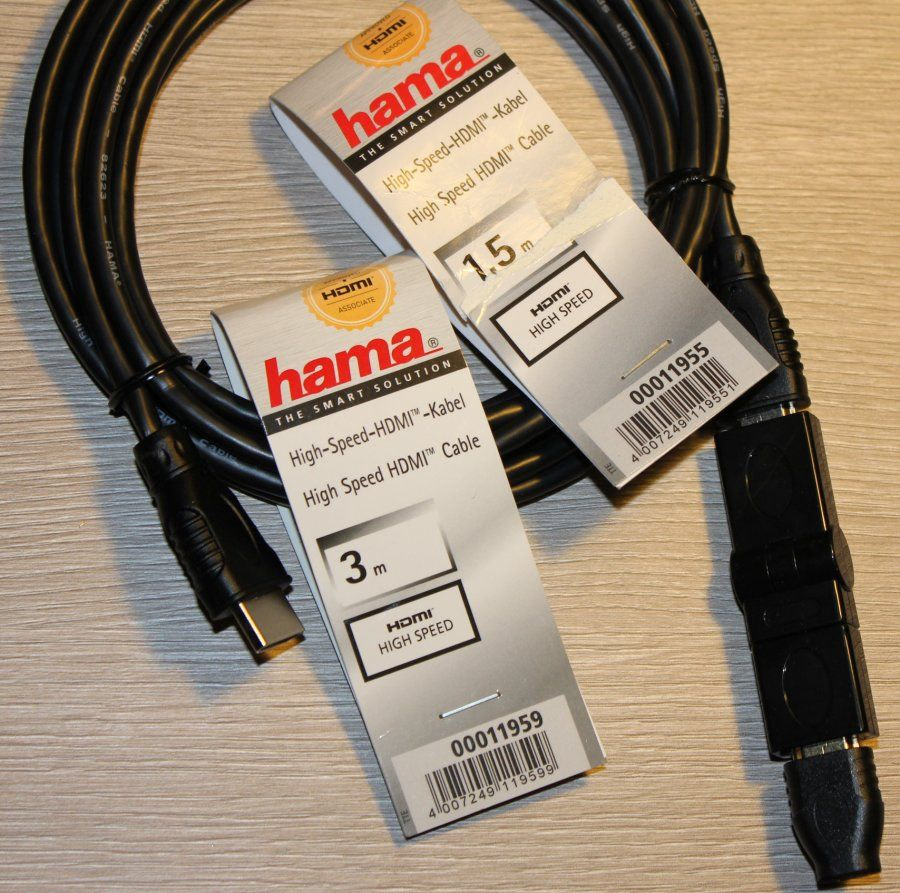
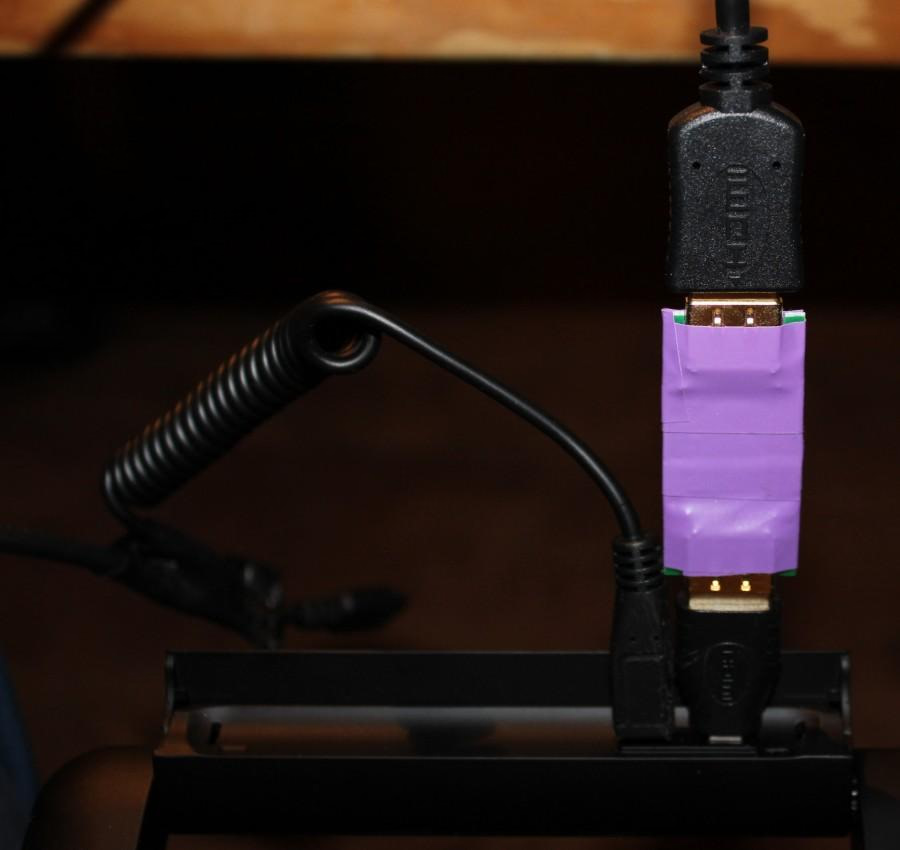
HDMI connection is quite straightforward. We need a Micro HDMI female to HDMI male adapter and a double female HDMI adapter. That allows us to connect the dock with any HDMI-enabled computer via normal HDMI cable. There is a big chance that you may get a incompatible HDMI cable - some cable may work with your TV or normal computer but will fail to work with the dock as they miss DDC/CEC pin grounding implemented as separate from all other pin grounding. A good HDMI cable should turn a white led on on the dock touchpad. The bad ones won't and you won't get any signal on the dock screen.
Testing multiple non-bagged HDMI cables in shops I found that only two similar HAMA branded cables work - 00011959 and 00011955. They are quite cheap and you can see them on the picture below. HAMA website shows at the moment different pictures which may be a bug or a change in the cable (which may be a problem). Few other tested HAMA cables did not work!.
As the USB/HDMI are close to each other you may be forced to cut some plastic from the adapters. A hot blade is very good at melting-cutting the plastic but it should be done carefully (hot blade is a dangerous tool) and with some air flow to blow the smoke from melted plastic.
There is also a thin plastic cover around the USB/HDMI ports that can be taken off. That gives few mm more for the adapters.
USB connection cable
To make the keyboard and touchpad working we have to use the micro USB. It also provides power which usually isn't handled correctly by computers and similar devices. Thats why we have to split the power from the input devices. Raspberry and similar low-power mini PCs may use the power lines to get the power. Other that can't will use only the input devices lines. In both cases we have to split some USB cables and solder correct wires.
We need two USB cables - a Micro B extension cable (may be hard to find), and a standard male USB cable. If you don't plan to use the power try to find a female Micro B USB to male USB (if it exists).
Cut the Micro B extension cable in half and remove the outer isolation on both half. You will see a 4 thin wires in color isolation. Remove the isolation from those wires too.
Solder white and green wire from the female Micro B USB cable part with the white/green wires of the USB cable. If you want power solder red and black wire with the second half of the micro B USB cable. The USB plug provides input devices and the micro USB provides power.
Lapdock usages
The Lapdock may be used with various mini PCs like Raspberry Pi, Odroid and many others. It can also be connected to normal PCs and laptops providing additional screen. Some tables, phones or HDM-sticks with Android can be connected too (although not everyone of them may support keyboard and touchpad).

Comment article