Features of FireCapture 2.2
FireCapture is in active development and new versions bring new interesting features. At the moment beta versions of FireCapture 2.2 are available. Latest releases of this application for planetary imaging can handle electric filter wheels, motofocusers or even do self-guiding on a planet. In this article I'll show what FireCapture has to offer.
Latest release brings support for IDS Imaging cameras as well some improvements, like better support for ASI cameras (zwoptics). When the application starts we will see the usual FireCapture interface. There are however new features that we can use.
Main screen
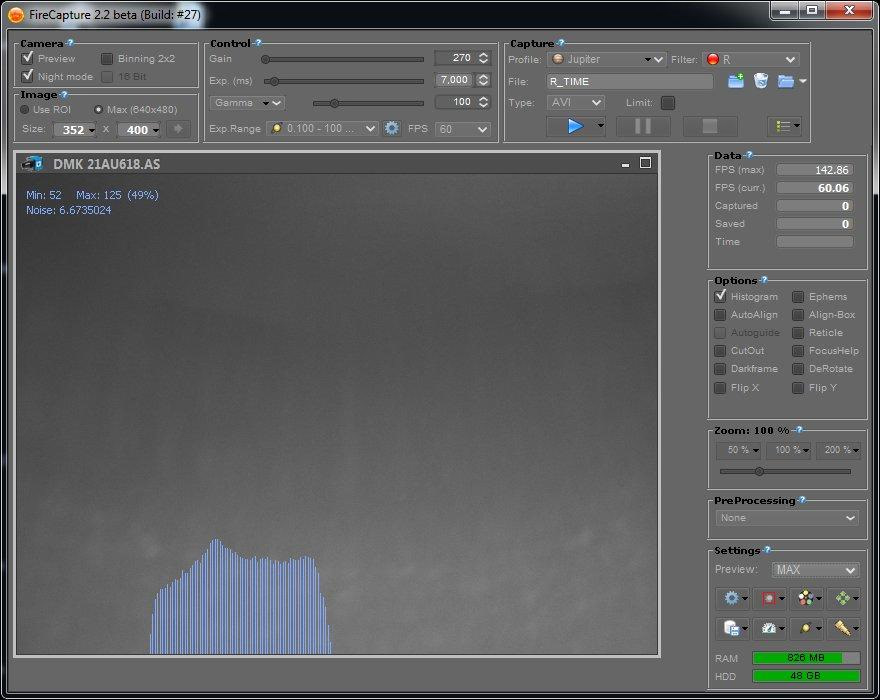
- Camera: the "preview" option gives the live preview we see in the application. "Night mode" will dim the interface to a dark, "night" color scheme (so that it won't blind you when imaging at night). "Binning 2" is available for some cameras and allows recording with binned pixels (2x2 pixels are merged into one, giving 50% resolution, but 4x increase in signal). Binning is handy for recording very dim channels like methane band or UV.
- Image: here we can choose a full frame or a subframe from the camera sensor. When we use a subframe the frame is smaller and takes less space on the disk. Also some cameras give faster framerate when a smaller subframe is used (ROI - region of interest).
- Control: we can set exposure time and gain for our recording. Gamma in most cases shouldn't be changed at all.
- Capture: in this box we have all the recording options. "Profile" - we can choose an object that we are actually imaging. "Filter" - the filter we are using (for mono cameras). Both fields are very handy as they save last used camera settings - you set exposure time and gain for a filter and later when you select it back - you will get the settings back. That saves time when imaging with multiple filters. If we have an electric filter wheel FireCapture will also change filters position as we change filters in this box. The folder icon with a plus sign is for choosing capture folder (in that folder all recordings will be placed). We will be able also to choose capture format (like AVI or SER), and limit recording to a number of frames or capture time (recording will stop when the limit is reached). We can also pause recording (like to fix the position of the planet in the camera field of view).
- Data: here we will see the capture progress - like amount of captured frames or the framerate.
- Options: here we can turn on and off some of FireCapture additional features. "Histogram" is very handy. Basing on its values it's easy to set good exposure time (not over-burning or not under-exposing). It also has a noise indicator. On very low noise it will turn red indicating that recording in more than 8-bits may better (happens sometimes for solar imaging, nearly never for planetary imaging).
- Zoom: Using this box we can scale the preview image (won't affect captured data). It's very handy for cameras with bigger frames that won't fit on the screen. Just zoom out and you can see the whole camera field of view.
- Settings: Access to all the application settings.
FireCapture Settings
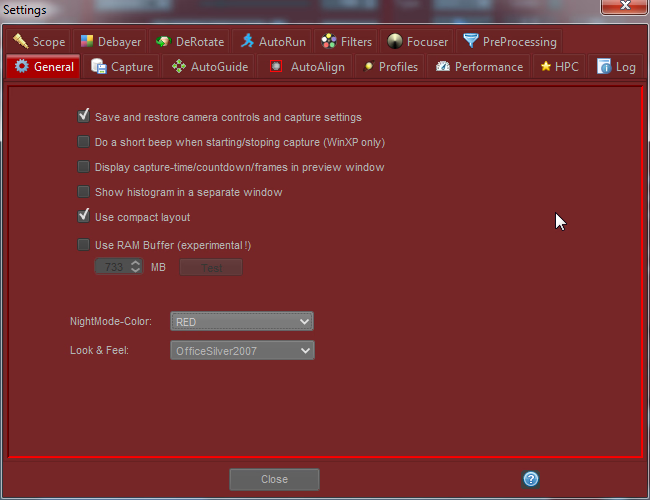
General settings
Capture settings
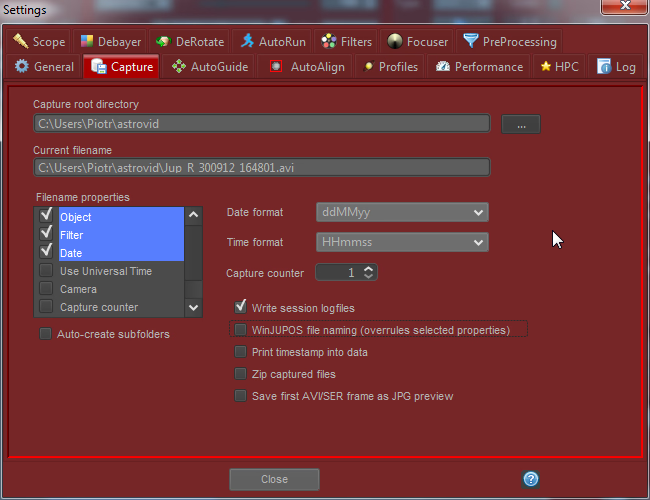
- WinJUPOS file naming: will enforce file naming compatible with WinJUPOS application. If such named stack opened in WinJUPOS (measurements) the app will read the date and time from the file name (saves time).
- Save first AVI/SER frame as JPG preview: this will give you first frame as JPG in the capture folder. When doing mosaics you can use those files in the mosaic making application (like MS ICE) to check if you captured all the areas for the mosaic.
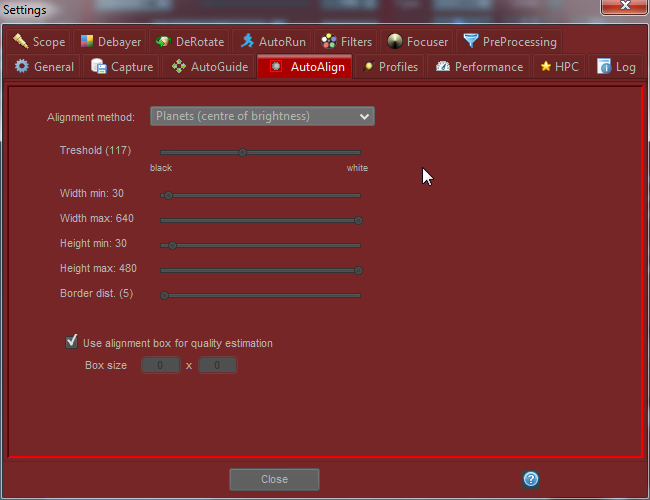
AutoAlign settings
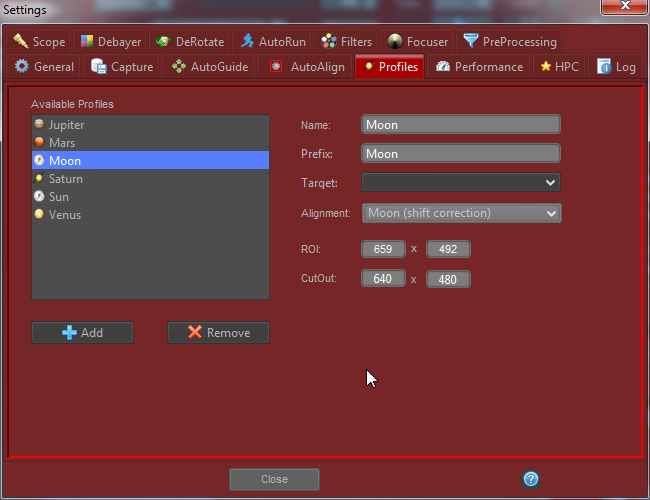
Profiles settings
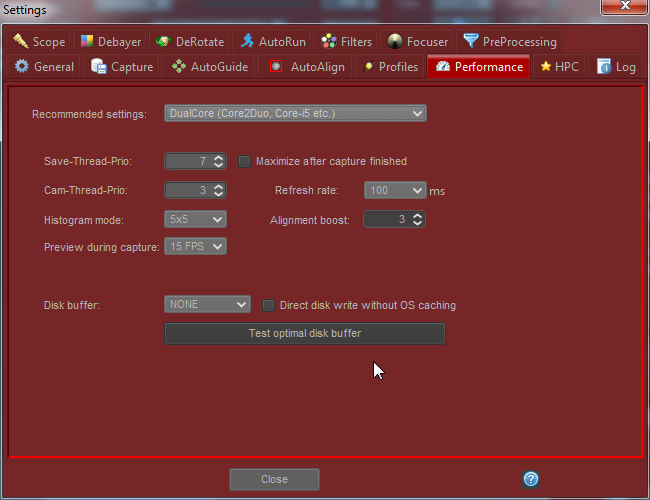
Performance settings
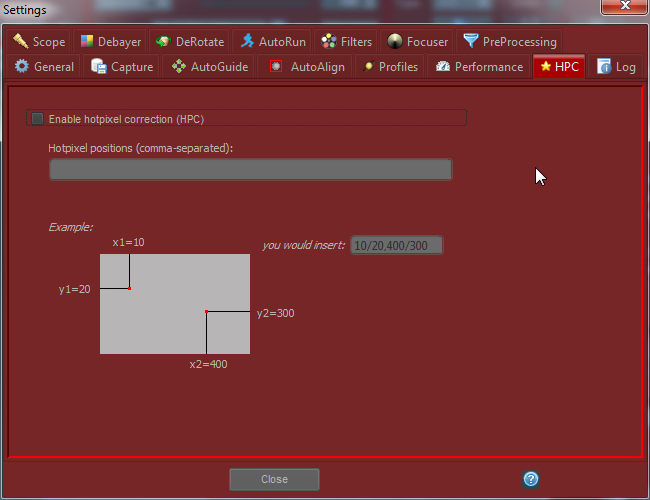
HPC settings
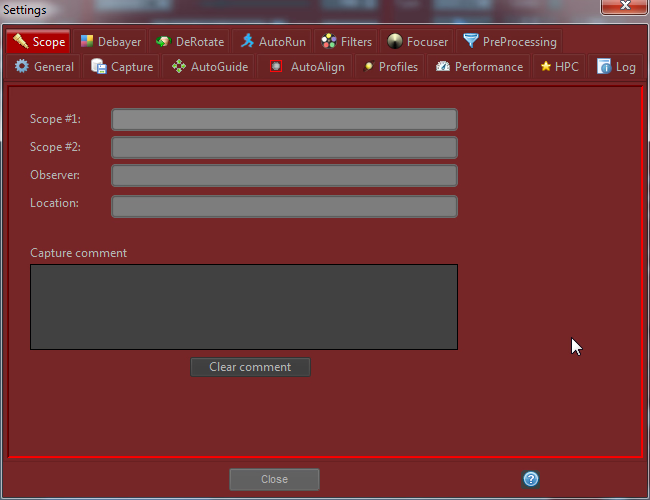
Telescope settings
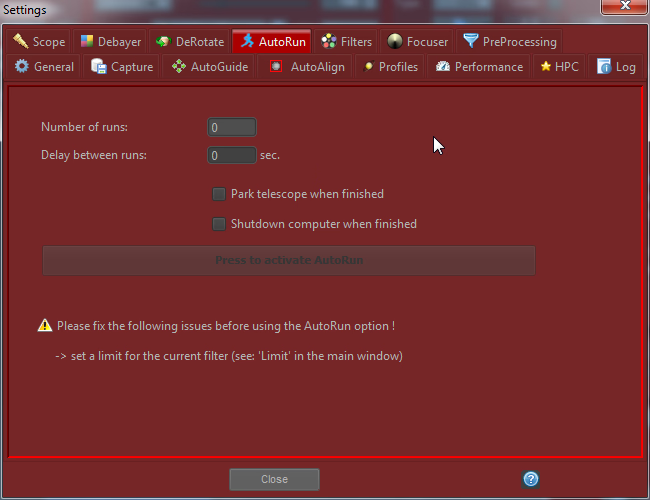
AutoRun settings
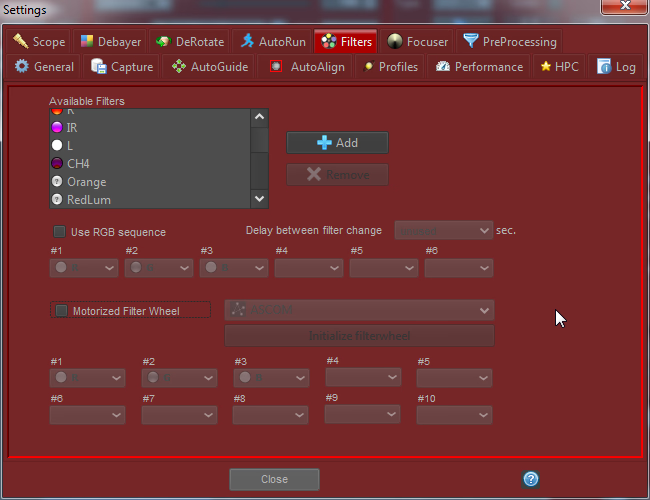
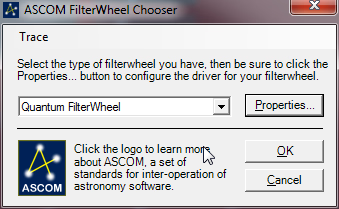
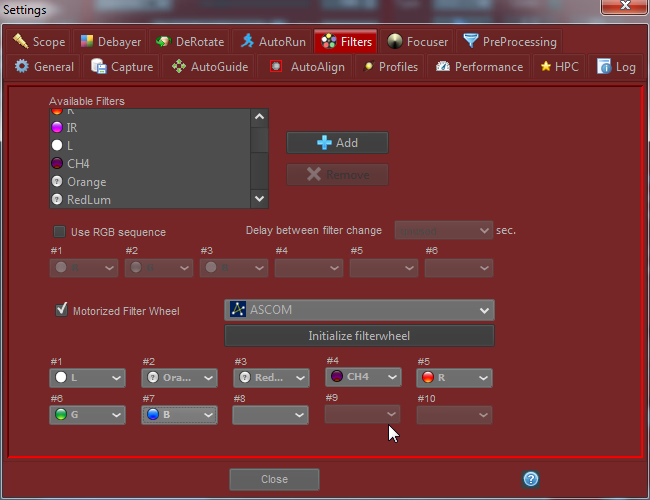
Filters settings
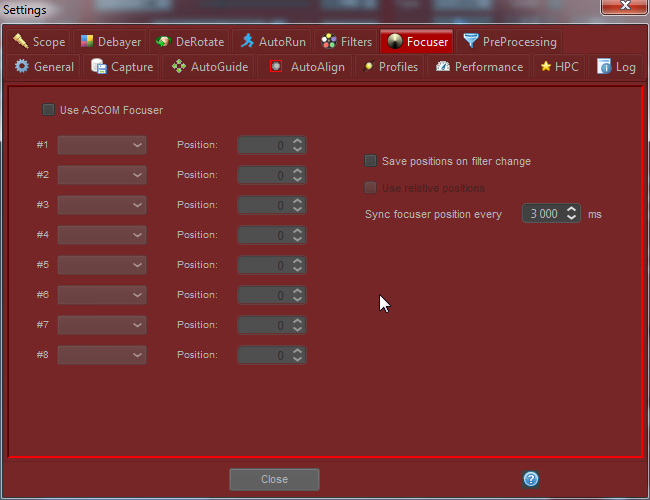
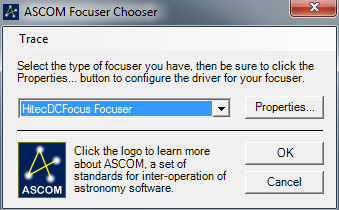
Focuser settings
AutoGuide settings
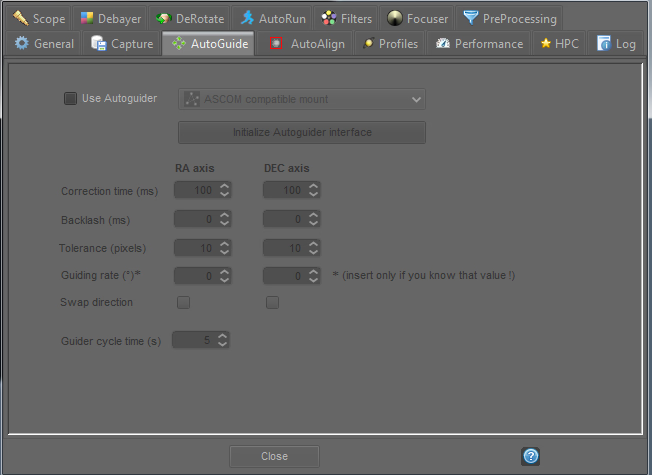
AutoGuide is one of hot and quite new features. FireCapture may try keep the planet withing the camera field of view by sending corrections to the mount. Something like guiding, but simpler and it uses the frames from the primary camera (there is no second guide camera etc.).
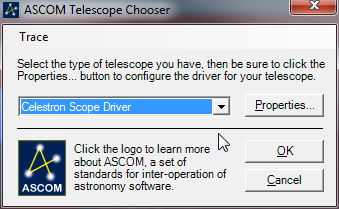
To use this feature you need to connect your mount to the PC via one of available methods - for example by RS232/USB cables or EQDir/EQMod for SkyWatcher Syntrek mounts. Then with an ASCOM driver FireCapture will be able to control the mount and send corrections. For example for a SkyWatcher SynScan I use a RS232/USB cables and ASCOM Celestron/Skywatcher driver:
Comment article