Testing Raspberry Pi cameras with Sony and OmniVision CMOS sensors
There is a lot of third party cameras for Raspberry Pi, Pi Zero or Nvidia Jetson boards using different Sony or OmniVision CMOS sensors. They offer different resolutions, framerates and sensitivity. I got few boards from Aliexpress, one official camera module and used all of them in few test shots presented below.
Raspberry Pi cameras connect via 15-pin tapes to the MIPI Camera Serial Interface (CSI) on the Raspberry Pi board. Pi Zero uses different, narrower tapes than the base Raspberry boards. Most camera modules will come with integrated lens, while few selected come with a C/CS thread for lenses. Those with an integrated lens can have fixed focus or an auto-focusing system present.
Cameras can be operated from command line with rpicam-still and rpicam-vid or through Python code with python3-picamzero. You can check a Raspberry Pi official guide if you want to know more.
from picamzero import Camera

cam = Camera()
cam.start_preview()
cam.take_photo("./new_image.jpg")
cam.stop_preview()Note that the Bookworm/Bullseye OS will only detect the official modules - in my case Camera Module 3 and the OV5647 boards. For all other boards you will have to set manual configurations as described on docs.arducam.com.
I edited the /boot/firmware/config.txt and set sensor name and then shut down the RPi, connected the camera and booted RPi:
camera_auto_detect=0

[all]
dtoverlay=imx519
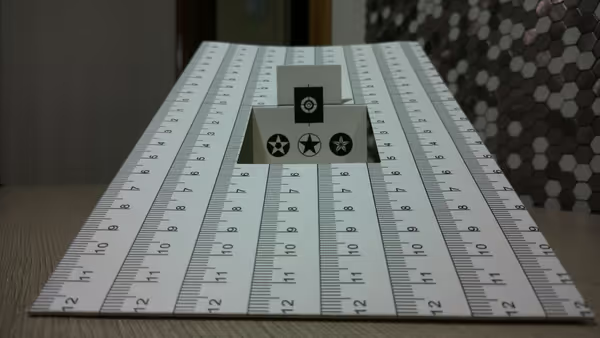
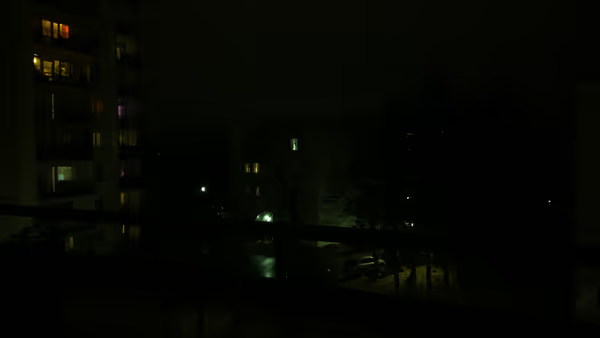
Below are test photos taken with each camera board on automatic settings of the camera.
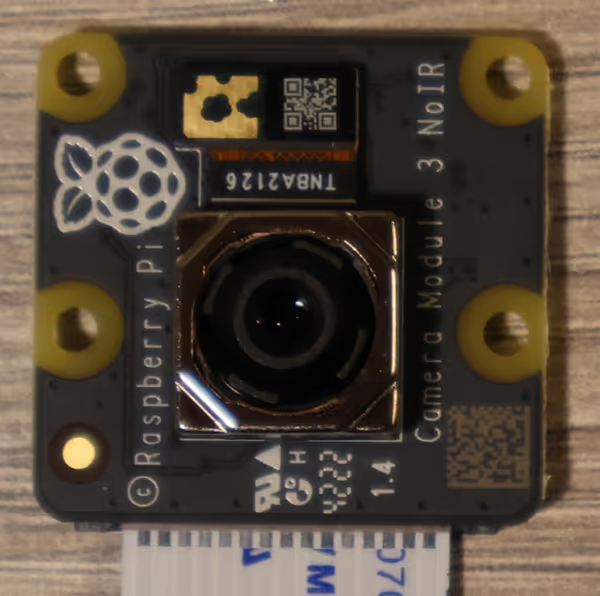
Raspberry Pi Camera Module 3
The Camera Module 3 uses Sony IMX708 12-megapixel sensor. The variant I got is NoIR
which means it has no IR-cut filter inside the lens assembly. Infrared blocking filters are used in color cameras to get accurate colors on images. For vision applications this may not be desired when infrared illumination is being used (like in some night vision system). Humans or animals can't see such infrared light but cameras can.
IMX708 offers a frame of 4608 x 2592 pixels and RAW10 output format. The image quality is quite good.
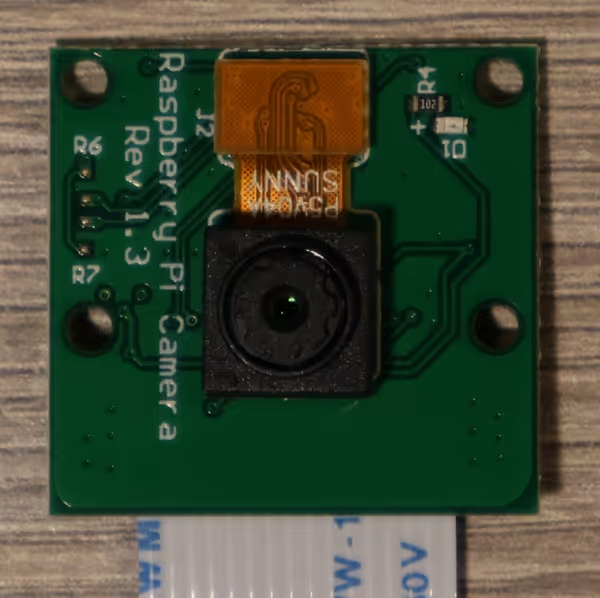
OmniVision OV5647
OmniVision sensors are usually the cheapest, but they tend to fall behind Sony in terms of noise and image quality. OV5647 offers a frame of 2592 x 1944 pixels.
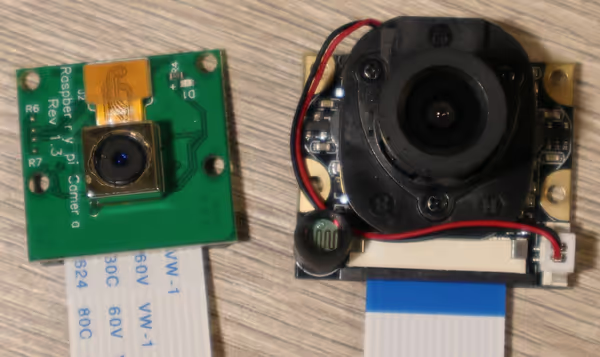
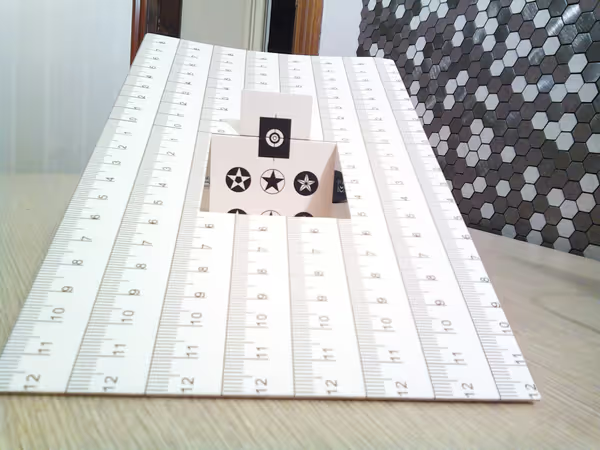
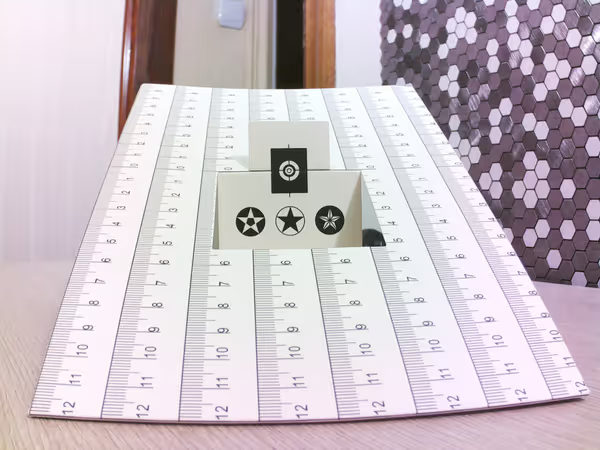
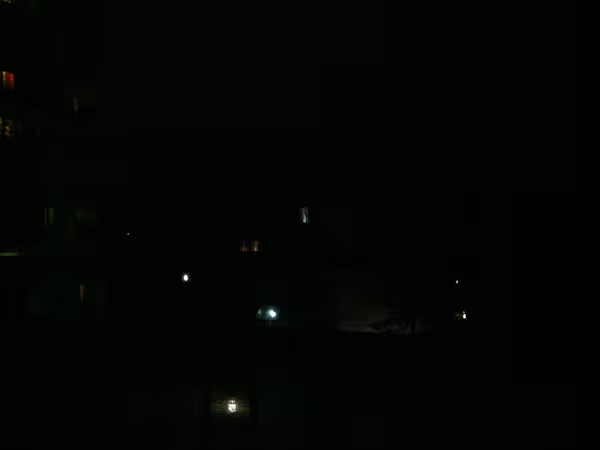
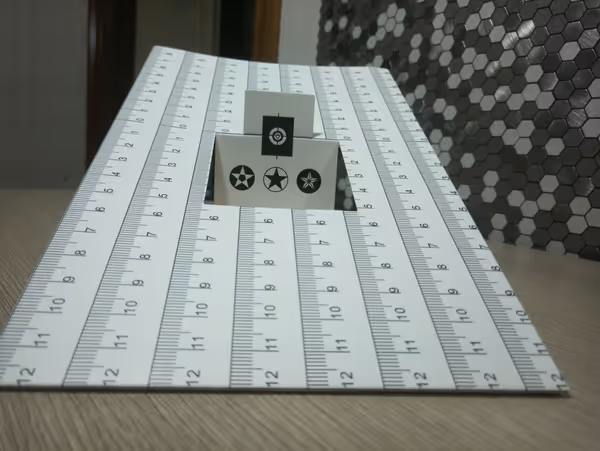
In well illuminated scene those camera modules had the tendency to over-expose the image. The 3,6mm lens also has some field curvature to it.
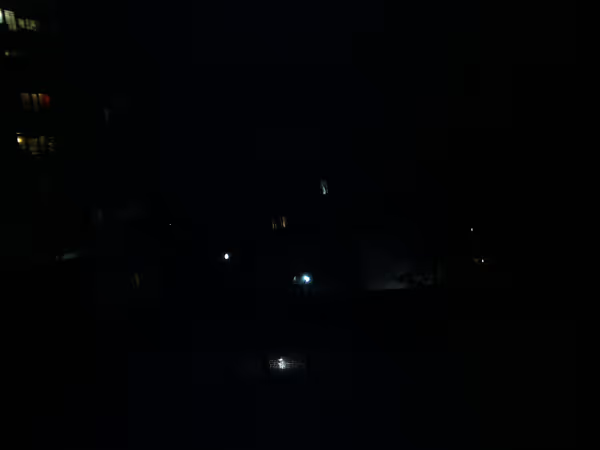
IMX219
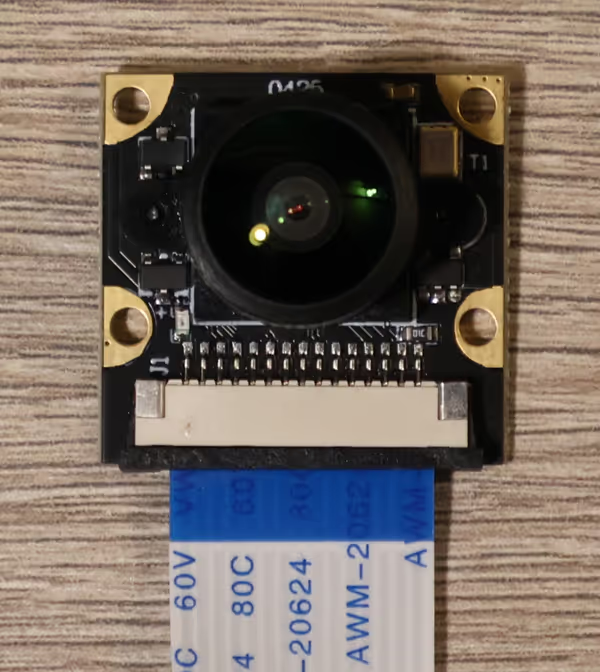
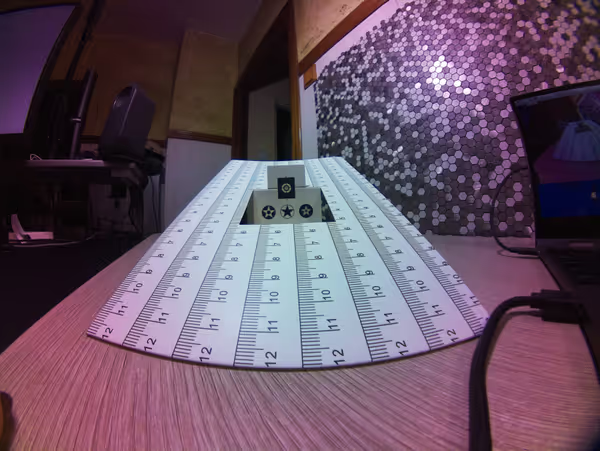
IMX219 is an 8 mpix sensors with a frame of 3280 x 2464 pixels. This board came with a 160 degree widefield lens which as seen below has quite a lot of field curvature due to such large field of view.
IMX290
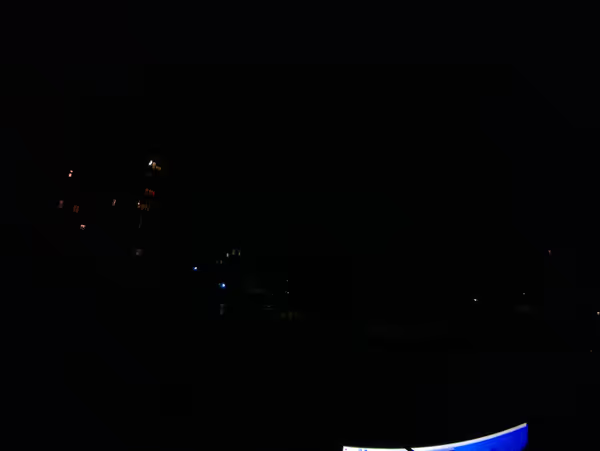
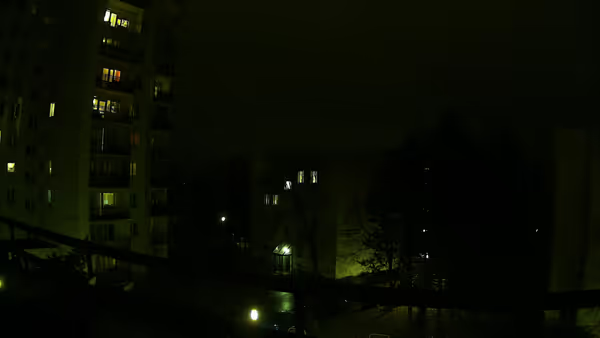
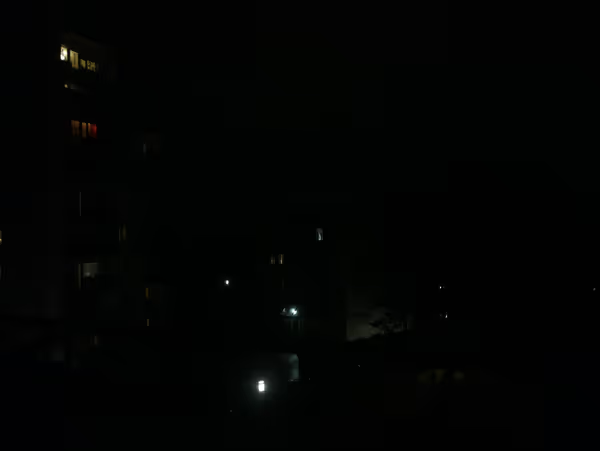
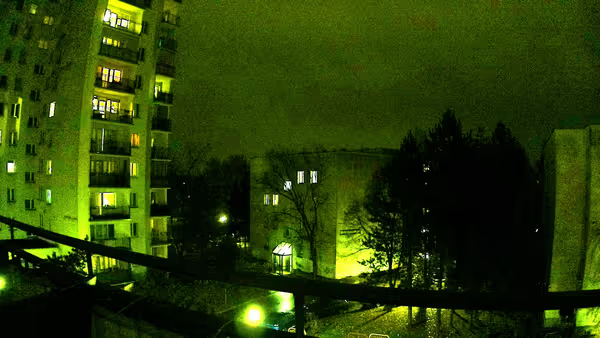
IMX290 is a 2 mpix sensor with a frame of 1920 x 1080, and it got quite popular in planetary astrophotography cameras due to good performance and good value. Should be good for low light conditions as well as seen on the image below.
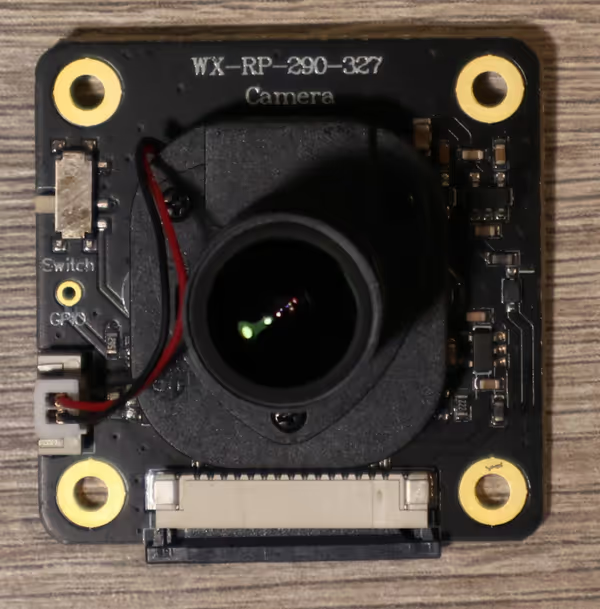
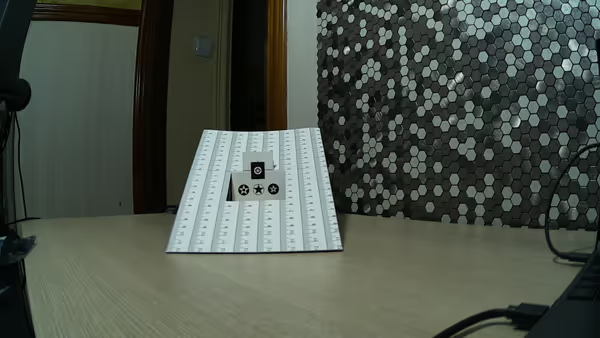
IMX477
IMX477 is a larger 12,3 mpix sensor with a 4056 x 3040 frame. This module came with a C/CS-lens thread and I used two of my lenses C/CS 16mm and C-mount 26mm.
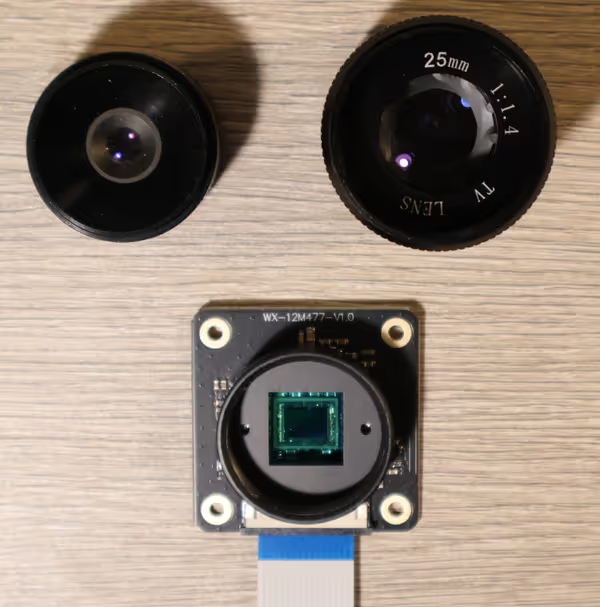
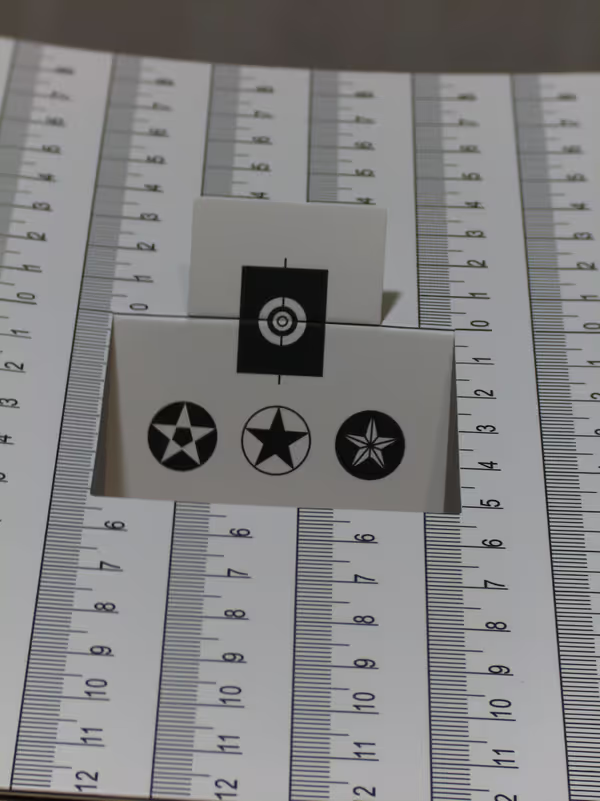
With manual focus it was hard to get it perfect in night conditions with quite flimsy setup ;)
IMX519
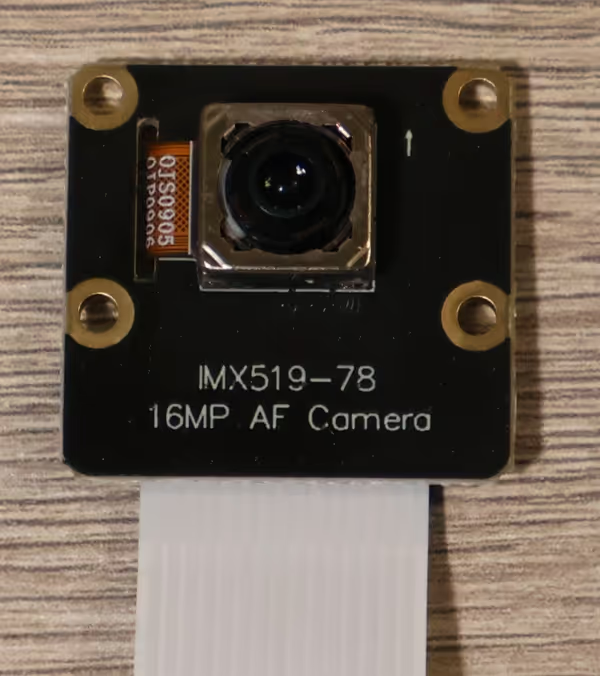
IMX519 is a slightly larger 16 mpix sensor with a frame of 4656 x 3496 pixels and quite good performance.
IMX307
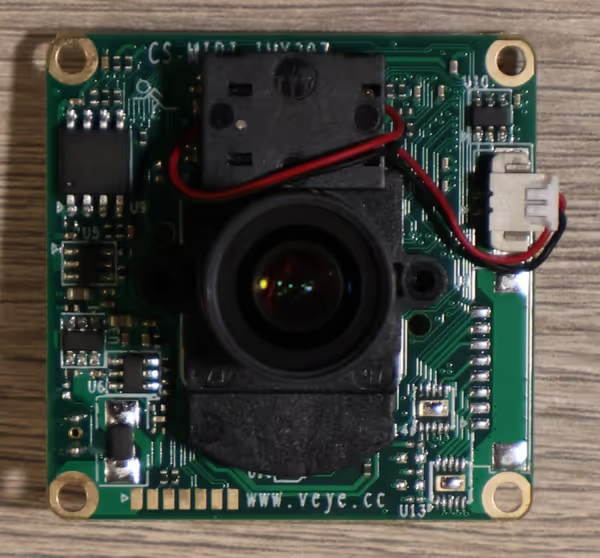
IMX307 is also a 1920 x 1080 low resolution sensor with good low light performance, however the board I got was made by Veye Imaging and is not compatible with libcamera and relies on old VideoCore APIs that the Raspberry Pi foundation abandoned some time ago - the board does not work on modern RPi systems.
Low light sensitivity versus what you see
Some of Sony sensors offer very low read noise which combined with very good sensitivity gives very good low light performance. Depending on sensor design this have marketing names like Starvis. If you want to do imaging in low light conditions you will likely want to control camera parameters like exposure time, gain manually to get the best results. In the above tests only IMX290 board got a good night-time image on fully automatic default model.
On top of that you may want to do some post-processing on such images like simple histogram clipping to expose every last detail possible (which also exposes noise). In astrophotography to remove fixed pattern noise and hot pixels the processing can be more advanced with dark frames or image stacking.
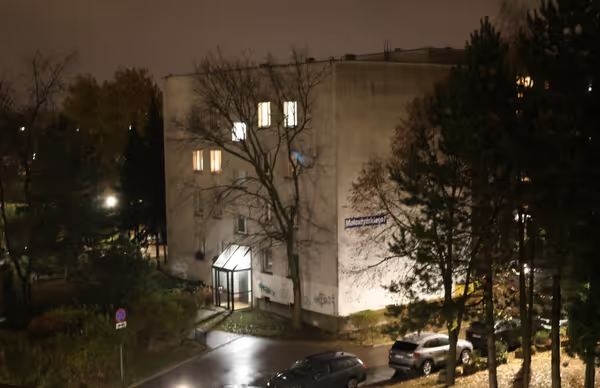
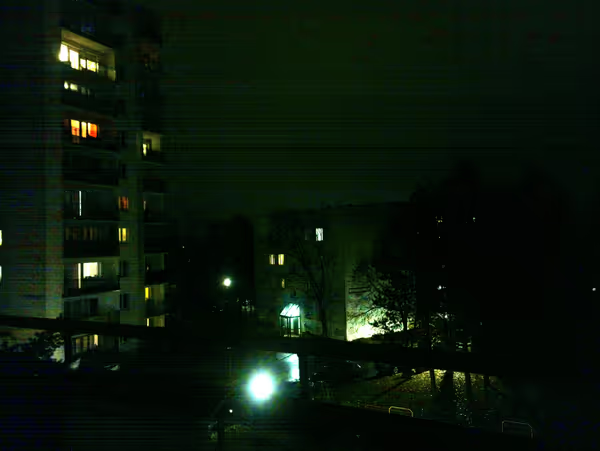
If the photographed scene is still you can increase exposure time to gett better signal in low light conditions. Picamera2 Python module can handle exposure time given in microseconds. Below is an example script that takes few photos at different exposure time from 0,125s to 3s:
import time
import cv2

from picamera2 import MappedArray, Picamera2, Preview

exposure_time = [3000000, 2000000, 1000000, 500000, 250000, 125000]
frame_size = (4608, 2592)  # set to your camera sensor frame size


picam2 = Picamera2()
config = picam2.create_still_configuration(main={"format": 'RGB888', "size": frame_size}, controls={"AwbEnable":0, "AwbMode": 4})
picam2.configure(config)


for exposure in exposure_time:
    picam2.set_controls({"ExposureTime": exposure, "AnalogueGain": 1.0})
    picam2.start()
    file_name = f"img_{str(exposure)}.jpg"
    picam2.capture_file(file_name)
    picam2.stop()
Rolling versus Global Shutter
All of showcased sensors use rolling shutter where data is read row by row. This can cause distortions when imaging fast moving objects. To limit this effect you would have to use shorter exposure which not always can be doable. An alternative could a sensor with a global shutter lime IMX174 but such sensors are more expensive and usually used in machine vision cameras (some vendors do provide APIs for various programming languages, which can include Python). From OmniVision boards you can look for OV7251 and OV9281.
If you want to know more about such cameras and camera vendors you can check my articles linked below:
- Scripting machine vision and astronomical cameras in Python
- Scripting Ximea machine vision cameras in Python with Flask and PyQt
- Scripting Ximea machine vision cameras in IronPython
Comment article