Scripting machine vision and astronomical cameras in Python
Recently I've showcased how to script Ximea cameras in Python. There are other machine vision, microscopy or astronomical cameras that have Python bindings and can be used for image acquisition. In this article I'll go over most popular vendors and their APIs.
Machine vision/astronomy/scientific cameras offer better image quality as well as wider range of configuration options than simple webcams. You can pick very high framerate, high resolution, or low noise and active cooling for long exposures.
As most of such cameras don't use UVC / DirectShow interfaces we have to use vendor provided SDK and bindings.
ZWO ASI
ZWO makes a wide range of astronomical cameras - from small fast framerate to large and actively cooled for long exposures. They support Windows, Linux, macOS as well as iOS and Android.
For scripting ZWO cameras with Python you will have to download ZWO SDK (the Developers
tab).
Linux users will have to add udev rules to use the camera without root permissions. In the SDK folder you will have lib
folder in which there will be a readme on how to install those rules:
For Windows you will also need camera drivers while for Linux no special drivers are needed.
The zwoasi Python bindings are provided by a third party developer. You can install them via pip:
There are examples provided as well. Here is a rundown of the API:
First of all the Python bindings work on top of the SDK library so you have to specify a path to it:
import zwoasi as asi

asi.init('/path/to/ASI_linux_mac_SDK_V1.17/lib/x64/libASICamera2.so')
On some systems you may be able to use the os.getenv('ZWO_ASI_LIB') to get the system path to the library but if not you have to specify a path to the library.
After that we can use the API. You can check the documentation for more info on the API itself, while configuration options are described in the SDK documentation provided with the SDK package. Here is an simple example:
import zwoasi as asi

asi.init('/path/to/ASI_linux_mac_SDK_V1.17/lib/x64/libASICamera2.so')

num_cameras = asi.get_num_cameras()
if num_cameras == 0:
    raise ValueError('No cameras found')

camera_id = 0  # use first camera from list
cameras_found = asi.list_cameras()
print(cameras_found)
camera = asi.Camera(camera_id)
camera_info = camera.get_camera_property()
print(camera_info)

# Get all of the camera controls
print('')
print('Camera controls:')
controls = camera.get_controls()
for cn in sorted(controls.keys()):
    print('    %s:' % cn)
    for k in sorted(controls[cn].keys()):
        print('        %s: %s' % (k, repr(controls[cn][k])))

# Use minimum USB bandwidth permitted
camera.set_control_value(asi.ASI_BANDWIDTHOVERLOAD, camera.get_controls()['BandWidth']['MinValue'])

# Set some sensible defaults. They will need adjusting depending upon
# the sensitivity, lens and lighting conditions used.
camera.disable_dark_subtract()

camera.set_control_value(asi.ASI_GAIN, 150)
camera.set_control_value(asi.ASI_EXPOSURE, 1300000) # microseconds
camera.set_control_value(asi.ASI_WB_B, 99)
camera.set_control_value(asi.ASI_WB_R, 75)
camera.set_control_value(asi.ASI_GAMMA, 50)
camera.set_control_value(asi.ASI_BRIGHTNESS, 50)
camera.set_control_value(asi.ASI_FLIP, 0)

print('Enabling stills mode')
try:
    # Force any single exposure to be halted
    camera.stop_video_capture()
    camera.stop_exposure()
except (KeyboardInterrupt, SystemExit):
    raise


print('Capturing a single 8-bit mono image')
filename = 'image_mono.jpg'
camera.set_image_type(asi.ASI_IMG_RAW8)
camera.capture(filename=filename)
print('Saved to %s' % filename)

print('Capturing a single 16-bit mono image')
filename = 'image_mono16.tiff'
camera.set_image_type(asi.ASI_IMG_RAW16)
camera.capture(filename=filename)
print('Saved to %s' % filename)

if camera_info['IsColorCam']:
    filename = 'image_color.jpg'
    camera.set_image_type(asi.ASI_IMG_RGB24)
    print('Capturing a single, color image')
    camera.capture(filename=filename)
    print('Saved to %s' % filename)
else:
    print('Color image not available with this camera')

try:
    # Force any single exposure to be halted
    camera.stop_exposure()
except (KeyboardInterrupt, SystemExit):
    raise

print('Enabling video mode')
camera.start_video_capture()

# Set the timeout, units are ms
timeout = (camera.get_control_value(asi.ASI_EXPOSURE)[0] / 1000) * 2 + 500
camera.default_timeout = timeout

if camera_info['IsColorCam']:
    print('Capturing a single color frame')
    filename = 'image_video_color.jpg'
    camera.set_image_type(asi.ASI_IMG_RGB24)
    camera.capture_video_frame(filename=filename)
else:
    print('Capturing a single 8-bit mono frame')
    filename = 'image_video_mono.jpg'
    camera.set_image_type(asi.ASI_IMG_RAW8)
    camera.capture_video_frame(filename=filename)

print('Saved to %s' % filename)
QHY
QHY offers similar cameras to ZWO. They support Windows, Linux and Android. There are no direct Python bindings for QHY cameras but there are some other options. azcam-qhy can be used on Windows via ASCOM, while the SDK can be used to interface it in Python manually
.
First, at least for Linux you would have to install the SDK with the install.sh
script provided. Nex you can look at example script at SDK/usr/local/testapp/SingleFrameMode/SingleFrameMode.cpp
- Python wrapper will be quite similar:
import ctypes
import time

import cv2
import numpy


qhyccd = ctypes.CDLL('/path/to/sdk_linux64_21.03.13/usr/local/lib/libqhyccd.so')
qhyccd.GetQHYCCDParam.restype = ctypes.c_double
qhyccd.OpenQHYCCD.restype = ctypes.POINTER(ctypes.c_uint32)

result = qhyccd.InitQHYCCDResource()
if result == 0:
    print("InitSDK success\n")
else:
    raise Exception('No SDK')

cameras_found = qhyccd.ScanQHYCCD()
if cameras_found > 0:
    print("found camera\n")
else:
    raise Exception('No Camera')

position_id = 0
type_char_array_32 = ctypes.c_char * 32
id_object = type_char_array_32()
result = qhyccd.GetQHYCCDId(position_id, id_object)

camera_handle = qhyccd.OpenQHYCCD(id_object)

qhyccd.SetQHYCCDStreamMode(camera_handle, ctypes.c_uint32(0))
qhyccd.InitQHYCCD(camera_handle)

chipWidthMM = ctypes.c_uint32(0)
chipHeightMM = ctypes.c_uint32(0)
maxImageSizeX = ctypes.c_uint32(0)
maxImageSizeY = ctypes.c_uint32(0)
pixelWidthUM = ctypes.c_uint32(0)
pixelHeightUM = ctypes.c_uint32(0)
bpp = ctypes.c_uint32(0)
camera_info = qhyccd.GetQHYCCDChipInfo(
    camera_handle, ctypes.byref(chipWidthMM), ctypes.byref(chipHeightMM), ctypes.byref(maxImageSizeX),
    ctypes.byref(maxImageSizeY), ctypes.byref(pixelWidthUM), ctypes.byref(pixelHeightUM),
    ctypes.byref(bpp),
)
print([
    chipWidthMM.value, chipHeightMM.value, maxImageSizeX.value, maxImageSizeY.value,
    pixelWidthUM.value, pixelHeightUM.value, bpp.value
])

GAIN = ctypes.c_int(8)
EXPOSURE_TIME = ctypes.c_int(8)
depth = ctypes.c_uint32(8)

qhyccd.SetQHYCCDBitsMode(camera_handle, depth)

qhyccd.SetQHYCCDParam.restype = ctypes.c_uint32
qhyccd.SetQHYCCDParam.argtypes = [ctypes.c_void_p, ctypes.c_int, ctypes.c_double]

qhyccd.SetQHYCCDParam(camera_handle, GAIN, ctypes.c_double(100))
qhyccd.SetQHYCCDParam(camera_handle, EXPOSURE_TIME, ctypes.c_double(66666))
qhyccd.SetQHYCCDResolution(camera_handle, ctypes.c_uint32(0), ctypes.c_uint32(0), maxImageSizeX, maxImageSizeY)
qhyccd.SetQHYCCDBinMode(camera_handle, ctypes.c_uint32(1), ctypes.c_uint32(1))
qhyccd.ExpQHYCCDSingleFrame(camera_handle)

image_data = (ctypes.c_uint8 * maxImageSizeX.value * maxImageSizeY.value)()
channels = ctypes.c_uint32(1)

qhyccd.ExpQHYCCDSingleFrame(camera_handle)
time.sleep(1)


response = qhyccd.GetQHYCCDSingleFrame(
    camera_handle, ctypes.byref(maxImageSizeX), ctypes.byref(maxImageSizeY),
    ctypes.byref(depth), ctypes.byref(channels), image_data,
)

print('RESPONSE: %s' % response)
bytes_data = bytearray(image_data)
print(bytes_data[0], bytes_data[1])

raw_array = numpy.array(bytes_data)
mono_image = raw_array.reshape(maxImageSizeY.value, maxImageSizeX.value)
cv2.imwrite('frame.bmp', mono_image)


qhyccd.CancelQHYCCDExposingAndReadout(camera_handle)
qhyccd.CloseQHYCCD(camera_handle)
qhyccd.ReleaseQHYCCDResource()
This code is an example on how you can use DLLs/so libraries in Python. You have to use appropriate C types and pass by reference when needed. Sadly QHY does not have a higher level Python library.
This is an example for a mono camera, I use QHY5-III 174 mono. Most of commands returns -1 on error and 0 on success, so it would be good to check every command if errors happened. For settings parameters check qhyccdstruct.h
.
Point Grey / FLIR
FLIR (Point Grey Research) offers a set of machine vision cameras on different interfaces like GigE, USB3, Firewire and so on. Those aren't cameras intended for long exposures like the astronomical cameras but are good for high framerate imaging and integration into various industrial vision projects.
Older PGR cameras will be compatible with FlyCap2 SDK while newer are intended to be used with Spinnaker SDK. For FlyCap2 there is third party pyflycap2, mostly focused around GigE cameras. Could not make it work with my older USB2 Chameleon camera.
Newer cameras can use Spinnaker SDK - and it does have Python binding as well as third party wrapper simple-pyspin. You can download Spinnaker SDK and Spinnaker Python bindings from FLIR website.
As Spinnaker SDK also provides GenICam API support you should be able to use harvesters library and GUI. On Linux the CTI file is in /opt/spinnaker/lib/flir-gentl/
(check GENICAM_GENTL64_PATH in environ).
As I only had old USB2 Chameleon camera I could use FlyCap2 on Linux but the third party binding could not use the camera (even though detecting it). Spinnaker listed the camera but did nothing with it.
IDS Imaging
IDS Imaging is another machine vision camera maker. The software stack is called uEye and the Python library is pyueye - although it's low level wrapper around a C library. There is also a third party simple-pyueye wrapper for easier usage.
IDS also has an example application that showcases using their Python bindings to acquire and show a frame from the camera.
Basler
Basler also makes machine vision cameras. The software stack is called Pylon and the Python library is pypylon and Basler even hosted a pypylon webinar recently.
The Imaging Source
TIS is a machine vision camera maker that some time ago was also providing cameras for planetary astrophotography. They offer some wrapper in Python for their cameras. You can check the tutorial and examples.
Atik
Atik is a astrophotography/microscopy/scientific camera maker with reasonable pricing. There is a SWIG wrapper python-atik that allows controlling Atik cameras with the help of the vendor provided SDK package.
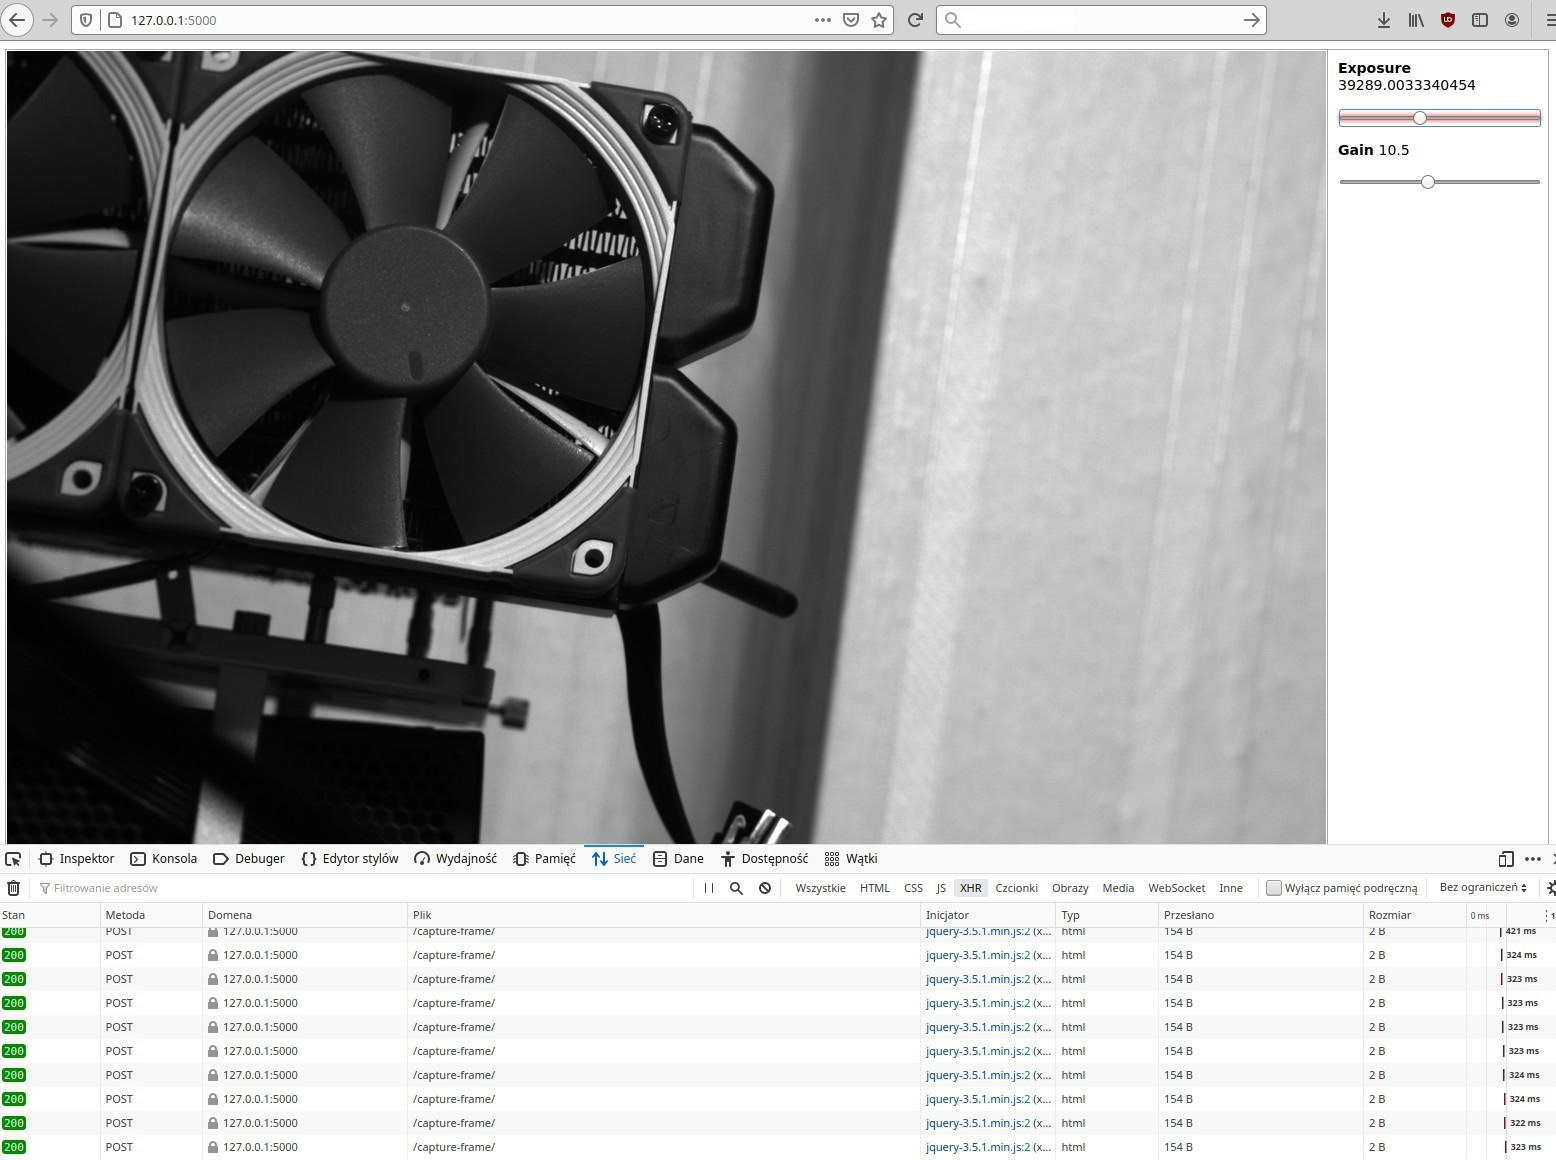
ToupTek
Touptek provides astronomical/microscopy/scientific cameras under various brands (including RisingCam
on Aliexpress). You can get the SDK and then use provided in that SDK Python library and few examples. Check toupcamsdk/python/samples/
- samples will require the libtoupcam so/DLL file to be present in system path or in current directory.
I used a ToupTek ATR3-16000-KPA camera with a color Panasonic sensor. In this case we have to save not a simple mono data set but RGB one. Also this specific sensor returns data as BGR instead of RGB so it have to be reversed:
import cv2
import numpy
import toupcam


class TouptekExampleApp:
    def __init__(self):
        self.hcam = None
        self.buf = None
        self.total = 0

    # the vast majority of callbacks come from toupcam.dll/so/dylib internal threads
    @staticmethod
    def on_camera_event(event, ctx):
        if event == toupcam.TOUPCAM_EVENT_IMAGE:
            ctx.handle_image_event()

    def handle_image_event(self):
        try:
            self.hcam.PullImageV2(self.buf, 24, None)
            self.total += 1
            print('pull image ok, total = {}'.format(self.total))
            self._save_color_frame()
        except toupcam.HRESULTException:
            print('pull image failed')

    def _save_color_frame(self):
        raw_bgr_array = numpy.array(bytearray(self.buf))
        raw_rgb_array = raw_bgr_array[..., ::-1].copy()
        mono_image = raw_rgb_array.reshape(3506, 4640, 3)
        cv2.imwrite('frames/frame%s.bmp' % self.total, mono_image)

    def run(self):
        a = toupcam.Toupcam.EnumV2()
        if len(a) > 0:
            print('{}: flag = {:#x}, preview = {}, still = {}'.format(
                a[0].displayname, a[0].model.flag, a[0].model.preview, a[0].model.still)
            )
            for r in a[0].model.res:
                print('\t = [{} x {}]'.format(r.width, r.height))
            self.hcam = toupcam.Toupcam.Open(a[0].id)
            if self.hcam:
                try:
                    width, height = self.hcam.get_Size()
                    bufsize = ((width * 24 + 31) // 32 * 4) * height
                    print('image size: {} x {}, bufsize = {}'.format(width, height, bufsize))
                    self.buf = bytes(bufsize)
                    if self.buf:
                        try:
                            self.hcam.StartPullModeWithCallback(self.on_camera_event, self)
                        except toupcam.HRESULTException:
                            print('failed to start camera')
                    input('press ENTER to exit')
                finally:
                    self.hcam.Close()
                    self.hcam = None
                    self.buf = None
            else:
                print('failed to open camera')
        else:
            print('no camera found')


if __name__ == '__main__':
    app = TouptekExampleApp()
    app.run()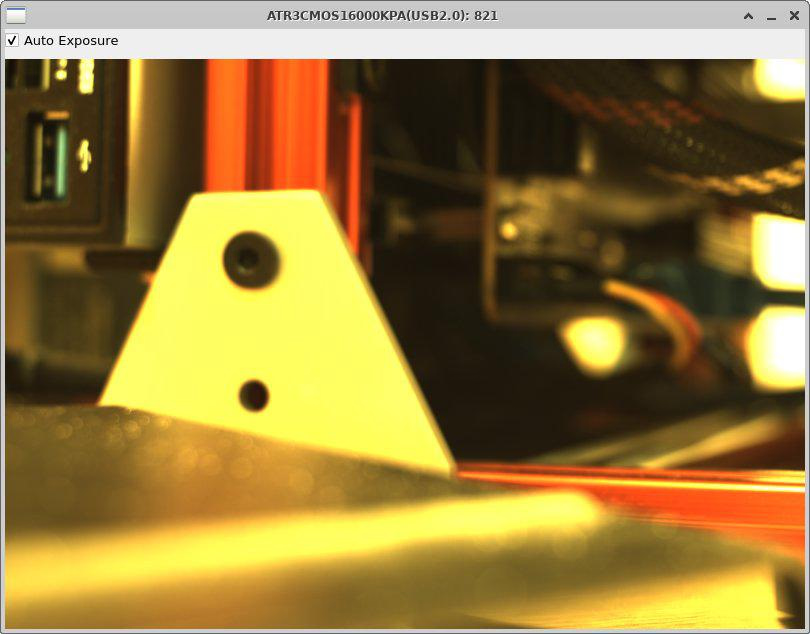
Comment article